Tuesday, September 8, 2015

Wheelsport Fantasy Flat Handlebar 2x10 Speed: Part 3 - Installation of New Components

Part 1: Original Bike Components
Part 2: Bike Disassembly and Component Weight


After disassembling the bike, what we have here is now the bare frame of the Wheelsport Fantasy 2.0 mini velo bike. Before installing the new components, this is the best chance to clean up the frame and make it look brand new again!

With no components on the bike frame, it is easy to give the frame a good clean up, using some wet tissue and rags to wipe away the dirt and dust. Once that is done, the Hi Glaze 88 Car and Bike Polish was used to give the frame a really nice shine. Multiple layers of the polish can be applied to give the frame a high gloss finishing!

The very clean frame after polishing the bike twice

See how glossy the surface is!

I am very satisfied with how clean the frame is, as the shine of the frame as been restored and looks just as good as new. With that done, the next phase is to install all the components on the bike. Some of the components are the original ones that came with this bike, while most other upgrades are from the Dahon MuEX which was recently upgraded to Ultegra/XTR Di2.

BB cable guide reinstalled on the frame, under the BB shell. This low friction plastic part guides the externally routed shifter inner cables as they pass under the BB.

Here are the original bike components that will be going back onto the frame! The groupset is not shown here as it will be a completely new groupset, taken off from the Dahon MuEX.

Previously, while disassembling this bike from the stock condition, I found that the RD hanger seems to be a little bent. This would have a negative impact on the shifting performance, as the RD and the cassette will not be aligned properly. Now is the best chance to fix this issue once and for all. With a special RD hanger alignment tool, the offset of the RD hanger can be measured and also fixed with the tool. For a detailed guide on how to use this tool, refer to the Park Tool guide found here.

RD hanger alignment tool. The M10 x 1mm thread on the right side will be screwed into the RD hanger, while the ruler on the left will be used to measure the distance from the tool to the wheel rim.

First, align the ruler to a selected point on the rim. Usually the valve area is used for easy identification. Measure the distance at this position (6 o'clock).

Next, rotate the wheel and the tool to the opposite side, which is the 12 o'clock position. Again, measure the distance from the rim to the tool, at the same point on the rim. Using the same point on the rim ensures that the trueness of the rim does not affect the measurements.

Do the same for the other two positions (9 o'clock and 3 o'clock). The measurements at these 4 positions should ideally be the same for a perfectly aligned RD hanger, but practically, a difference of less than 4mm is good enough.

Once the measurements are done, here comes the tricky part. The way to adjust the RD hanger is actually to pull or push on the alignment tool to bend the RD hanger manually. It must be done gently and gradually, to prevent breaking or cracking the aluminium RD hanger. If the RD hanger is already too bent, it cannot be repaired safely and needs to be replaced.

The measurements confirmed my visual observation that the RD hanger is bent inwards slightly. This probably happened when the bike fell over onto the RD side, as I also found some scratches on the outside of the original RD. After manually and carefully bending the RD hanger, it is now straight.

With this repair completed, we can now continue to install the rest of the components. The new 10 speed cassette is first installed onto the rear hub. As this bike uses a 451 wheelset, with a wheel diameter of approximately 22 inches (instead of 20 inches on 406 wheelsets), a 12-30T Tiagra 4600 10 speed cassette is used to lower the gear range slightly for more practical usage. As a flat handlebar bike, the gearing does not need to be too high.

12-30T Tiagra 4600 10 speed cassette. Rather heavy at 329 grams, as compared to a more high end Shimano 105 or Ultegra cassette.

With the cassette installed on the Wheelsport Sunny 451 rear wheel!

Next, the headset, fork and handlepost can be reinstalled onto the bike frame. No change of parts here.

With the fork, handlepost, stem, handlebar and front wheel reinstalled!

It is always a good idea to tighten the bolts to the recommended torque, using a proper torque wrench. These are the two clamp bolts at the base of the handlepost.

Sora road caliper brakes, in glossy black colour to match the frame

Sora brake levers, with adjustable lever ratio to match with the road caliper brakes


New set of shifter outer casings for the bike. The two longer ones are used from the shifters to the stoppers on the frame, while the shorter one with the aluminium end cap is used from the RD to the stopper on the chainstay.

Plastic end caps with a long nose to improve sealing and prevent the polymer coating on the inner cables from wearing off.

Grips, brake levers and shifters installed

Original stem and handlebar, along with the Cateye Strada wireless cycle computer taken from the Dahon Boardwalk

View from the front. New brake and shifting components, in glossy black to match nicely with the frame.

The installation is now half complete! The remaining components would be the crankset, RD, FD and other miscellaneous components. To be continued in the final part of this bike upgrade.

Click here for the 4th and final part of this bike upgrade!

Friday, September 4, 2015

OCBC Cycle 2015: 42km Sportive Ride

This is my fourth time joining the OCBC Cycle ride, and each time gives a different experience. There is something special about cycling on closed roads which cannot be done on normal days in Singapore.

My first OCBC Cycle was in 2011, and I rented a mountain bike for the 20+ km community ride. At that time, I did not use my Dahon Boardwalk for the ride. The second ride was in 2012, and I used my upgraded Dahon Boardwalk to complete the 2012 39km Challenge route, with a respectable timing. That was the first time I used my own bike for the OCBC Cycle.

Route Data in OCBC Cycle 2012

I skipped the 2013 edition, and joined the 2014 OCBC Cycle. In 2014, I also used the Dahon Boardwalk to complete the 40km Challenge route. However, I felt that the 2014 edition was not well organised, with narrow lanes and too many riders. Along the way, I had also witnessed a few accidents. After that time, I had decided not to join anymore OCBC Cycle rides as it was too dangerous.

However, in 2015, OCBC has found a new event organiser to take over, and it has also pledged to implement many improvements to enhance safety and give a better ride experience. With that, I decided to give it another try. This time, the OCBC Cycle ride was held in August, instead of the usual March-April timing.

This would be the first time that I am riding in the OCBC Cycle event with a road bike! With my new Merida Scultura 5000 road bike, I am looking forward to having a good fast ride with friends. Also, this ride would be well documented, with a front Shimano Sport Camera, a Cyclic Fly6 rear camera, and also the Garmin Edge 510 cycle computer that will log all the ride data.

As recorded from the front and rear cameras, together with the data from the Garmin, an edited video can be seen here, showing my ride from the ECP expressway into the ECP Service Road area. Enjoy!


Video highlights of my OCBC Cycle 2015 Ride! Click HD version for a sharper video.

Also, here is a chronological pictorial highlight of my OCBC Cycle 2015 ride. Due to the pictures coming from screen captures of the video, and also low lighting conditions, some of the pictures are blurry and grainy. I used pictures from both the front and rear camera.

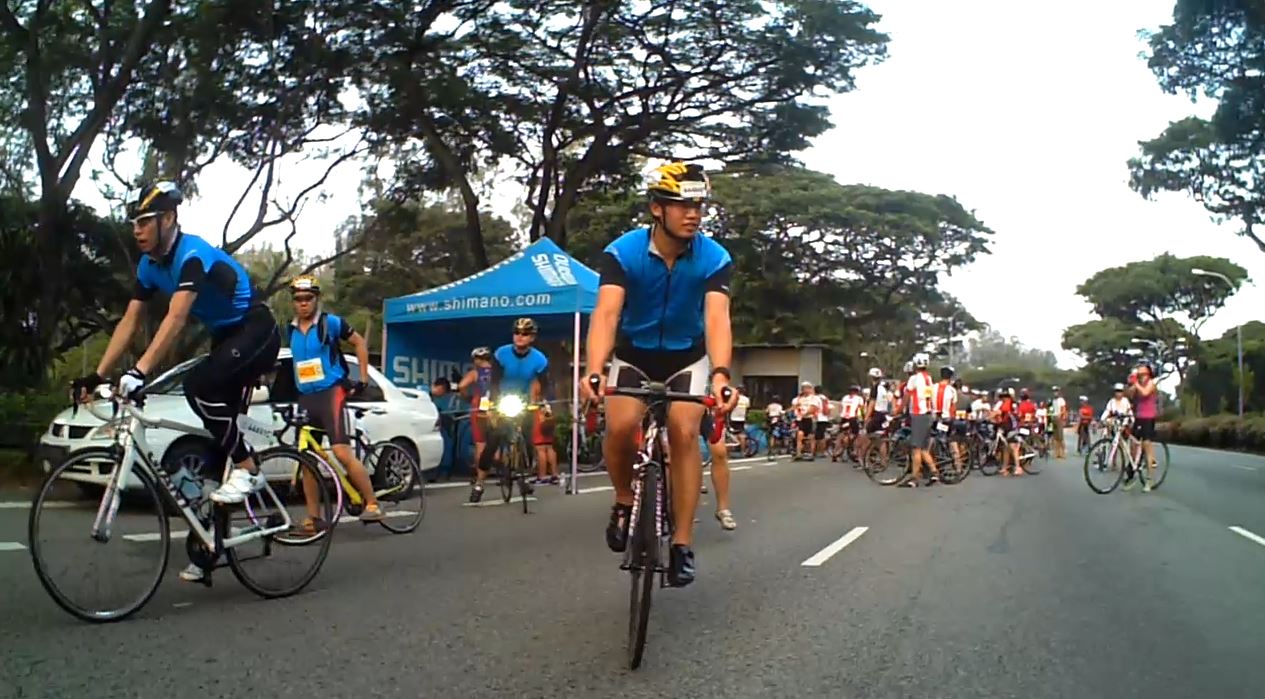
Riding from the meeting point outside Kallang Wave Mall to the start point. This was at about 515am.

However, we found that we were near the back of the long long queue to the start point. The queue goes very far, as can be seen from the waiting riders on the other side of the road.

I only passed the start point at 630am, more than an hour after the planned flag off time of 515am. The first wave only moved off at 545am. This meant that I was standing or walking for an hour in the queue while waiting for the ride to start.

First highlight, riding on the smooth F1 racing track! 

First climb of the day, up Bayfront Avenue. This was where many riders started to go faster.

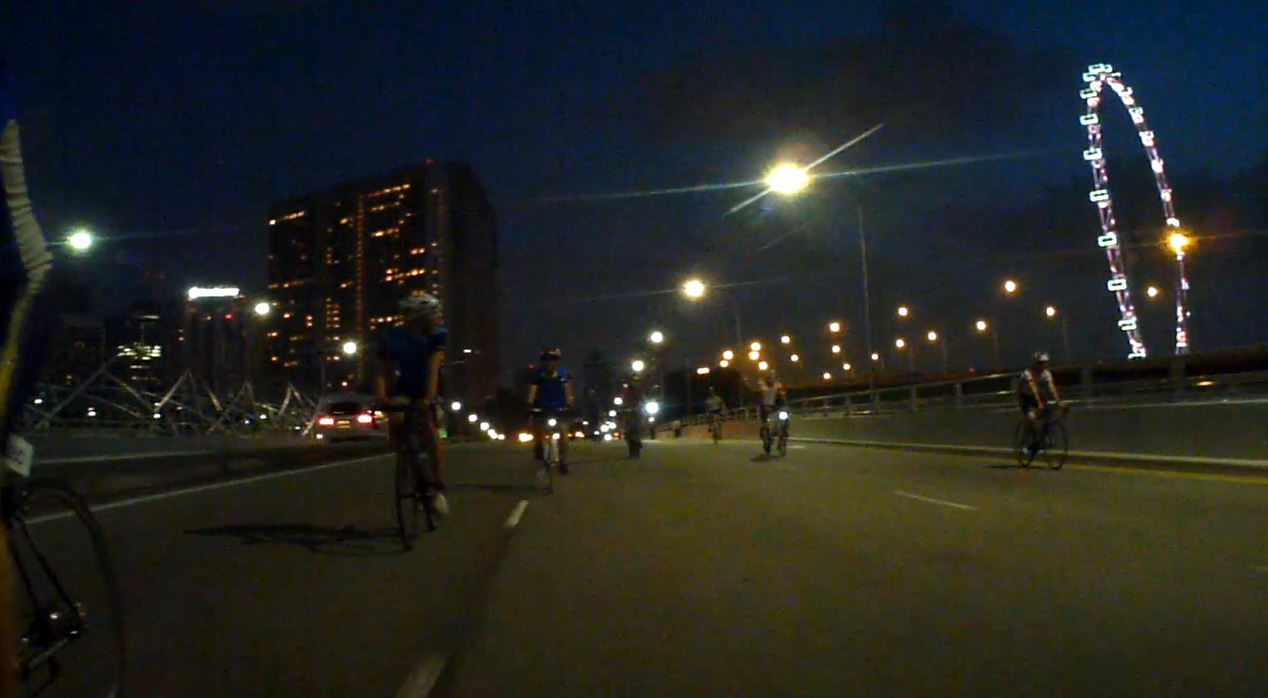
On the Bayfront Avenue, with a good view of the lighted skyline 

Turning into Shenton Way at the Lau Pa Sat junction. I was still warming up, after standing around for one hour in the queue.

Going up to the Keppel Viaduct

Slight slope up the viaduct

Route on top of the Keppel Viaduct was narrow, with only one car lane's width in each direction

Passing by Vivocity on the way to the first water point. By this time the sky was getting nice and bright.  

At the first water point! We only stopped to take a look before moving on.

At the first water point. Distance at this point is about 10.5km.

After making a U-turn at the first water point, the route goes back along Keppel Viaduct, past Vivocity again 

Still narrow lanes, so not much chance to go faster or overtake 

Finally, the roads opened up and there was space to go fast! This was where I started pushing harder and going over 30km/h. 

Entering the MCE tunnel, an interesting experience! 

The journey through the tunnel was a short one 

Exiting the MCE tunnel! The wind blowing into the tunnel was really strong, probably driven by the powerful ventilation system. This resulted in a feeling of riding in a wind tunnel! Strong winds together with an upslope made it a challenge for many riders.

Heading towards the Benjamin Sheares bridge, the first major climb of the day.

Riding up the Sheares bridge slope, enjoying the climb. Still going strong with fresh legs!

Pulling away from other riders. The Merida bike climbs well!  

Rolling down the other end of the Sheares bridge! Can reach 50+ km/h even without pedaling, and is more stable with a road bike than a folding bike.

Rolling downslope at Sheares bridge, going fast even without pedaling. Distance is about 20km at this point, which is the halfway mark.

Entering the ECP stretch of flat expressway

Near the second water point, with cheerleaders! 

Grabbing a much needed bottle of cold 100 Plus from the volunteers 

After resting for a few minutes and regrouping, it was time to continue! At this point the distance was about 22km. 

Forming a paceline to go fast together 

Weaving through the other riders. Not much difficulty as the expressway was really wide. Note the road marshal standing on the single wheel electric scooter!

U-turn into the ECP Service Road near the East Coast Park lagoon. 

Distance at U-turn point into ECP service road is about 27km.

Picking up more friends along the way with our paceline 

Join the train!

On the right side of the picture, a newly set up U-turn point has been created, and the ECP blocked off. This is at Tanjong Rhu area, and is for those who did not manage to reach the cutoff point by the required timing.

Going over the Fort Road flyover  

We had this powerful rider with a single speed bike joining our paceline since ECP. His gearing is quite high as he is able to keep up with us without a particularly high cadence.

Powering ahead up the Fort Road flyover! 

However, I could see that he was suffering up the Sheares bridge slope, due to the high gearing.

Respect his determination for riding up the long and steep slope without stopping, unlike many other riders with multi-geared bikes.

Beautiful climb with a view of the Singapore skyline 

Rolling down the Rochor road exit! Last downslope for the day.

Heading back to the end point, with the stadium in the background 

Final stretch of the route, heading towards the stadium! 

Quite a wonderful experience to ride into the huge stadium 

End point! Kind of an anti climax, without any fanfare or photographers. 

Final distance clocked was about 41km, with a moving time of just under 1 hr 27 mins.

Overall route and distance for this ride. About 41km, with a comfortable average speed.

It was fun to join this OCBC ride with friends, as we could ride in a group and encourage each other during the ride. Riding in a paceline is also more efficient as we could take turns to pull at the front, allowing us to go faster together than it is possible riding alone.

Overall, the organisation of the ride was quite good. Apart from the delayed start time, the route was well demarcated with sufficient road marshals stationed at turning points and critical areas. There was also plenty of cold drinks for riders. Some parts of the route were quite narrow, but I guess there are limitations to the routes that are available.