Showing posts with label Shoes. Show all posts

Saturday, August 12, 2023

Shimano RX801 vs RX800 Gravel Shoes

If you didn't realize by now, I am a big big fan of the Shimano RX8 gravel shoes. Apart from the boring black colour, I probably have most of the other colours. They fit me so well, look so good and functions perfectly for my kind of rides.


In 2022, a new generation of RX8 shoes was released. This new generation is numbered RX801, while the older first generation is RX800. In this new generation, there are some improvements made, while new colours have also been released.

One of the new colour scheme really caught my eye, and you can see it below!

New Shimano RX8 (or RX801) gravel shoes! The WIDE version seems to be the standard.

Friday, August 4, 2023

Shimano ET7 and EX7 Touring Shoes

Here is an introduction to some of the Shimano shoes that are less commonly seen or heard of. Most of the time, you hear of the latest top grade cycling shoes such as the RC9 road shoe or the RX8 gravel shoes. However, Shimano actually has a wide range of shoes that cater to nearly every cycling usage you can think of, from top level competition models to basic casual models.

For practicality and everyday usage, here are two models which I like. Check out the pictures and descriptions below to see what I think of them!

Here are two types of touring shoes, the EX7 and the ET7. Details below.

Sunday, July 30, 2023

Shimano RX8 vs RX6, and RC9 vs RC7 Shoes

Here is a brief comparison of a few different Shimano cycling shoes. For gravel usage, there is the top grade RX8, versus the cheaper RX6. As for road cycling, there is the top grade RC9 (S-Phyre) and RC7. I happened to see all these models in the shop, so I decided to do a shoe comparison based on what I saw.

I really like the RX8 gravel shoes, as they use the SPD system instead of SPD-SL, which makes it much easier to walk in. Also, they have the sleek look of road shoes, without the bulk and weight of MTB SPD shoes. In fact, I like the RX8 gravel shoes so much that I have many pairs of it (and counting)!


Shimano introduced a few new models of gravel shoes earlier this year. The improved RX801 (previously RX800, also called RX8), as well as the new mid grade RX600 (or RX6) version.

Both are RX6 gravel shoes in different colour. SRP is SGD 199.

Friday, July 29, 2022

Shimano RX8 Gravel Shoes - Bronze

Just a short post showing the new RX8 gravel shoes that I just got! I really love the RX8 gravel shoes as they are so comfortable and yet still high performance. They look like sleek road cycling shoes, yet uses the more walking-friendly SPD cleats.

Check out this new Bronze colour! I had previously bought the Silver colour and also the limited edition Cactus Berry colour versions.

Great looking bronze colour! Fades to black colour towards the rear of the shoe.

Saturday, February 12, 2022

Bike Fitting at Loue Bicycles - Cleat Shims

Continuing from the bike fitting session at Loue Bicycles, another area that was adjusted was the height of the cleats.

Other than shifting the cleats rearwards by about 20 mm, Timothy also added a shim on the left side SPD cleat. Due to the body asymmetry described in the previous post, the saddle height was finally set to be optimum based on my right leg, but this means that the saddle height is slightly too high for my left leg.

Therefore, to compensate for this, a cleat shim was added under the left side SPD cleat, in order to effectively lengthen the left leg slightly. 

Plastic SPD cleat shims added temporarily by Timothy. By stacking 2 pieces, it effectively adds about 1.5 mm of height.

The plastic shims are just a temporary measure, as they do not last long. He recommended that I get the Crankbrothers shoe shields, which are metal shims that will work better.

Crankbrothers shoe shields! 

These are actually to protect carbon soles on the shoes, or to push out the cleats on shoes where the tread protrudes too much.

The shoe shields go between the cleat and shoe.

Each pack comes with 2, for a pair of shoes.

The knurled surface on the stainless steel plates will be on the side of the shoe.

Each shim has a thickness of 0.8 mm.

I plan to use 2 shims, to get a thickness of 1.6 mm, which is close to the 1.5 mm suggested by Timothy.

However, 2 shims is too much, as the cleat bolts are not long enough to engage the thread properly.

In the end I only added 1 shim, under the left cleat to increase the height by 0.8 mm.

However, this additional 0.8 mm shim made the cleat protrude above the treads of the shoe, as you can see on the right side of the picture.

After I already bought the cleat shims, I realized that SPD cleats sometimes come with its own shim, I had forgotten about that. This is how it looks like.

This fits onto the SPD cleat and adds about 1 mm of thickness. It is usually used for non-Shimano shoes where the sole treads may be too tall for easy pedal engagement.

Same here, the shim makes the cleat protrude from the sole treads.

Although the taller cleat is necessary to compensate for the leg length, the cleat keeps touching the ground when I walk, since it protrudes too much. It is very annoying as I can feel the metal cleat clicking on the hard ground, and it is also slippery due to the metal cleat surface.

I will have to think of an alternative solution as the protruding cleat is not acceptable for me.

A side effect of moving the cleat rearwards, is that the shoe is effectively moved forward. This leads to shoe interference with the front wheel during cornering. As the Focus Paralane already has mudguards, which were already touching the shoe previously, this cleat adjustment made it even worse.

Interference between the shoe and the front wheel/mudguards during cornering.

Due to this phenomenon, I have to be extra careful during cornering, so that the shoe is not pointed forward where it can touch the mudguards. It is avoidable with careful placement of the pedal position during cornering (outside shoe downwards, inside shoe upwards).

In summary, the cleat shims can effectively extend the leg reach, but it causes another problem where the metal cleat keeps touching the ground during walking. I have an idea to solve this, which will be shared in the next post.

Saturday, February 5, 2022

Bike Fitting at Loue Bicycles - Insole

Another area that Timothy from Loue Bicycles suggested I improve on during the bike fit would be the insole of the cycling shoes.

I have been using the RX8 gravel shoes since it was first launched in silver camo colour, and I liked it so much that now I have another pair in Cactus Berry colour. It is basically the best lightweight SPD shoe that you can get for road cycling or gravel riding.

So far I have been using the stock insoles, as I don't have any foot arch problems as far as I know. This means that I have been using the mid height insole that came with the RX8 shoes.

Timothy recommended that I get Sidas sole inserts to improve the support for my foot during pedaling. This will stabilize my foot during pedaling as he noticed that my foot was rocking from side to side during harder efforts. Before that, I decided to try the high insole that was also included with the RX8 shoes.

Stock yellow insert with mid height, and the red colour high insole which was included with the RX8 shoes.

Changed the yellow inserts to the red ones, just by pulling it off the main insole, as it is only attached by velcro.

Based on repeated testing (one side yellow one side red, swap sides, both red, both yellow), I was able to detect a small difference in the support. The thicker red insole was able to support the arch a bit more, but the difference is quite small.

Anyway, this was not the insole that Timothy recommended, which was why I still went to get the Sidas sole inserts that he recommended. The specific model that he recommended is the Sidas mid arch slim, which has a flat profile which is more suited for cycling shoes due to the limited internal space. It is not cheap, but it is worth trying it out to improve the pedaling efficiency.

Based on my brief research, most cycling shoes do not come with adequate support for cycling, as the soles are thin and simple. This aftermarket insole will improve the foot support.

Standard model for mid arch foot, and flat for low volume shoes such as cycling shoes which wrap snugly around the foot.

If you prefer a half sole instead of a full sole, you can cut it in half.

Adds some weight to the shoe, but if the weight is not on the bike, it doesn't count.

L size insole is for a foot size of EU 42-43, which is suitable for me as my EU shoe size is 42.

Sidas insole on the right, looks quite a lot bigger than the original RX8 insole.

The Sidas insole has a taller and larger support area, as can be seen from the larger green foam area.

The stock insole is like a piece of paper, compared to the Sidas insole. Let's hope the Sidas insole works well.

The Sidas insole is wider compared to the stock RX8 insole. I wonder if this would prevent the insole from fitting properly inside the shoe.

Using the heel as the alignment datum, I found that the Sidas insole is slightly larger. I marked the Sidas insole and used a scissors to trim off the difference as recommended.

After trimming the Sidas insole to follow closely to the shape of the original RX8 insole, it was fitted inside the RX8 shoe. It was rather difficult to fit the insole in properly, as the Sidas insole is less flexible due to the larger green foam. Also, there is an elastic band inside the RX8 shoe which also makes it hard to insert the sole properly.

However, I was pleased to find that once the insole is aligned properly, it actually fits pretty well inside the shoe. There were no creases or folds due to an incompatible shape outline.

Sidas insoles installed into the RX8 gravel shoes.

Once again, I tested the insoles systematically to see if it really makes a difference compared to the original insoles.

1) Sidas insole on one side, stock insole on other side
2) Swap sides and test again
3) Try both sides with Sidas insole
4) Try both sides with stock insole

I was able to feel a very big difference between the stock insole and Sidas insole. This was tested on various rides over a week, and the result is that the Sidas insoles really improve the stability of the foot.

With a better insole support, the foot is more stable during pedaling, instead of rolling around during harder efforts. This is a good improvement from the stock insoles. If you feel your foot rocking slightly from left to right, you may want to try a better insole to see if it helps to stabilize your foot.

Considering that there are thousands of pedaling strokes during a ride, it makes a lot of sense to consider the shoe and foot stability as well in order to maximize pedaling efficiency and comfort.

Sunday, August 1, 2021

Boa Dial Replacement for RX8 Gravel Shoes

Ever since I got the Shimano RX8 gravel shoes 1.5 years ago, I have been using it on almost all my rides. This means that it is pretty well used.

Recently, I found that the rubber layer on the outside of the Boa dial was peeling off, due to wear and tear. It is still usable, but I also know that Boa provides a lifetime warranty for their Boa dials. This means that if the Boa dial is damaged or malfunctions, you can request for a free replacement.

Rubber layer on the outside of the Boa dial is peeling off.

Other parts of the shoe are fine, just that the dial is a bit worn out.

I contacted Boa to get a replacement, and it was sent out pretty quickly. It will be an equivalent Boa dial, although it may not have the exact same appearance.

It comes as a pair for left and right shoes. The difference is the rotation direction, which are mirror image of each other.

Left side (purple) is differentiated from the right side (red) by colour.

The new Boa dial has a black cover, which is different from the original RX8 dial which is transparent.

The Boa dial comes in two parts, one which is already fixed inside the black cover.

This part has 4 metal pawls on the outside, which will engage the ratchet on the inside of the dial that is fixed on the shoe.

Other than the replacement dials, a tool and new wire is provided.

Very detailed instructions, which I will need to follow very carefully.

The instructions for left and right dials are different, so take extra care to follow the correct instructions.

Using the tool, which is basically just a small Torx wrench to loosen the dial. I didn't realize that there was actually a small hole cleverly hidden in the middle of the dial!

This is the part from the left shoe.

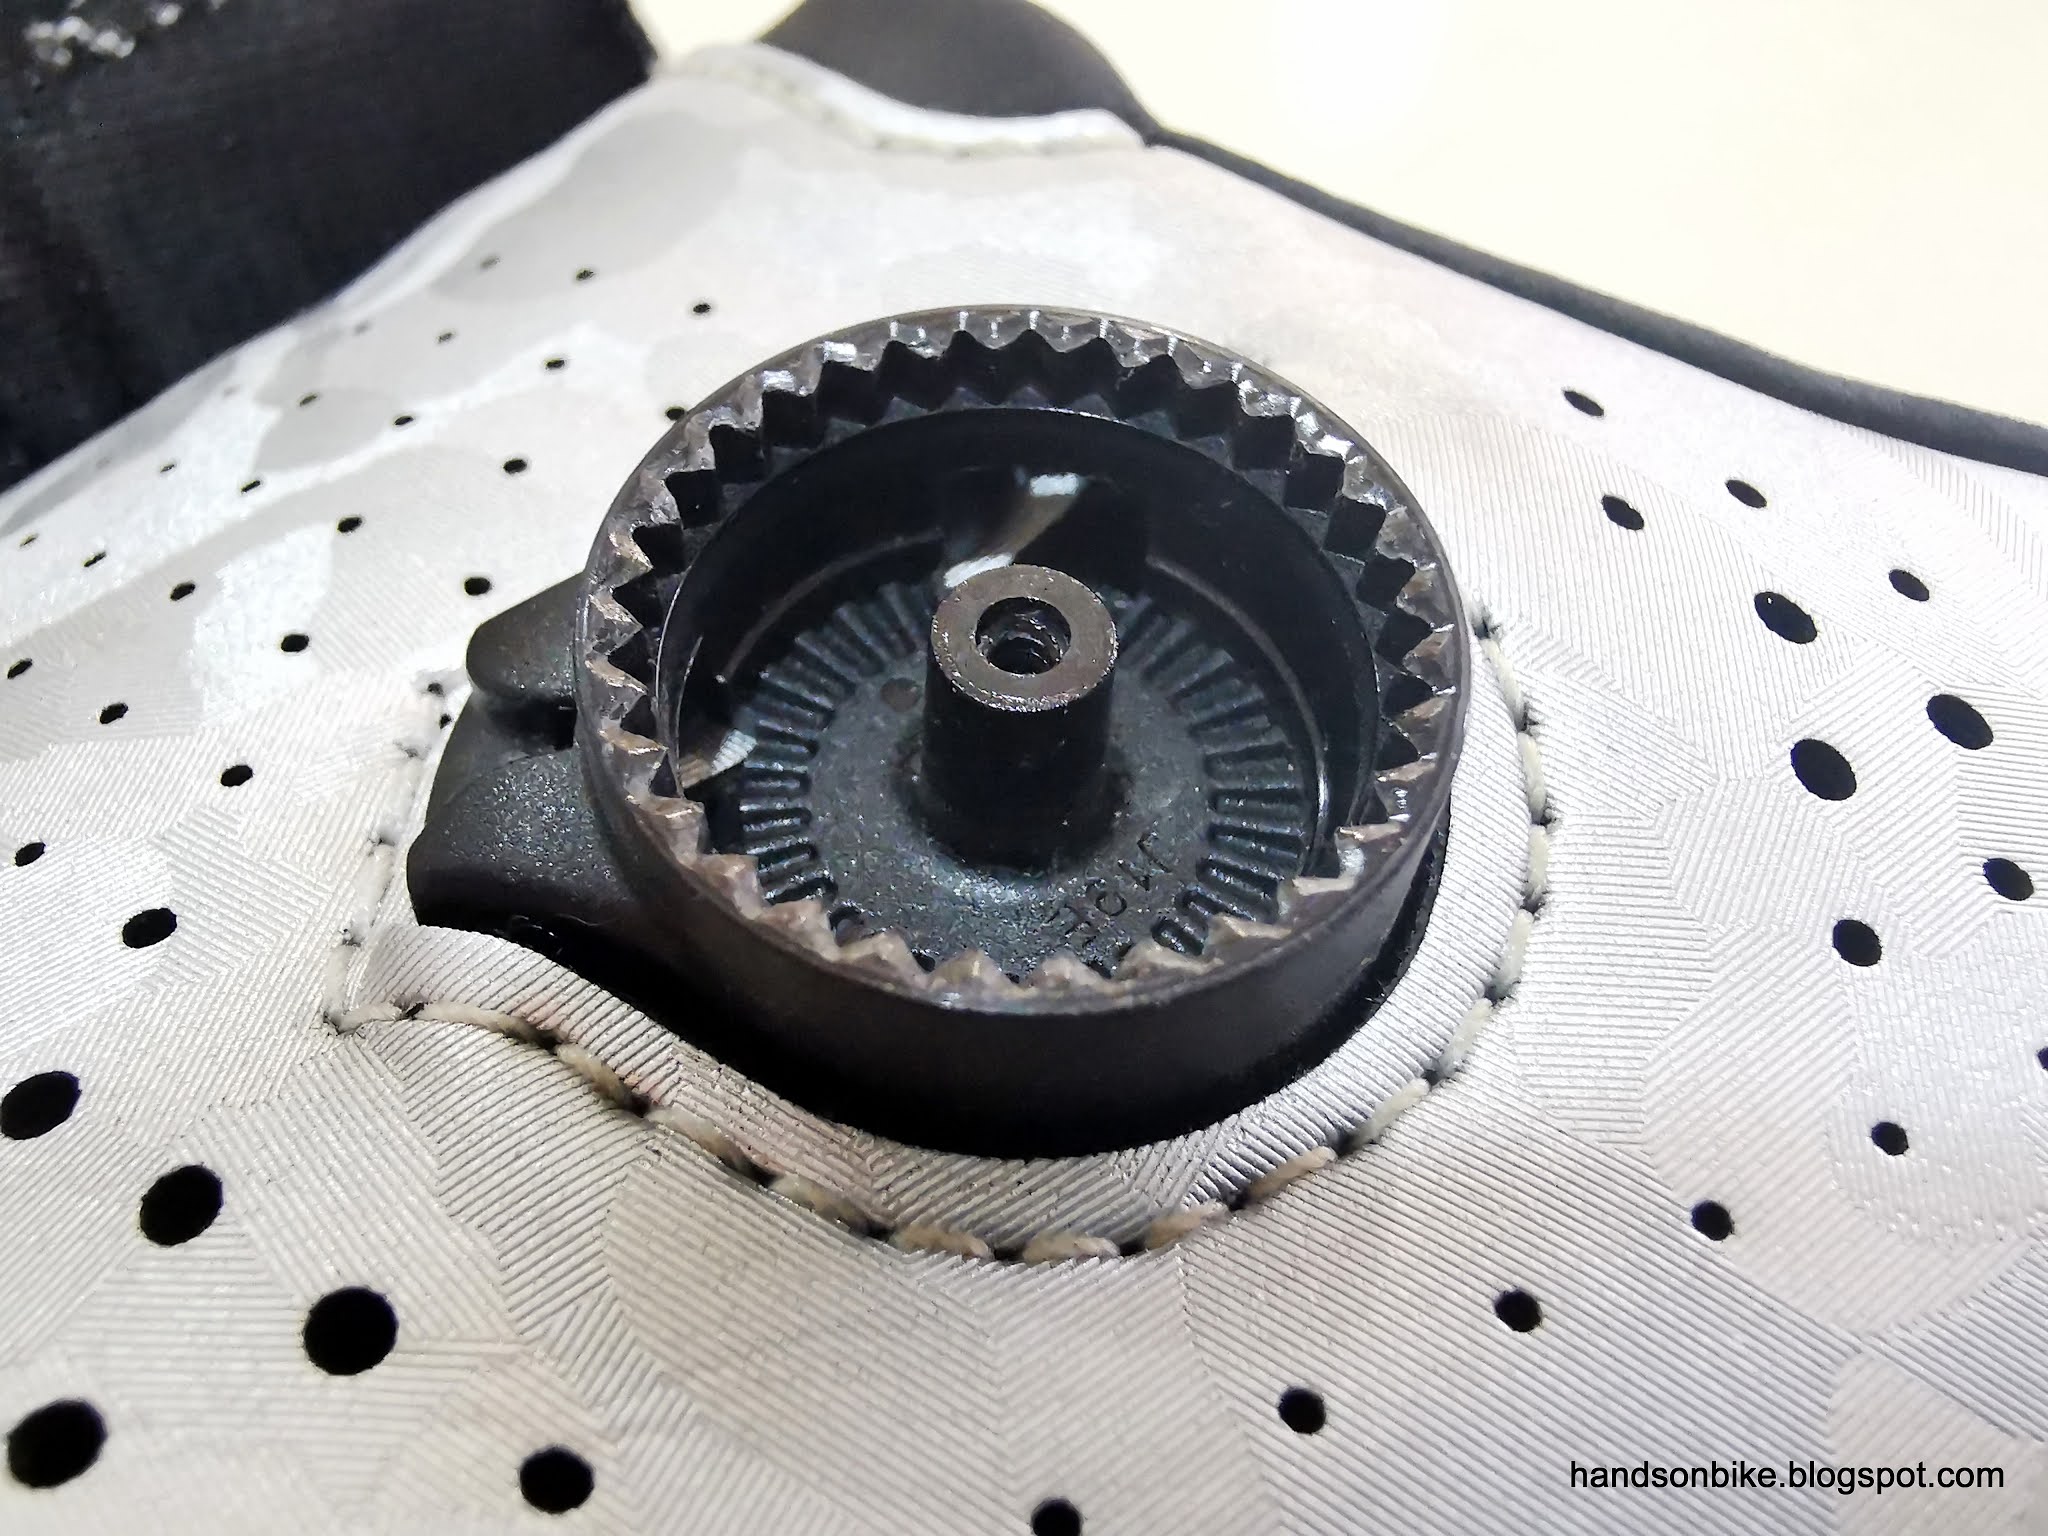
The ratchet is fixed to the shoe, so it cannot be replaced.

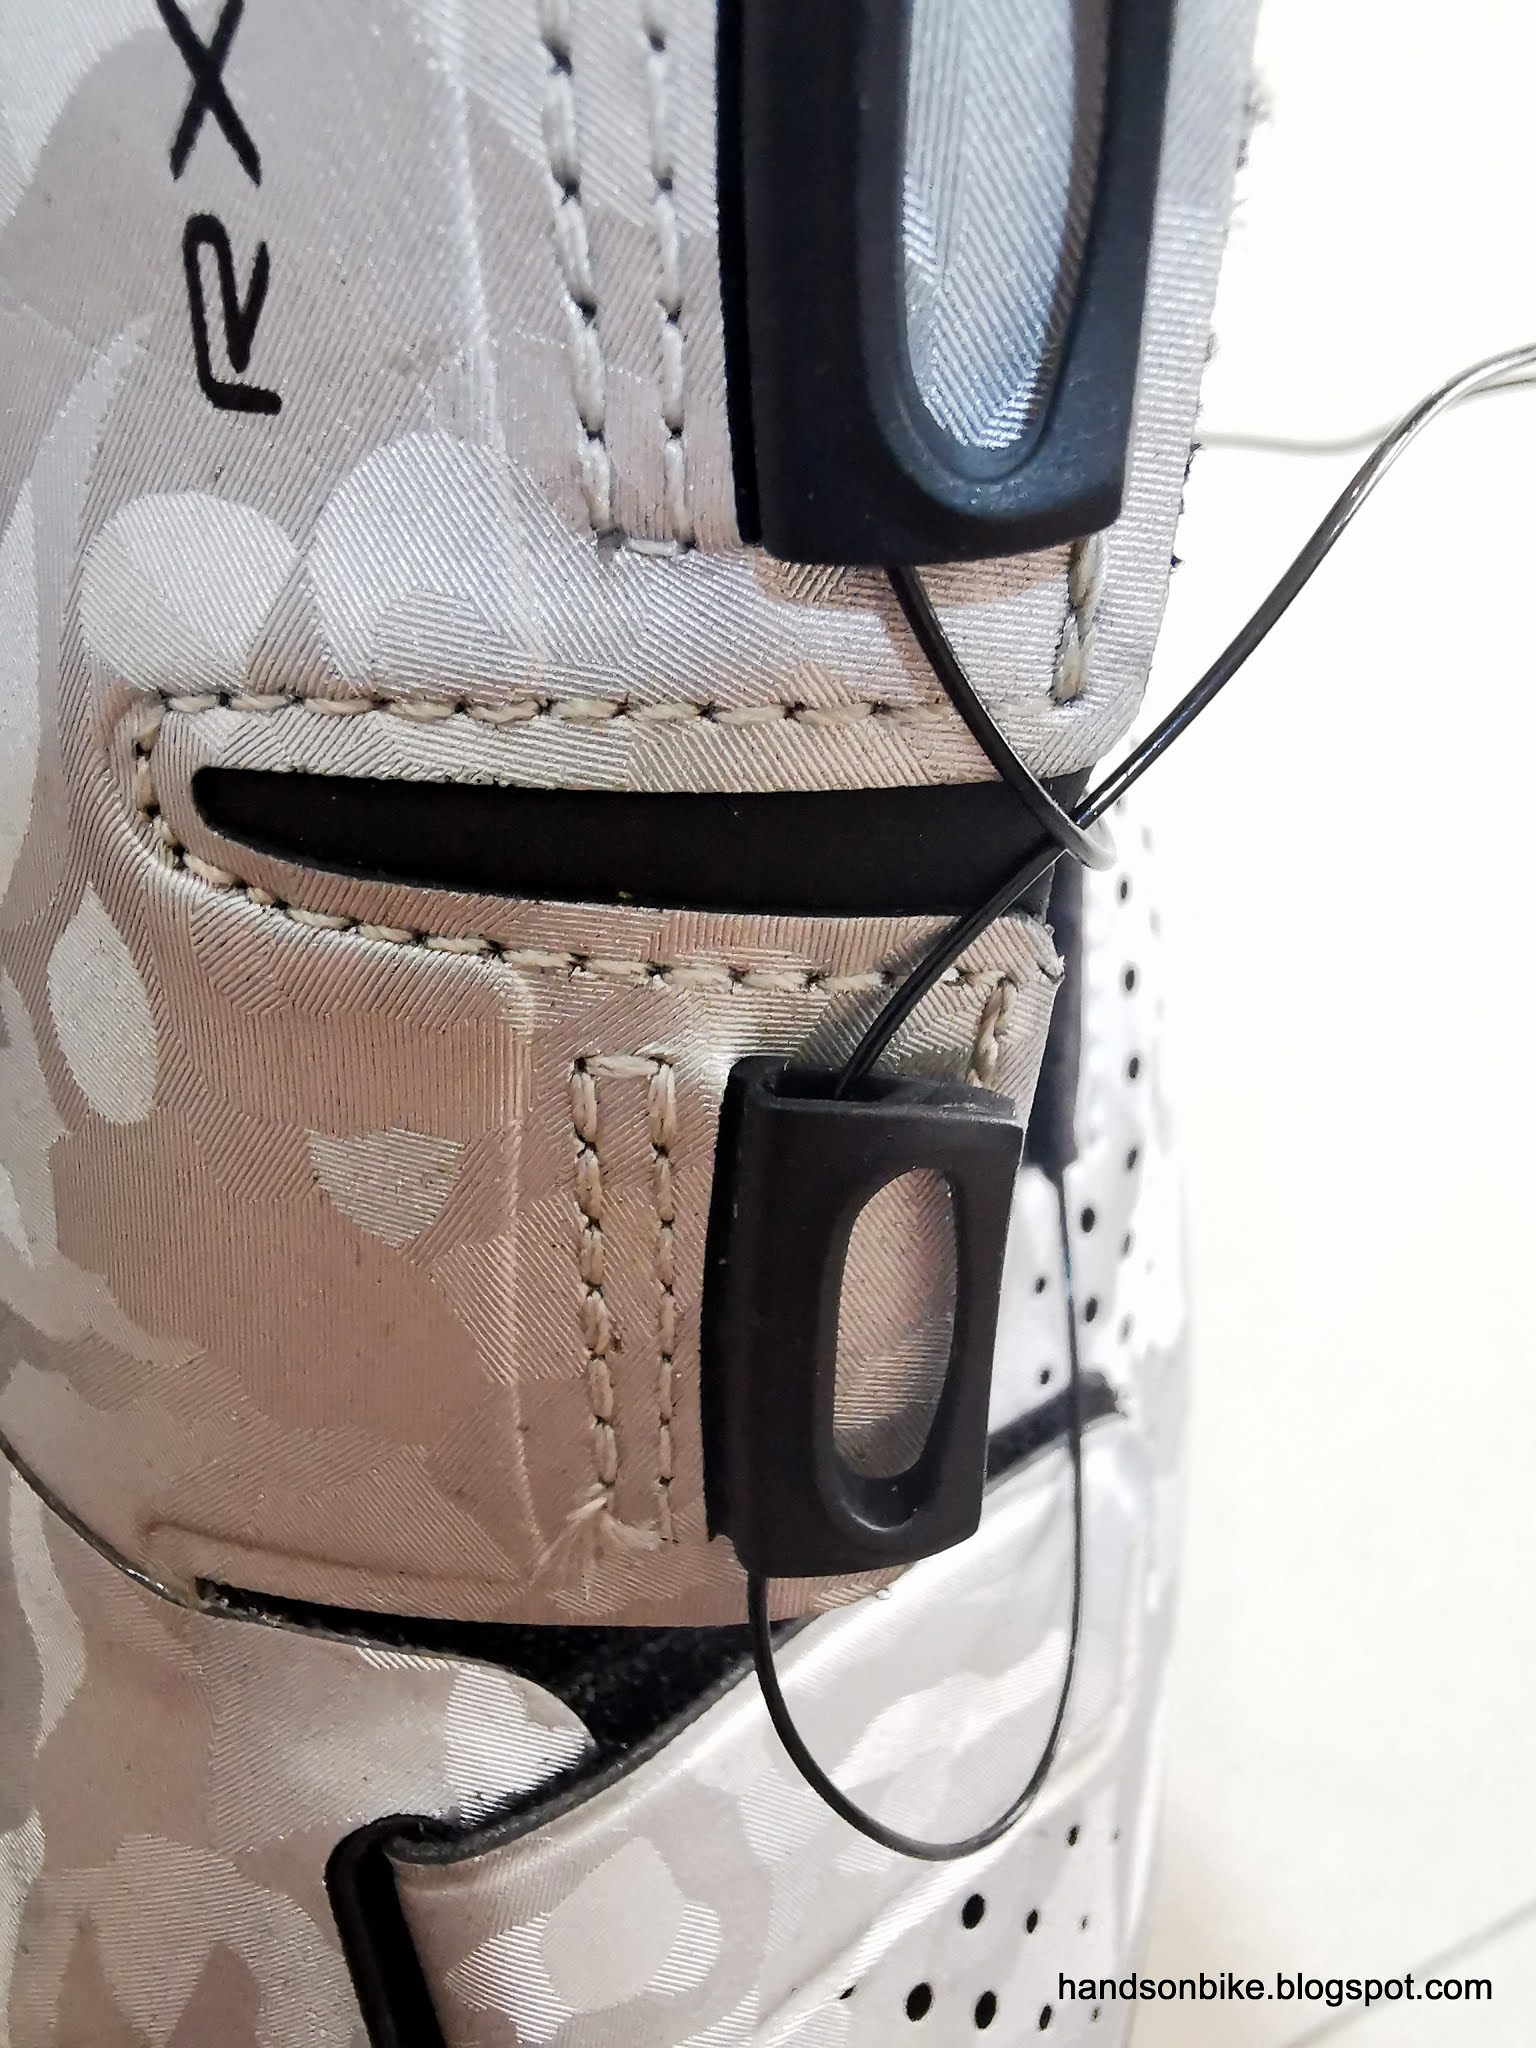
Taking a picture here, to remember how the wire runs through the loops of the shoe, before I cut the wire.

Close look at the ratchet on the shoe, after the wire is cut. The screw tightens into the centre of the dial.

Putting the end of the wire through this soft loop is not easy, as the open end keeps getting stuck inside the soft fabric.

Putting the wire through these plastic guides.

I reused the old wire, but with a new plastic disc. Note that the wire is fixed to the disc only by some very clever knots. Follow the instructions carefully!

At this point, I was feeling rather happy with my work, as I have managed to replace the Boa dial on the left shoe, using the new purple discs and the old wire.

However, when I was moving on to the right shoe, I made a terrible mistake. Before the dial can be replaced, I need to cut the wire first. 

I accidentally cut the wire on the left shoe, which is the side which I have just replaced!

This was a really silly mistake. I needed to cut the wire on the right shoe, which still had the old dial. However, I went to cut the wire on the left shoe, which I have just replaced with the new dial. So much for a smooth replacement.

Luckily, I still had the new wire, which I did not use. It will take more work, but I still have the parts to replace both the Boa dials properly.

New dial on the left, old dial on the right. Different shades of red but the same design.

New dial is completely black, while the old one has a transparent cover. I like how the hole for tool access is cleverly hidden inside the letter "O".

New Boa dial installed! The black cover actually looks better than the original transparent cover.

New Boa dials! Feels somewhat like a new shoe again.

Other than the silly mistake that I made, the replacement was not difficult, just a bit tedious due to the small knots that I had to tie. I also took the chance to use a slightly longer wire length, so that the shoe can open a bit wider, to make it easier to insert the foot.

If your Boa dial is not working well, you can also contact Boa to get a replacement Boa dial.