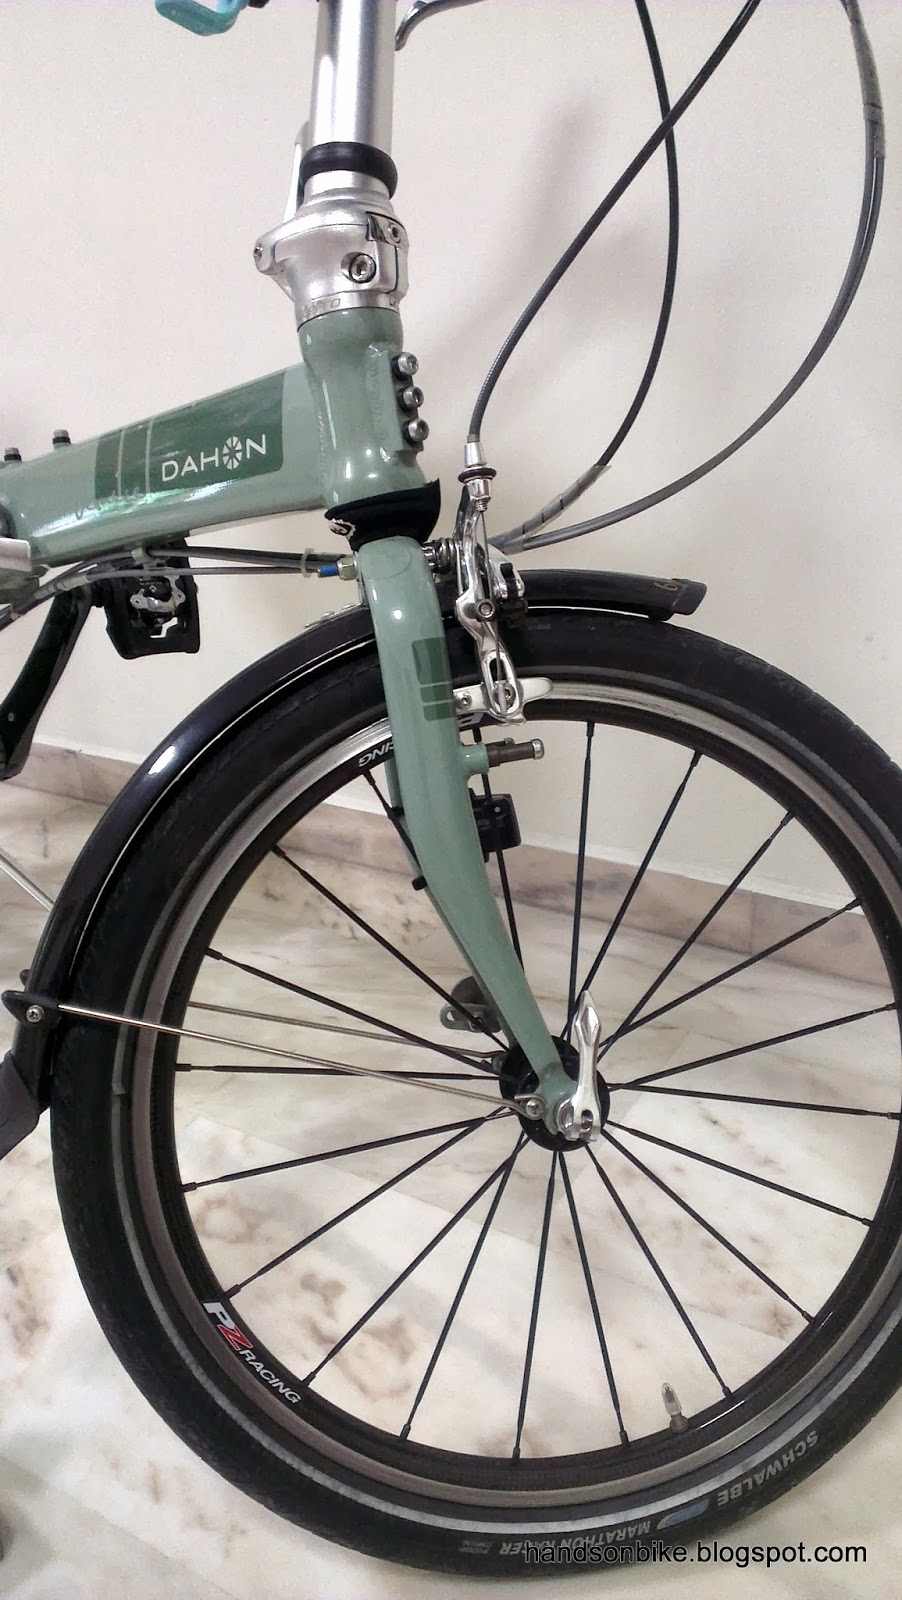
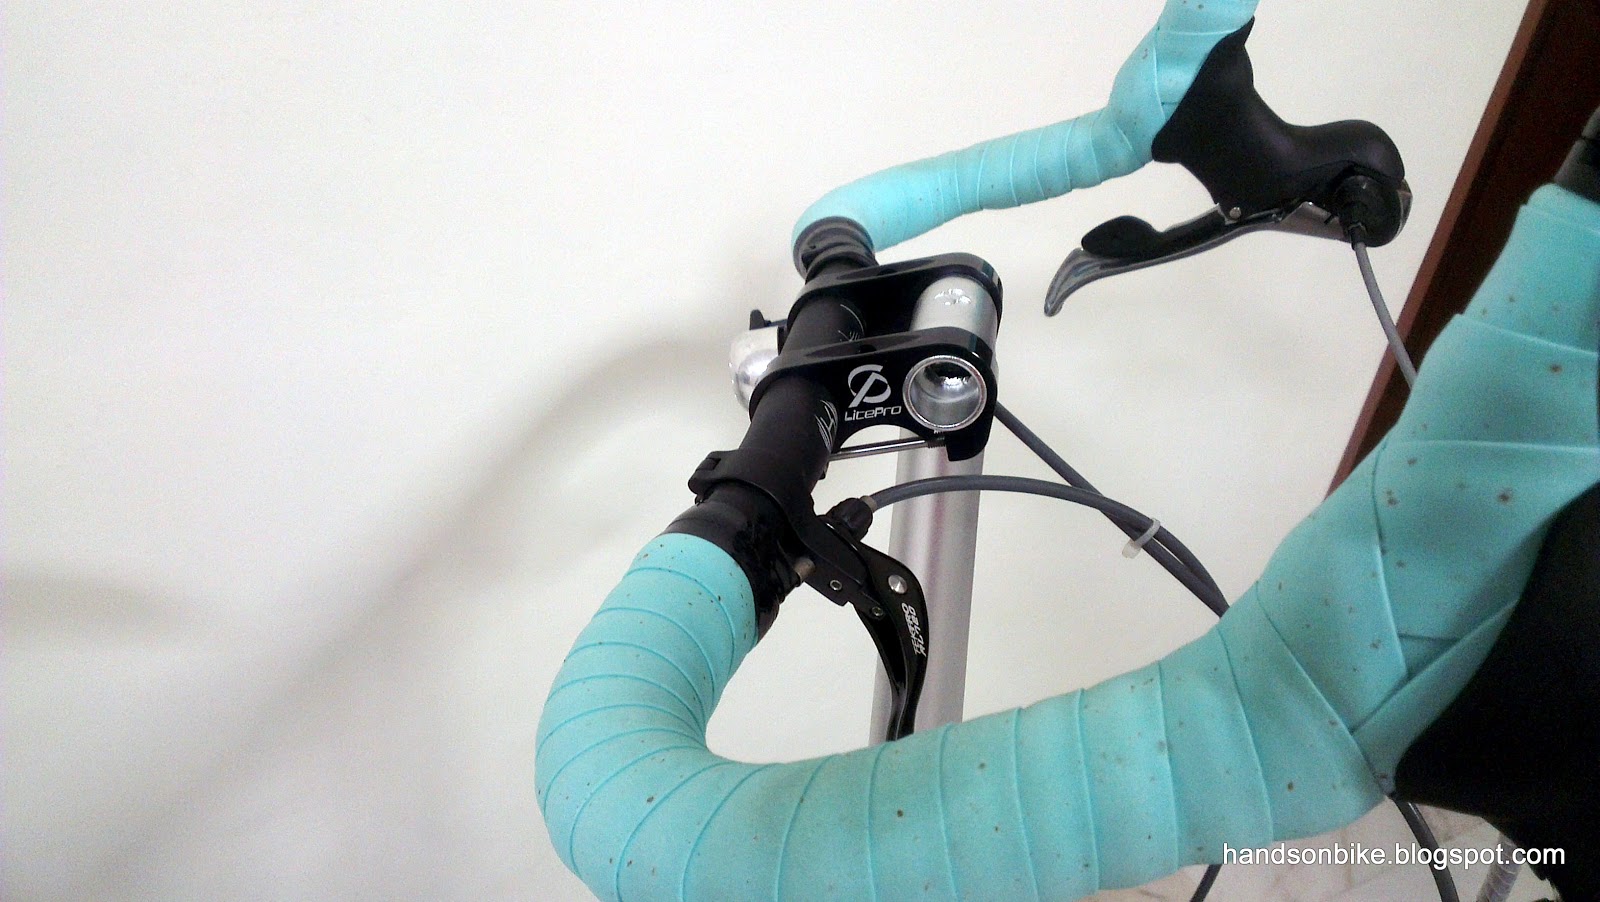
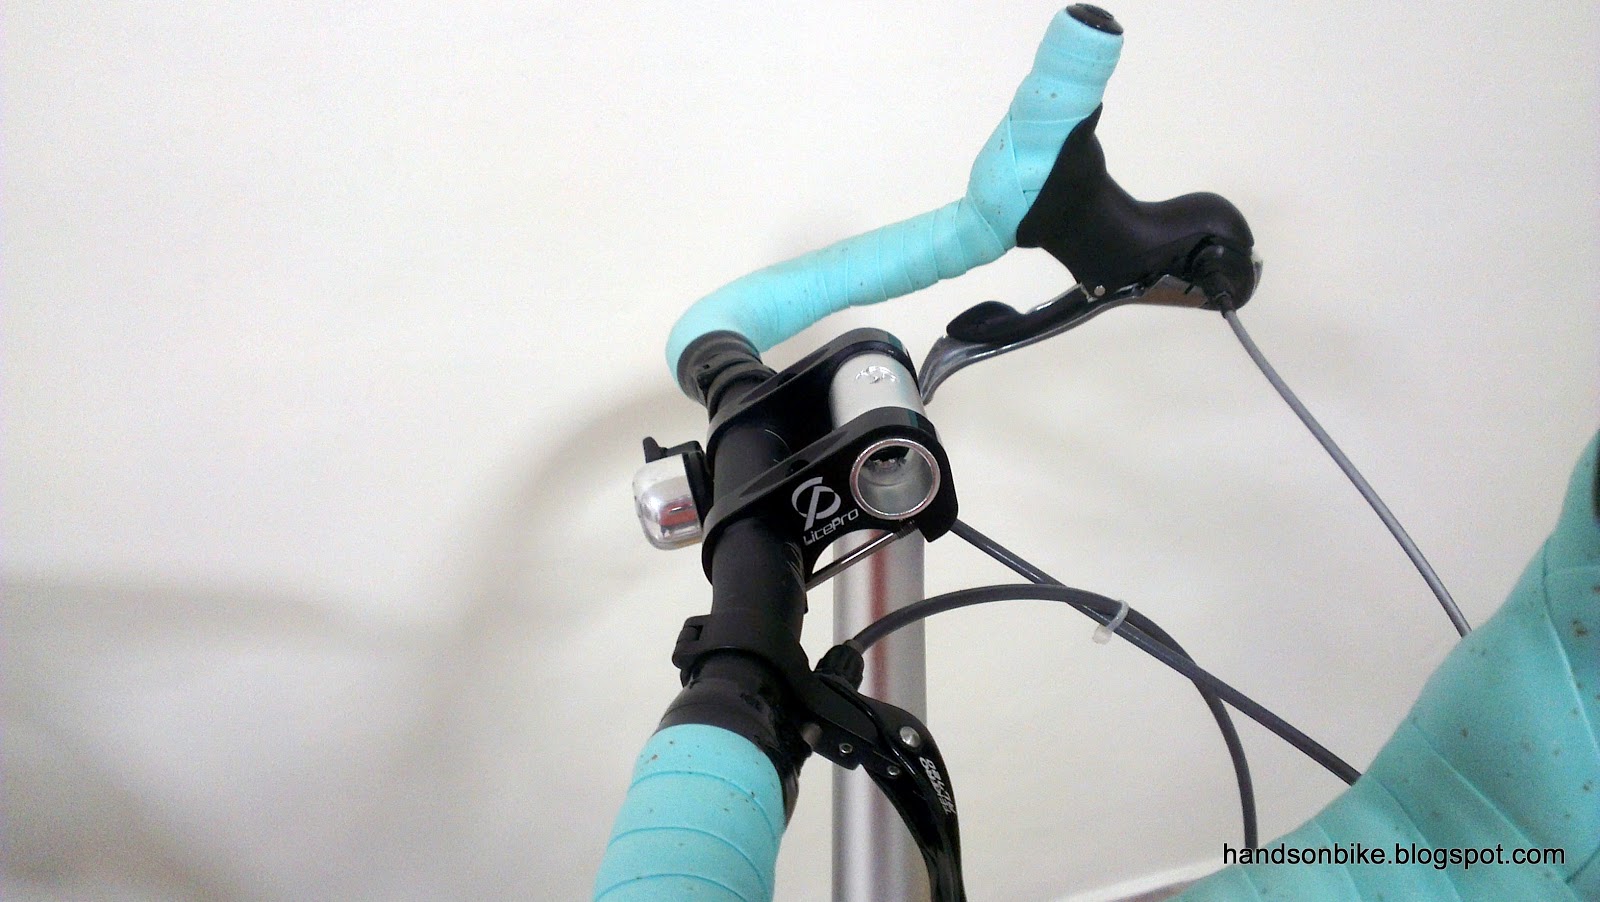
The headset on a folding bike is rarely upgraded, as it is not considered an important part of the bike. However, the headset on a folding bike is under greater stress than conventional road bikes or even mountain bikes, due to the long handlepost fixed onto the bike. With this long handlepost, a lot of torque is exerted on the headset when the rider pulls on the handlebar. Thus it is important that the headset is regularly checked to ensure that it is turning smoothly with no excessive tightness or looseness.
I noticed that the
Vitesse X20-TT has a headset that seems a bit worn out. When turning, the bearings feel notchy, and it is not possible to turn the handlebar more than 45 degrees to either side without the headset getting jammed. Riding the bike is still possible, as there is usually no need to turn the handlebar more than 30 degrees either side. However steering while pushing the bike is a problem as it can be difficult to turn the handlebar properly.
Due to this reason, I decided to change the headset for the Vitesse. Previously my
Boardwalk also had its headset changed, along with the fork. The operation was done at MyBikeShop, as I did not have the proper tools or the skills to perform the change of headset. However I did learn how to change the headset by watching how it was done. Usually there is no need to change the headset unless it is really spoilt.
This time, I managed to borrow some headset tools that is required when changing the headset. These tools are pretty heavy and expensive, and they are also rarely used so there is no need to own a set of them unless you own a bike workshop. I borrowed the tools so that I can try changing the headset at home instead of bringing the bike down to the bike shop.
The new headset that I am going to install will be a LitePro headset. These headsets are specially made for Dahon bikes, as conventional headsets will not fit due to the extra large headtube on the Dahon frames. Both the steel and aluminium frames use the same headset.
LitePro headset in silver colour
Laser etched logo on the upper cover
The full set of headset parts
This is the crown race, it sits on the steerer tube on the fork.
This is the compression ring, it sits on the top bearing, between the bearing and the upper cover. This part ensures a tight fit between the bearings and the steerer tube.
Bearing cup and sealed angular bearings. Same size for the top and bottom bearings.
Upper cover. Provides a stable platform for the handlepost to rest on the headset.
Before installing the new headset, the current stock headset has to be removed. I feel that removing the headset from a bike is the most difficult operation of all, even harder than removing a square tapered BB from the frame.
First, mount the bike onto a workstand by the seatpost. If possible, rest the front wheel on the floor to provide more support. Next, the handlepost needs to be removed. Here is a step-by-step picture guide.
Use a M6 Allen key to loosen the clamp at the base of the handlepost.
Use a M10 Allen key to loosen and remove the compression bolt.
Compression bolt removed. Note that there is a brass shim under the compression bolt.
Lift off the handlepost, here you can see the black plastic headset upper cover. Place the handlepost + handlebar nearby on a stable platform. Take note not to overstretch the front brake cable as it is still connected.
Pull out the fork from the bottom of the headset. At this point the front wheel is still fixed onto the fork. You may find it easier to remove the front wheel when working on the fork.
There is a rubber seal resting on the crown race of the fork. Use a flat blade to remove it.
Those were the easy tasks! Now we will need to remove the bearings, bearing cups and crown race. From here on the operation will be more tricky and challenging.
Leave the fork aside for the moment, the crown race can be removed later on. Now the bearings should be removed from the bearing cups.
Use a flat blade to remove the circular spring clip that keeps the bearing cover in place.
Upon lifting the bearing cover, you will see lots of small individual ball bearings! Remove all of them using a magnet so that they don't drop all over the floor.
This is what you see when you remove all the bearings. What remains is the bearing cup.
After removing all the bearings on top, invert the bike frame and do the same for the bottom side. When all the bearings have been removed, what is remaining should only be the bearings cups in the head tube.
To remove the bearing cups, we need to use the head cup remover. This is a tool with split ends so that it will rest on the inside ledge of the bearing cups.
Universal Head Cup Remover
Split ends which will conform to different bearing cup diameters.
To remove the bottom bearing cup, insert the tool from the bottom and pull upwards.
If done correctly, the split ends will now rest on the inside of the bearing cups.
At this point, heavy knocking is needed to knock out the bearing cup. Use a mallet or hammer and knock on the top of the head cup remover. You will need a second person to help you hold the frame so that it doesn't move around. It can be rather difficult to knock out the bearing cups as they are press fitted into the frame.
Once done, flip the bike upside down and do the same for the other bearing cup.
Both bearing cups removed! Clean the inside of the headtube and apply some fresh grease.
Just for additional info, the bearing cups are press fitted into the head tube. Thus the bearing cup is designed to be slightly larger than the headtube, so that they fit snugly. The interference diameter will be around 0.1mm.
Inside diameter of headtube.
Outside diameter of LitePro bearing cup. Slight interference.
Lube the interface between the frame and the bearing cups for easier seating of the cups.
The bearing cups cannot be installed by hand, as it is too tight. A bearing cup press is required to set the cups properly. Do not knock in the cups using a hammer or other DIY tools, as it will damage the cups or frame, causing the bearings to malfunction also. You must use the bearing cup press to properly seat the bearing cups.
Bearing cup press. Yet another heavy tool.
The tool comes with a stepped block for different bearing cup diameters. Ensure that the block rests on the outside of the bearing cup.
Bearing cup press ready to be used!
Once the block has been properly set on both the top and bottom, clamp the tool together and spin the handle on top to press both the cups into the frame. Do it slow and check to see that the cups are going in evenly. It should not be too difficult as this is a very powerful tool. For this frame, the bearing cups went in quite smoothly as the interference between the frame and cup is quite small.
Bearing cups seated properly in the frame. No gaps seen all around the edge of the cup.
Lube the bearing cups before installing the sealed bearings
Even though the bearings are sealed bearings, it is still a good idea to lube the bearing cups before placing the bearings into the cup. This improves sealing against water and also prevents creaks later on.
Now that the new bearing cups and bearings have been installed into the frame, let us come back to the fork. As the LitePro headset uses a different crown race, we will need to remove the stock crown race and install the new crown race on the steerer tube.
To remove the crown race, I will be using a crown race puller. This is a special tool that has blades which hook the crown race and pulls it out. If you can't find such a tool, you can use a flat bladed screwdriver and a mallet. But it will damage the crown race and possibly also the steerer tube.
The crown race puller. A very solid and heavy tool.
The blades at the bottom of the tool, which will slide in under the crown race.
To use the tool, insert the entire tool over the steerer tube, and rest the blades on the bottom of the steerer tube.
Use the two knobs at the side to push in the blades, such that the blades are wedged in under the crown race. Take your time and double check to ensure that the blades are in the correct place.
Next, spin the handle at the top of the crown race puller tool. This forces the blades upwards, and hopefully the crown race is pulled off as shown!
The LitePro crown race uses a split ring design, so it is easy to fit the new crown race onto the steerer tube.
Lube all contact areas on the crown race before seating it properly. This crown race will be in contact with the lower bearings.
Finally, insert the steerer tube back through the frame. Remember to put the compression ring on top of the top bearing, and cover the headset with the upper cover provided. Reinstall the handlepost and your headset upgrade is complete!
View of the headset BEFORE the upgrade. Note the small gap at the bottom of the headset.
After installing the LitePro headset. Since there is no rubber seal ring, the gap appears to be bigger, and is a potential problem if water gets into the headset.
To solve that problem, a Lizardskin Headset Cover is used to wrap around the opening and reduce the chance of water getting into the headset bearings.
After this upgrade, the headset feels brand new again! The steering is smooth and consistent, with no notchy or friction feeling. One downside of this LitePro headset is that no rubber seal is provided to seal the bottom of the headset against water ingress. From what I know, newer versions of the headset come with a rubber ring on the upper cover to protect against water.
Overall, it was quite a tough job as it involved a lot of knocking and handling heavy tools. If there is a need to change the headset, it is recommended that you leave the job to the bike shop, where they should have the proper tools and skills to service the headset. Another advantage of changing to this LitePro headset is that in the future, if the sealed bearings need replacement, it will be just a 15 minute job, as you only need to remove the handlepost, pull out the fork, replace the sealed bearings and assemble everything back again. No need to replace the bearing cups or crown race unless those are the parts that are spoilt.