It was already set up with a 2x10 speed Ultegra/XTR Di2 system, so there is no need to start from scratch. The advantage of having a Di2 setup is that it is modular. So if you just need to upgrade the rear derailleur, just unplug and replace the rear derailleur, and you are done! No need to change the shifters or the Di2 wires.
In this case, since I am going from a front double to front single drivetrain, the front derailleur can be removed, along with the left side shifter. The new Di2 wiring layout is shown below.

New 1x11 speed Di2 wiring layout. No more front derailleur or left side shifter.

Once everything is connected, the Di2 setup box SM-PCE1 can be connected to the system to update all the Di2 components. This ensures that the latest firmware is used and all the components are compatible with one another.
Previously, when the Ultegra Di2 front derailleur was installed, a 2.5mm spacer had to be placed under the right side bottom bracket cup to prevent the crankarm from touching the front derailleur. Now, without the front derailleur, there is no need for this spacer.

Red 2.5mm spacer under the right side bottom bracket cup can be removed.

Ultegra 6800 crankset with Wolf Tooth 48T chainring installed! Looks really good with the red chainring bolts.

Close up look of the interface between the chainring and the crankarm.

Front derailleur removed!

Ultegra 6800 11-32T 11 speed cassette installed!

Special short cage edition Ultegra Di2 RD-6870 rear derailleur for 11-32T cassette. Very ample tire and ground clearance.

Chain path when in the rear low gear. Rear derailleur cage is not over stretched even though it is a short cage, because there is only one front chainring.

Good clearance between cage/chain with tire
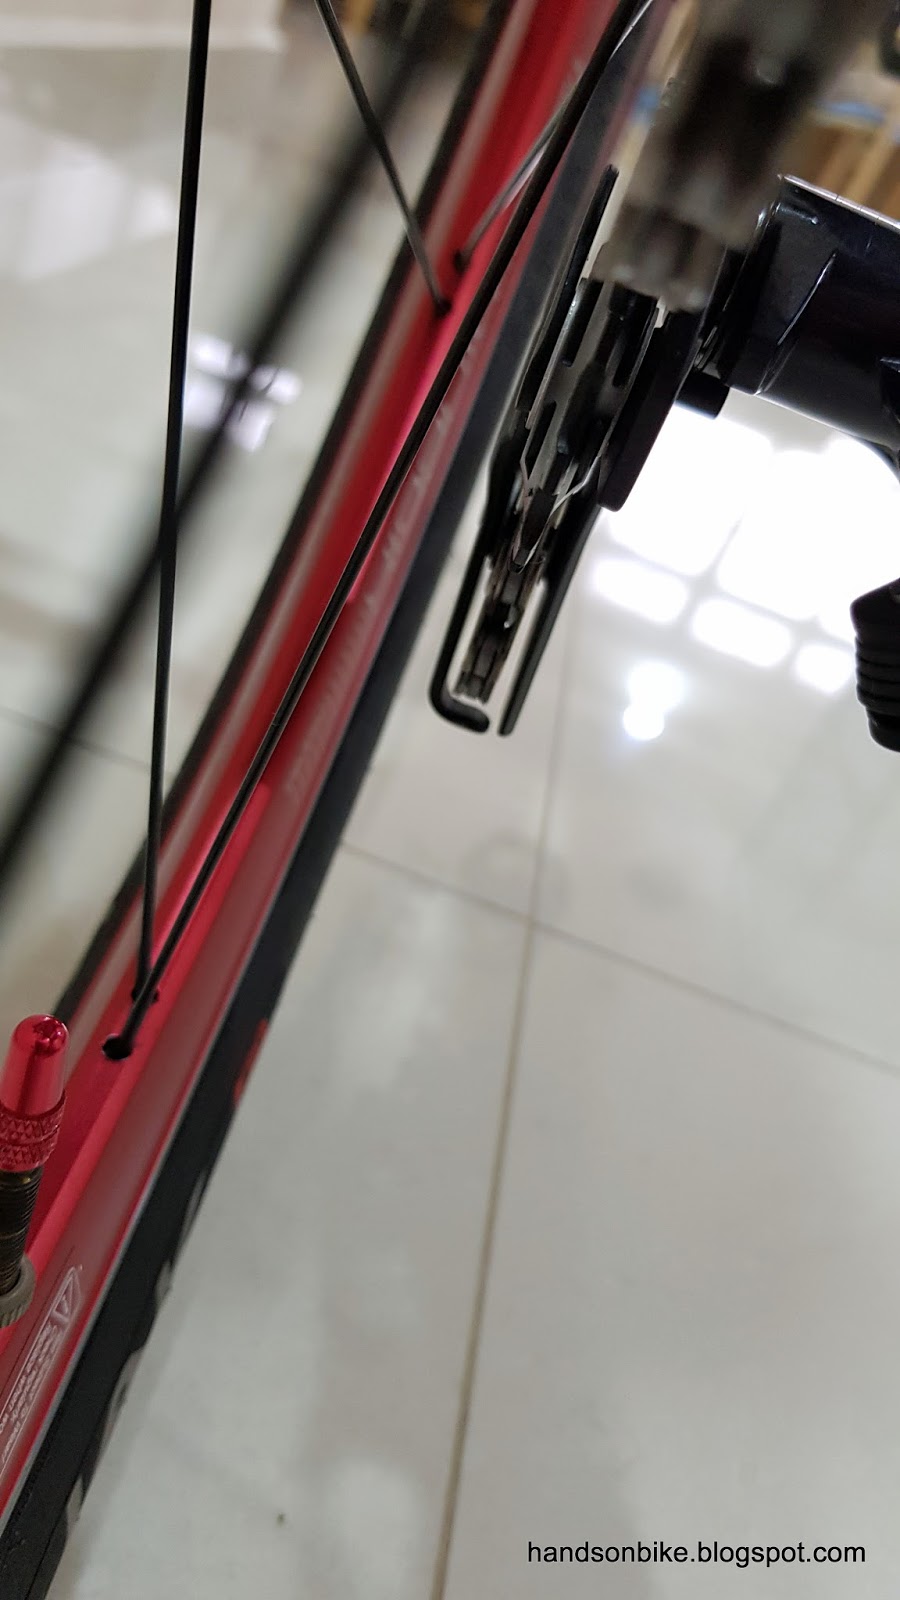
Another view of the clearance.

Setting the chain to the rear top gear puts the chain in the smallest sprocket, closest to the frame. Still ample clearance between chain and frame.

Chain path when in the rear top gear. Rear derailleur cage is slightly extended to maintain some chain tension to minimize chain slap.

Another view of the Di2 rear derailleur on the cassette.

Handlebar gets tidied up a bit, without the left side shifter and the Di2 wire between the left side shifter and the display.

Now it is 11 speed as shown on the display! I love the digital gear display, like how I first tried it on the Dahon Boardwalk Di2.

The bell can be mounted at the left side handlebar area, inverted for a neater look. Activate the bell by pulling the bell lever with the index finger, similar to how a shifter is operated.

No interference between the bell and other parts when the handlebar is folded down

Sufficient clearance for the bell when the bike is folded

View of the folded Dahon MuEX 1x11 speed

View from the drive side

View from the non-drive side

For practical reasons, a kickstand is added to the bike despite the additional weight. Kickstand weighs about 157 grams.

Revised bike specifications, with the new 1x11 speed Di2 setup. Weight without pedals is reduced from 8.7 kg to 8.4 kg.
This setup has already been tested at the recent OCBC Cycle 2017, and there is no problem! The gear range is sufficient for climbing and also a bit of downslope pedaling. Of course, if you wish to pedal fast down the Sheares bridge slope, the gearing is not high enough. On all other days, this gearing is sufficient 99% of the time.
Gear shifting has been simplified, as there is just one shifter to shift across the 11 speeds on the rear cassette. The overall bike weight has also been reduced, due to the removal of the left shifter, front derailleur and second chainring. Even though the wide range cassette is slightly heavier, overall weight loss is still about 300 grams. Lastly, I get to utilize the components that were removed from the Canyon Endurace, using it to convert this Dahon bike to 11 speeds.