Continuing from the previous post, where I introduced the new Redshift Sports ShockStop Pro Suspension Stem, let's take a detailed look at the stem adjustment, which is done by using different elastomers.
To recap, there are 5 different elastomer hardness, graded from a Shore A hardness of 50 to 90. The hardness difference can be felt by hand, just by squeezing them. This stem will be installed on the Cervelo Aspero gravel bike, and the stem stiffness can be adjusted depending on your body weight and your preference.

5 different elastomers are included with this suspension stem, of which 60 and 70 come pre-installed inside the stem. At least 1 is needed at any one time.

This chart from Redshift Sports shows every possible combination of the elastomers, including only using one instead of two. This gives us 15 different options (6 choose 2, where having no elastomer is also one of the options).

With the wedge and elastomers removed, the centre cross can be seen. It is symmetrical from top to bottom, as the stem can be used either way, depending on where you install the elastomers.

Here is the wedge removed from the stem. The wedge is used to apply pre-load to the elastomers, as well as hold them in place.

There is a threaded hole at the bottom left corner, for wedge removal.
I had to remove the elastomers, as I needed to flip the stem around, from a +6 degree rise to a -6 degree setup. This means swapping the wedge and elastomers from top to bottom. In any case, I would have removed the internal parts to see how it works.

Using the other side of the red tool, tighten the centre bolt to push in the wedge. I'm using the stock elastomers of 60 and 70 hardness.

Use a torque wrench to apply proper tightening torque, to prevent over-tightening or self-loosening.

Existing PRO Vibe stem about to be removed from the Cervelo Aspero!

I found that the PRO Vibe stem (right side) has a much shorter clamping height than the ShockStop stem (left side).

The clamp of the PRO Vibe stem is also noticeably thinner than the ShockStop stem.

New suspension stem installed! Using the original Cervelo stem cap, which I could not use previously on the PRO Vibe stem.

Due to the different clamp height, the headset spacers had to be readjusted. Not a big issue.

Black faceplate bolts look good!

Top view of the new suspension stem setup, with the PRO Vibe Aero Superlight handlebar, an unusual combination.
With the stem and handlebar reinstalled, it is time to hit the gravel trails for some test rides! I'm excited to see the difference this stem can provide.

At the Northern stretch of the Green Corridor, near MINDEF, before it was closed.

Lovely stretch of grass and dirt road, where a gravel bike excels.
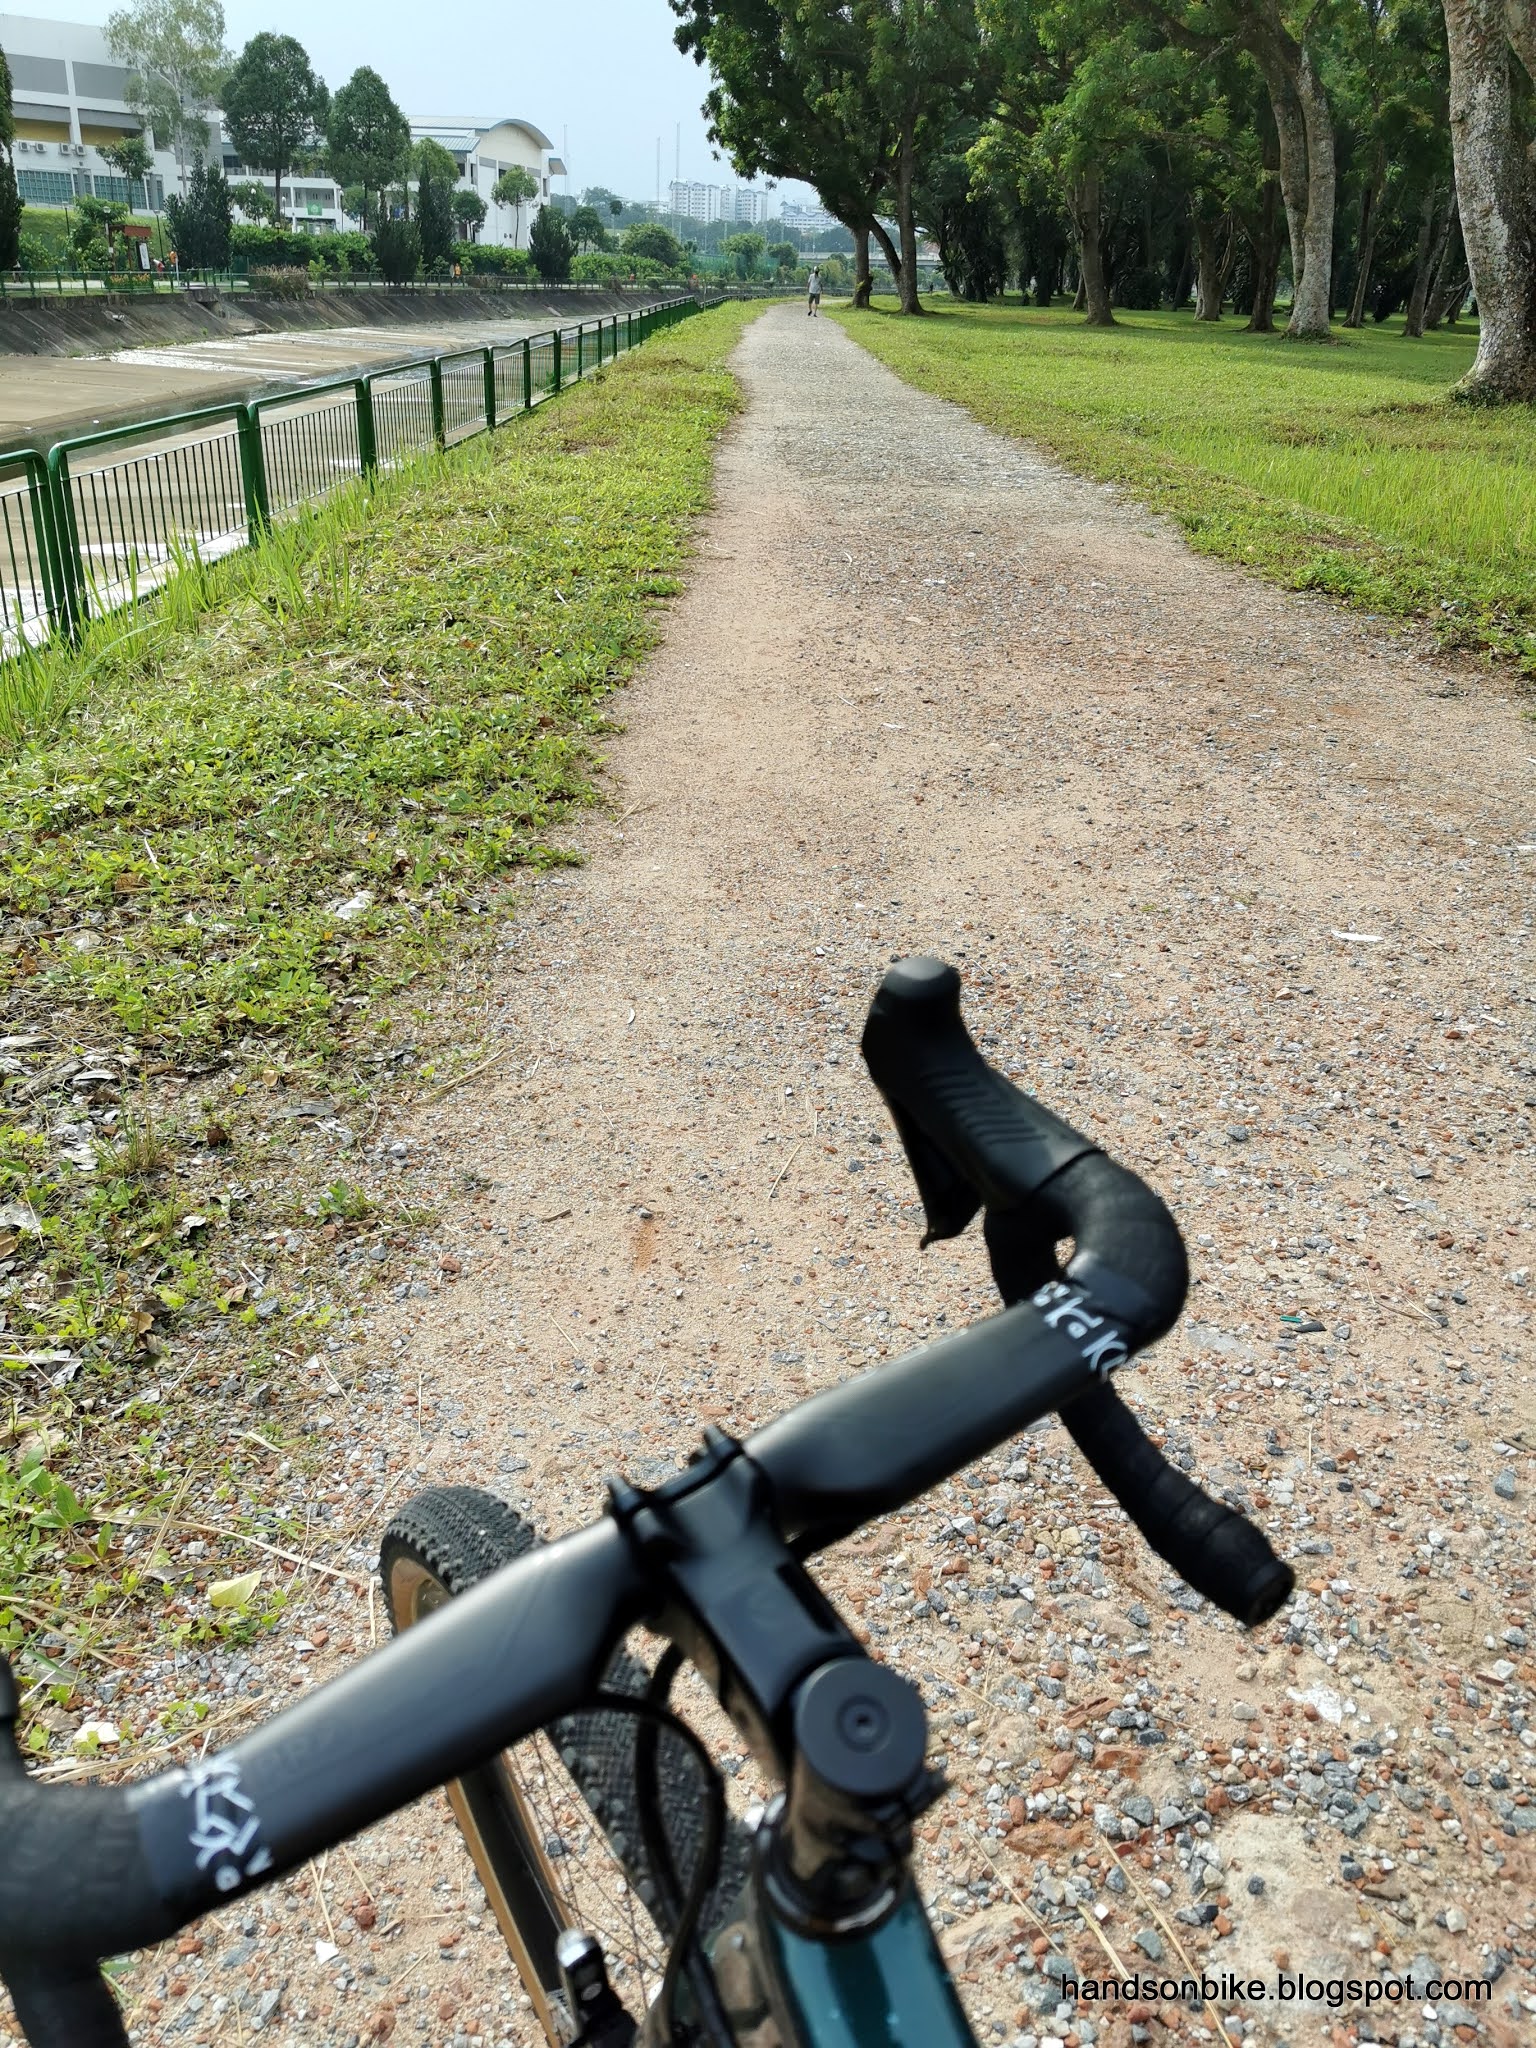
Starting from behind Junction 10, there is a long stretch of pure gravel, running parallel to Pang Sua park connector. This is the best and longest stretch of gravel that I have found.

The WTB Venture 47 tires are perfect for this kind of terrain.

Next up, the gravel trails inside Jurong Lake Gardens.

The freshly laid gravel is really thick, and it causes the bike to slide around, as the loose gravel behaves like ball bearings.

But I'm not testing the tires here, I'm testing the new ShockStop Pro suspension stem!
For the first few rides, I felt that the stem was really soft, as I can feel the stem flexing when I press down on the handlebars. It felt quite odd as it seems that the bike is not rigid enough.
However, I could definitely feel the damping effect of the stem when going over rough sections. Instead of having my hands bounce on the handlebars, the stem dampens most of the impact. One way of describing it is without the suspension stem, the bumps are tall and square-edged. With the suspension stem, the bump edges are rounded off, and the bumps are also smaller. Definitely can feel the improvement in comfort.
I felt that the stem was a bit too soft, so I changed the elastomers to a harder setting, using the 80 + 60 combination instead of the stock 70 + 60. However, this had a downside as it feels like the stem is not effective any more, as the dampening effect is reduced due to the harder elastomers.
Therefore, my final setting was changed back to the original 70 + 60 combination. For reference, my body weight is 66 kg, which is exactly in the middle of the range (61 - 70 kg) for the recommended 70 + 60 elastomer combination. Due to individual preferences, you should try different settings to see what works for you.
At first you will be quite conscious of the suspension stem, as it moves up and down slightly, as it should. However, after a few rides, I don't notice it at all! I don't even think about the suspension stem, and forget that it is even there. I think this is the highest praise, where you don't think about it because it does not give you any problems.
The suspension stem is most effective when you are holding the hoods, as there is more leverage on the stem. If you hold the drops, the leverage and dampening effect is lesser. If you hold the top of the handlebar, the stem basically behaves like a rigid stem.
It is stiff enough even when sprinting out of the saddle, while holding the drops or the hoods. There is no noticeable twisting or sideways flex. Going down kerbs is no problem, as the stem just dampens the impact along with the tires, like a super short travel front suspension fork.
One quirk of this stem design is that if you pull up hard on the handlebars, you can feel the stem topping out with a small clunk. This is because when pulling up on the handlebars, you are moving the stem in the opposite direction of the damper, which causes the stem to hit the internal stopper. The pre-load is basically cancelled out by pulling upwards on the stem.
Overall, I really like this suspension stem, as it allows me to maintain my desired tire pressure for good grip and speed, while adding some comfort for the arms through this suspension stem. The weight penalty of about 100 grams is not an issue at all. Highly recommended for gravel riding.


