Showing posts with label Suspension. Show all posts

Sunday, March 24, 2024

Birdy AXS: Installation of Multi-S Fork Pivot on Birdy

In the earlier post, I shared some information about the new sealed bearings pivots for the Birdy. Now, I will be installing them onto the Birdy Fork, in an attempt to improve the front suspension smoothness of the Birdy AXS.

Previously I had already dismantled the Birdy front fork completely, so I am familiar with the structure. The stock pivots can be removed easily, so that is no problem.

Stock pivots on the Birdy front fork. Note that it has self-loosened, as it is only kept in place by Loctite.

One problem with the stock Birdy pivots is that due to the nature of the bushing construction, the tightness of the rotation torque is mainly dependent on how tightly you clamp the 2 halves of the pivot. If it is too tight, the whole joint is jammed and does not rotate. If too loose, there will be axial free play. Therefore, it is necessary to adjust the clamping such that there is minimal looseness. The pivot is only held in this orientation by liberal use of Loctite on the screw thread, as the pivot is not completely tightened in this condition.

Stock pivots removed from the fork.

This sealed needle bearing has to fit inside the fork.

Here are the outer plates of the pivot.

Sealed needle bearing will be pressed into the centre section of the pivots, into the stock plastic bushing.

Overall view of the new pivot. The 2 ends with shoulders will rest inside the outer plates, while the needle bearing will be inside the middle section. In this setup, the pivots can be fully tightened as it bottoms out against the ends of the sealed needle bearing in the middle.

It's quite a tight fit to ensure no radial looseness, so it cannot be pushed in by hand.

Using the bottom bracket press fit tool to help press in the new bearings.

Needle bearings installed after much work. At this point I thought of reverting to the stock pivots, but I'm already at the point of no return.

With one side of the pivot shaft installed. Note how the female part of the pivot (not shown) will rest inside this area of the fork.

The needle bearing is pressed into the centre section of the fork by press-fit. Any rotation will be between the inside of the needle bearing and the centre shaft of the titanium pivot.

The width of the fork legs don't really match up nicely, there is some offset which means poor pivot alignment.

One thing which I overlooked is the front hydraulic hose routing for the front brake caliper. The length and routing has to be precise, to prevent overbending or pulling on the hose during folding and unfolding.

Previously, the hose will slide over the flanges of the pivot, since the flanges are chamfered. However, this new titanium pivot has square shoulders, which tend to catch on the hose during folding and unfolding.

Hydraulic hose tends to catch on the shoulder of the pivot, so it needs to be adjusted manually during folding and unfolding.

Hydraulic hose is still routed the same way, on the inside of the front fork.

New Multi-S pivot installed

The pivots protrude more from the fork legs (both inwards and outwards) compared to the stock pivots. Not really an issue though.

Close up view of the new pivot.

Observations of the new pivot:
1) Square shoulder of the pivot catches on the front hydraulic hose during folding and unfolding.
2) Additional weight even with titanium parts, as stock pivot is aluminium.
3) Difficult installation with press fit tools required.
4) No improvement in stiction reduction due to misalignment of the fork legs.
5) Can tighten fully without jamming the pivot joint.

My verdict: Don't waste your money or your time installing the sealed bearing pivots. Due to the misalignment of the fork legs, there is no improvement in the smoothness of the pivot joints. Only benefit is that you can tighten the pivots with higher torque to prevent self-loosening, since the sealed bearing in the middle prevents the joint from being jammed.

Some pictures of the Birdy AXS below!
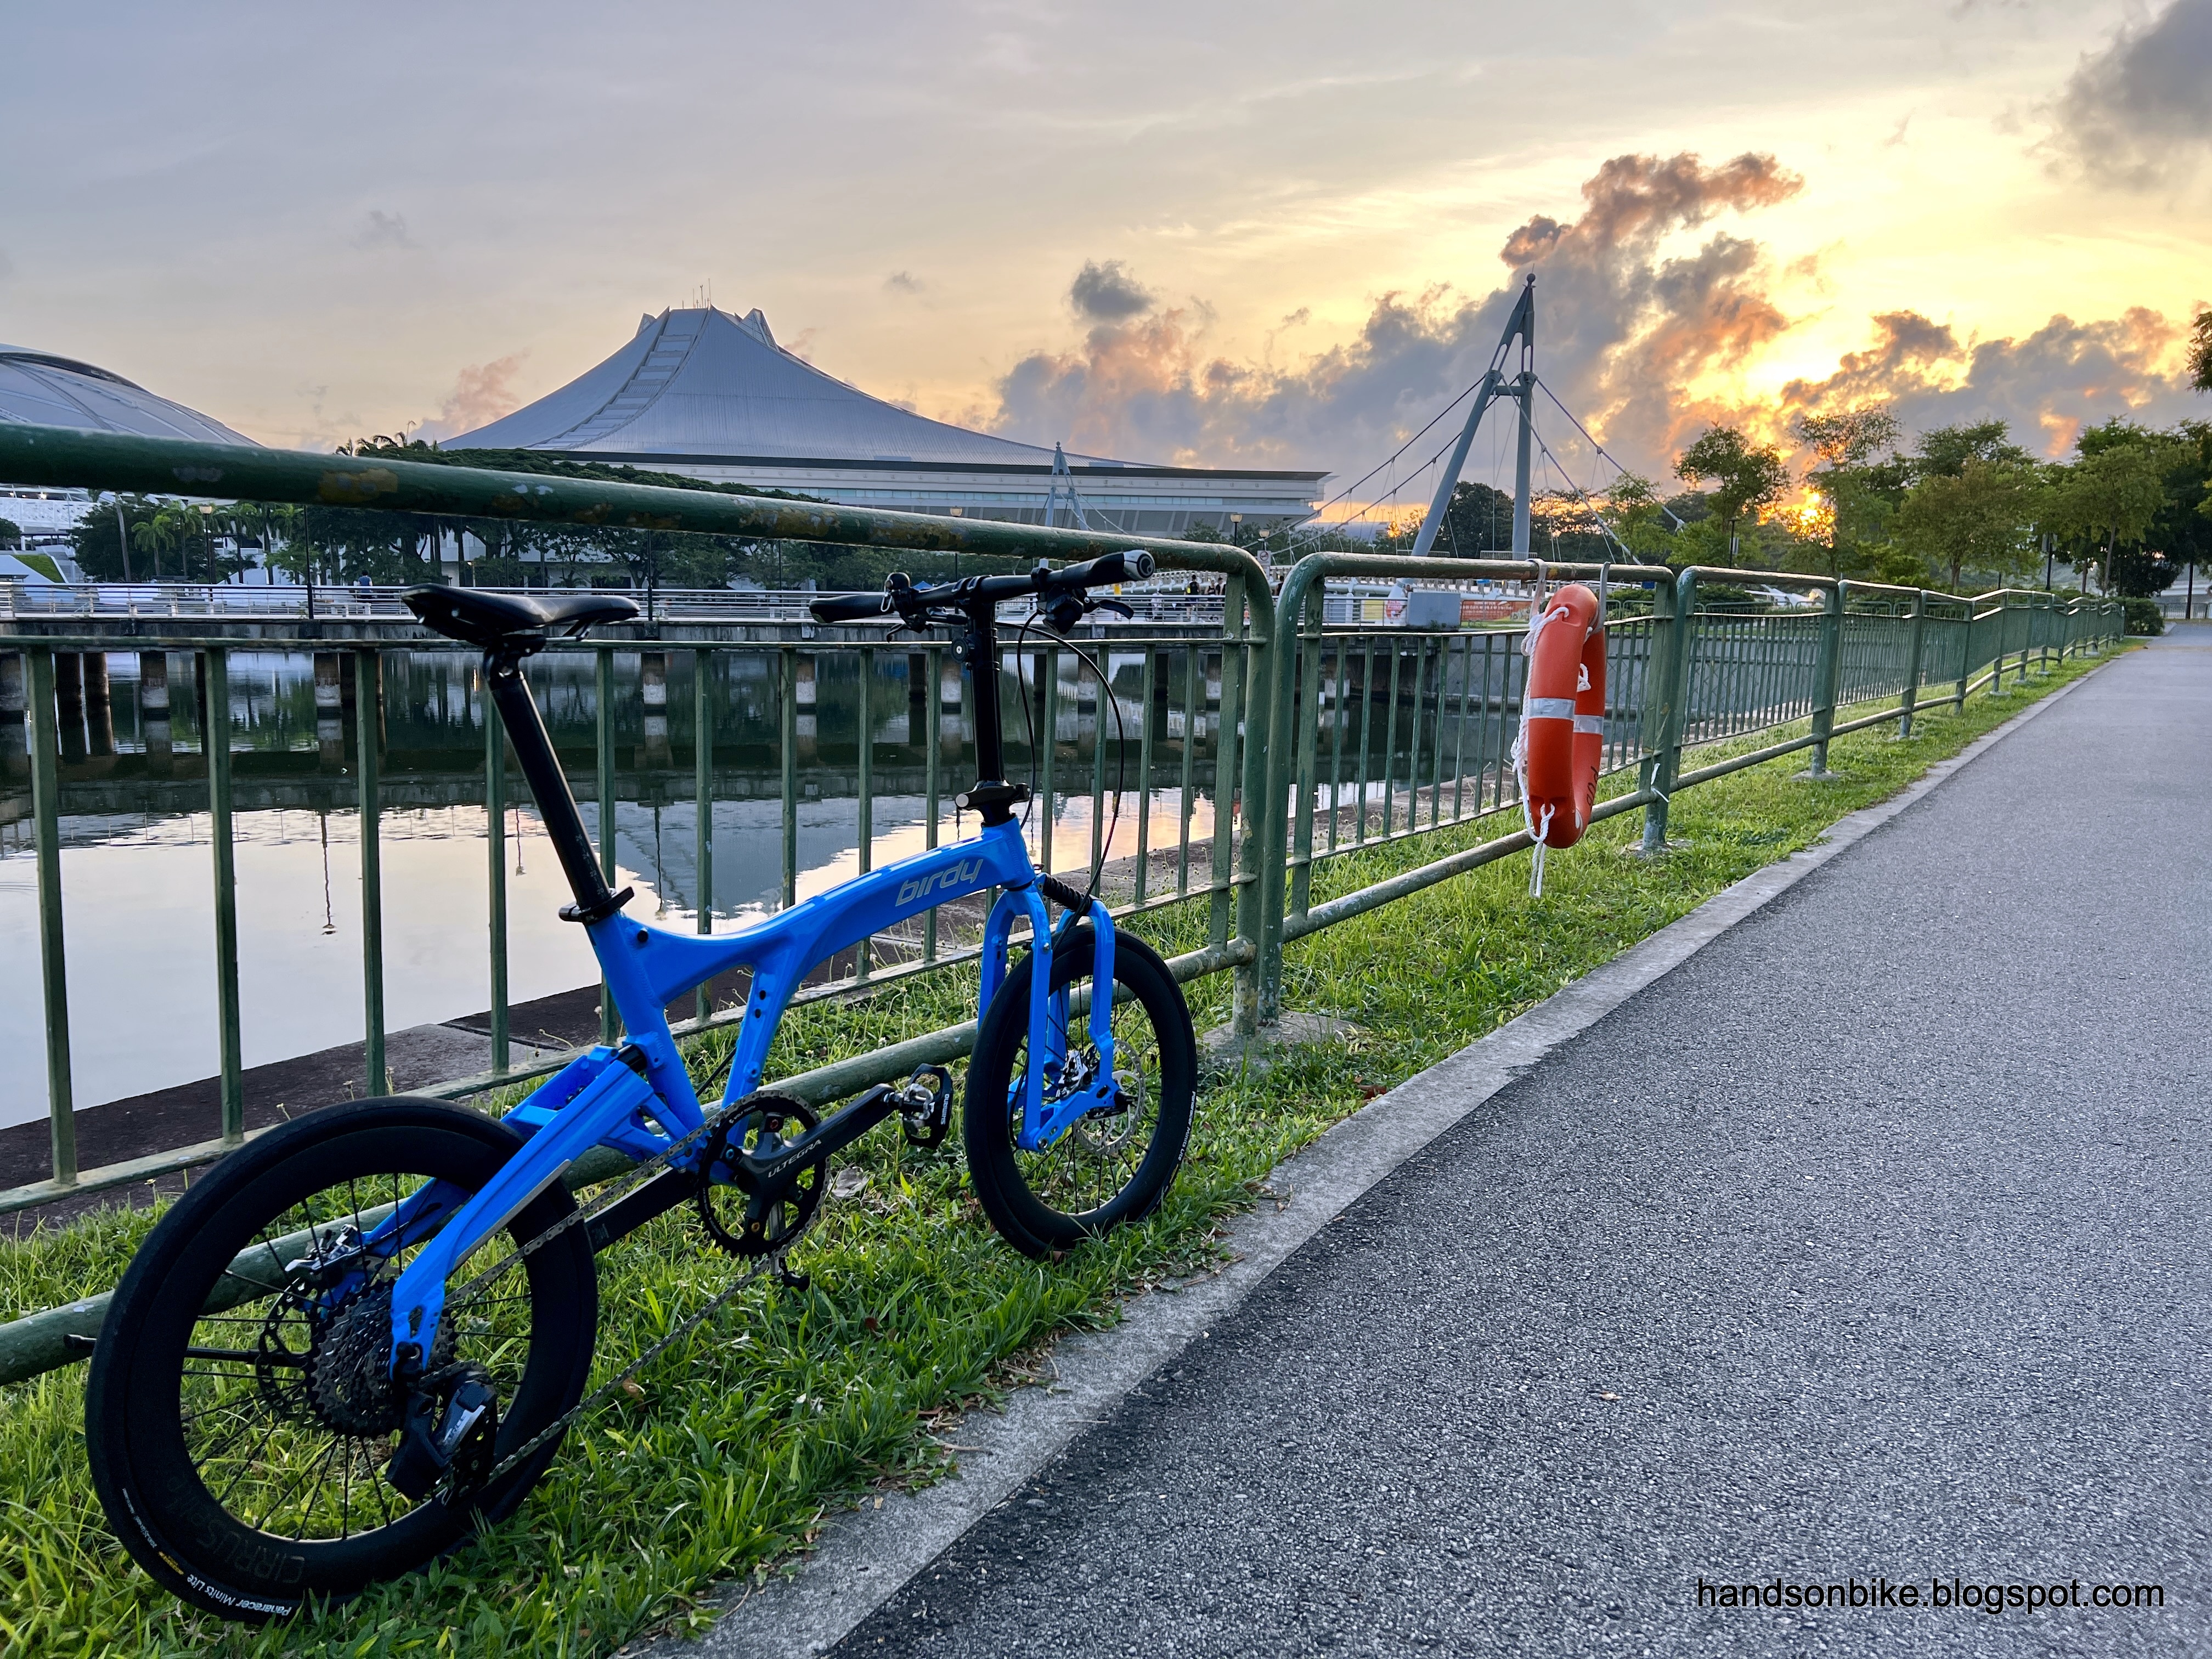
Along the Kallang Park Connector Network, watching the sunrise, with the National Indoor Stadium in the background.

With Marina Bay Sands and the Singapore Flyer in the background!
Birdy AXS: Multi-S Sealed Bearing Fork Pivot

If you have modified a bike suspension before, you would know that good pivots use sealed bearings to enable smooth rotation even when under load. On the Birdy AXS, the front suspension pivots use bushings instead of sealed bearings, as it is much cheaper to implement. However, I found that the rotation is not so smooth, due to the friction in the bushings. Any friction means that the suspension will be less responsive, as it has to overcome stiction (look out the suspension term on Google).

Most people upgrade the suspension of the fork, from the stock coiled spring to an air or coil spring with damper. In my case, I was happy with the basic coil spring design of the stock suspension. Besides, this gives the lightest configuration.

However, I was curious as to whether the pivots can be upgraded to be smoother. I came across this sealed bearing replacement for the front suspension pivots of the Birdy, thus I decided to give it a try and see if it really makes a difference. Note that this is different from the common ColorPlus pivots which is still a bushing, and is mainly just a cosmetic difference.

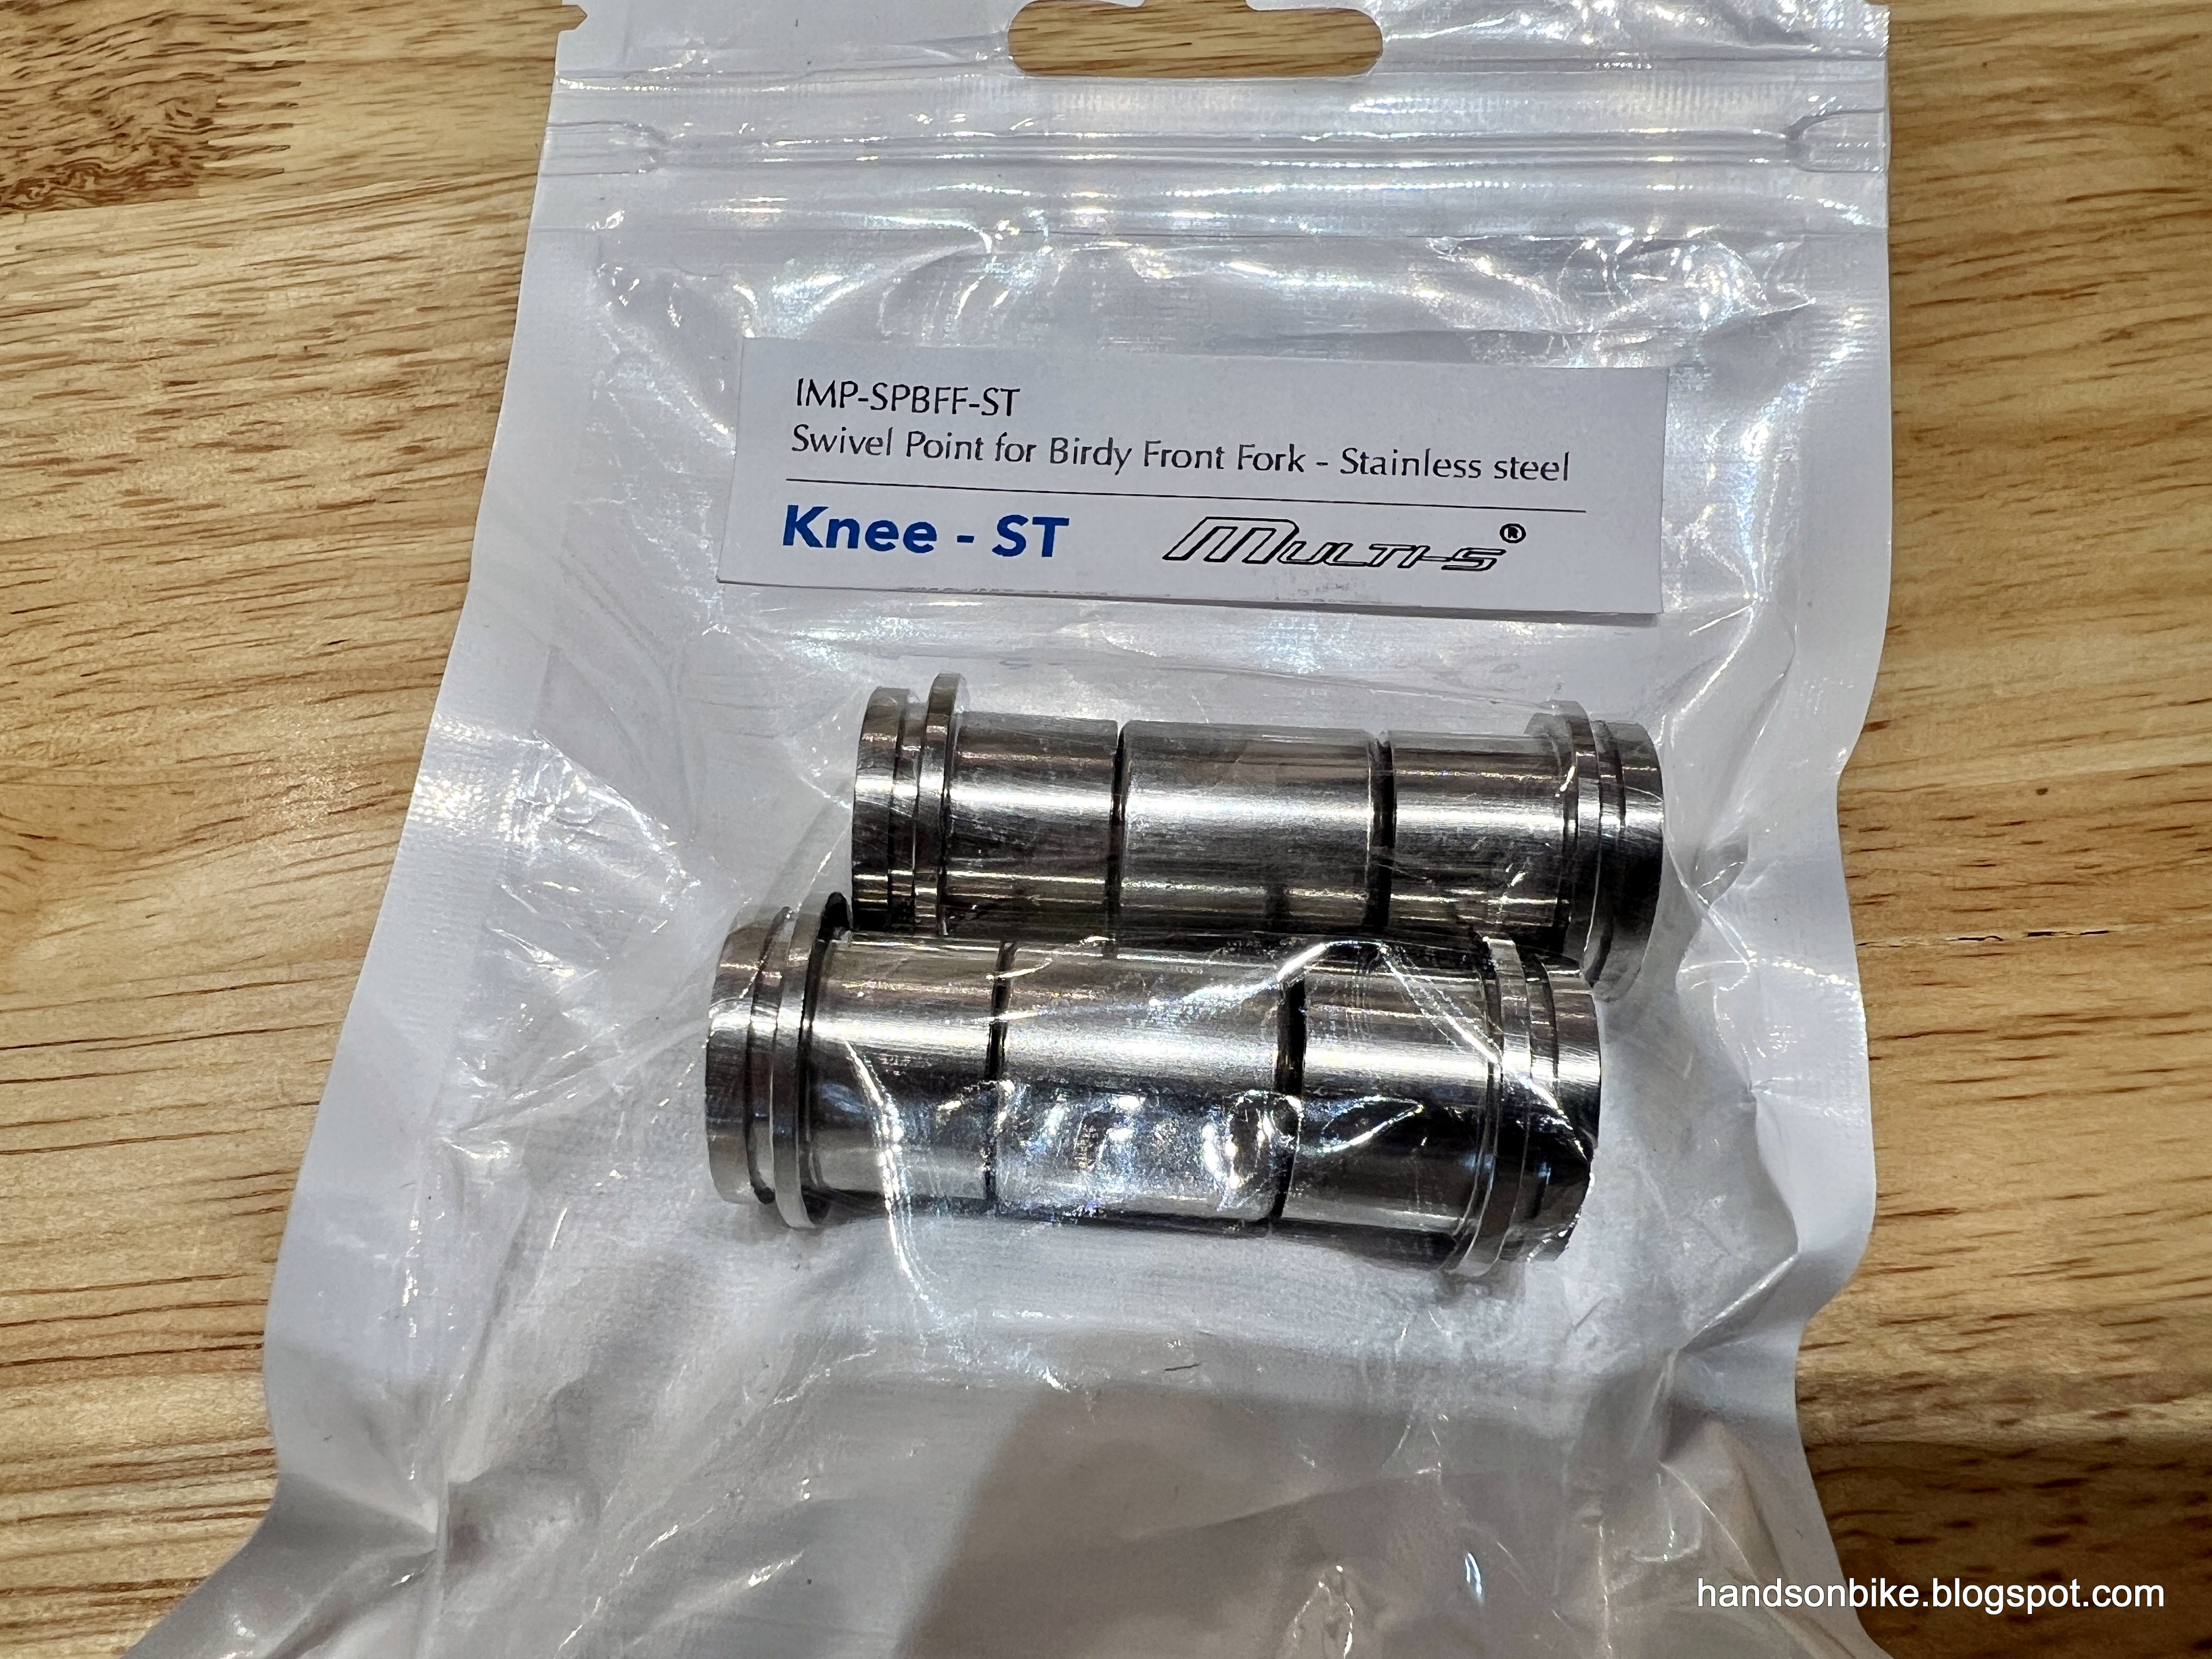
Front suspension pivot replacement for Birdy front forks, by Multi-S.

Titanium pivots! Price is in Renminbi, so it is quite expensive. Somehow still cheaper than ColorPlus pivots...

Laser etched information on the pivots.

Here are the parts for 1 pivot. Each set comes with 2, for both sides of the fork.

CNC machined part, with some description shown below based on what I think. 

Referring to the picture above, from left to right: Male screw thread tightens to other side of the pivot. Centre portion is where the sealed bearing will slide over. Right side shoulder with the short pin as the key slot to prevent rotation.

Tightens with a normal Allen key.

Other side of the pivot is mainly just a nut with a female thread.

Nicely machined and finished.

Sealed needle bearings to allow smooth rotation between the inside shaft (not installed) and outside cylinder face.

Many narrow and long needles act as the bearings with high load capacity.

One pair of the pivots, for 1 bike, weighs 56 grams.

In contrast, the stock pivot bushings are lightweight at just 22 grams, as they are simpler and made of aluminium.

In the next post, I will show how the pivot replacement will be done, and whether it is worth changing to the sealed bearings or not.

Saturday, April 29, 2023

Birdy AXS: Birdy Front Suspension Fork

I will be dedicating a whole post to write about the front suspension fork of the Birdy folding bike, as it is unique and very interesting. Also, I managed to disassemble the entire suspension fork, so there are lots of parts for me to study.

As shown in the earlier introduction post, the hook of the front latch needs to engage the coil of the front suspension spring. The spring coil needs to be rotated to a specific angle to match the hook shape of the latch.

Sunday, April 23, 2023

Birdy AXS: Birdy Bike Frame and Handlepost

In the previous few posts, I have studied the stock setup of the Birdy City, followed by comparing the geometry and size, and finally dismantling the frameset. Now, I will study these individual frameset parts in more detail, by checking out the design and the weight.

Frameset parts laid out in an exploded view.

Friday, April 7, 2023

Birdy AXS: Introduction to Birdy City (Suspension and Brake System)

Here is the second part of the Birdy City folding bike introduction. In the first part, the drivetrain was introduced, with all components in the stock condition. In this post, the stock suspension and brake system will be shown.

View of the stock Birdy City from the non-drive side.

Sunday, February 6, 2022

United Trifold: Rear Suspension Spring

Another small modification that I wanted to change on the United Trifold was the suspension block. The stock suspension block is actually very hard, almost like a solid plastic block. It is not like the stock Brompton rubber block which is a bit soft for some dampening effect. Therefore, when riding over bumpy areas, there is basically no suspension feel at all.

From the point of view of pedaling efficiency, a harder suspension block is better as there is no pedal bob during pedaling, which will happen if the rear suspension is too soft. This happened on the Flamingo London folding bike, which I rode almost 10 years ago. 

A soft suspension is good for comfort but not suitable for pedaling hard, while a hard suspension is good for pedaling efficiency but not for comfort. The ideal case is to choose a suitable suspension hardness that matches your body weight and bike usage.

Stock suspension block. Looks like a soft rubber block, but it is actually just a solid plastic block!

The United Trifold cannot use Brompton suspension blocks, as the mounting design is different. This has been tested by others. Therefore, a special suspension block designed for the United Trifold is needed.

I came across a suspension block that is specially designed for the United Trifold on Shopee, and it is from Indonesia. This is not surprising as United is a large Indonesian bike OEM that assembles many many bikes.


Aluminium caps at both ends of the coil spring, plus the attachment at the end for matching the rear triangle locking mechanism.

Looks to be compatible!

Side by side comparison. Steel coil spring vs solid plastic block...

The stock suspension block is oval in shape, and has a protrusion which locks into a hole on the frame to prevent it from rotating. Not necessary though.

Stock suspension block is 49 grams.

New suspension block is heavier at 70 grams, due to the metal coil spring.

New suspension is compatible with the United Trifold frame.

No issue with the rear suspension latch. Looks good!

This coil spring suspension works well, as it can absorb bumps quite effectively, as tested on the unpaved section of the Green Corridor. Way better than the stock plastic block. During hard pedaling (>150 watts), I can feel a slight bobbing effect, but it is still acceptable, considering that it adds quite a bit of comfort on bumpy ground. The spring is stiff enough that casual pedaling (<150 watts) does not cause any noticeable pedal bob.

I am happy with this suspension upgrade, as there is a noticeable improvement in riding comfort. As a casual bike, comfort is more important than absolute pedaling efficiency. Added bonus is that it looks good on the bike.

Saturday, December 4, 2021

Cervelo Aspero: Redshift ShockStop Stem Adjustment

Continuing from the previous post, where I introduced the new Redshift Sports ShockStop Pro Suspension Stem, let's take a detailed look at the stem adjustment, which is done by using different elastomers.

To recap, there are 5 different elastomer hardness, graded from a Shore A hardness of 50 to 90. The hardness difference can be felt by hand, just by squeezing them. This stem will be installed on the Cervelo Aspero gravel bike, and the stem stiffness can be adjusted depending on your body weight and your preference.

5 different elastomers are included with this suspension stem, of which 60 and 70 come pre-installed inside the stem. At least 1 is needed at any one time.

This chart from Redshift Sports shows every possible combination of the elastomers, including only using one instead of two. This gives us 15 different options (6 choose 2, where having no elastomer is also one of the options).

With the wedge and elastomers removed, the centre cross can be seen. It is symmetrical from top to bottom, as the stem can be used either way, depending on where you install the elastomers.

Here is the wedge removed from the stem. The wedge is used to apply pre-load to the elastomers, as well as hold them in place.

There is a threaded hole at the bottom left corner, for wedge removal.

I had to remove the elastomers, as I needed to flip the stem around, from a +6 degree rise to a -6 degree setup. This means swapping the wedge and elastomers from top to bottom. In any case, I would have removed the internal parts to see how it works.

Using the other side of the red tool, tighten the centre bolt to push in the wedge. I'm using the stock elastomers of 60 and 70 hardness.

Use a torque wrench to apply proper tightening torque, to prevent over-tightening or self-loosening.

Existing PRO Vibe stem about to be removed from the Cervelo Aspero!

I found that the PRO Vibe stem (right side) has a much shorter clamping height than the ShockStop stem (left side).

The clamp of the PRO Vibe stem is also noticeably thinner than the ShockStop stem.

New suspension stem installed! Using the original Cervelo stem cap, which I could not use previously on the PRO Vibe stem.

Due to the different clamp height, the headset spacers had to be readjusted. Not a big issue.

Black faceplate bolts look good!

Top view of the new suspension stem setup, with the PRO Vibe Aero Superlight handlebar, an unusual combination.

With the stem and handlebar reinstalled, it is time to hit the gravel trails for some test rides! I'm excited to see the difference this stem can provide.

At the Northern stretch of the Green Corridor, near MINDEF, before it was closed.

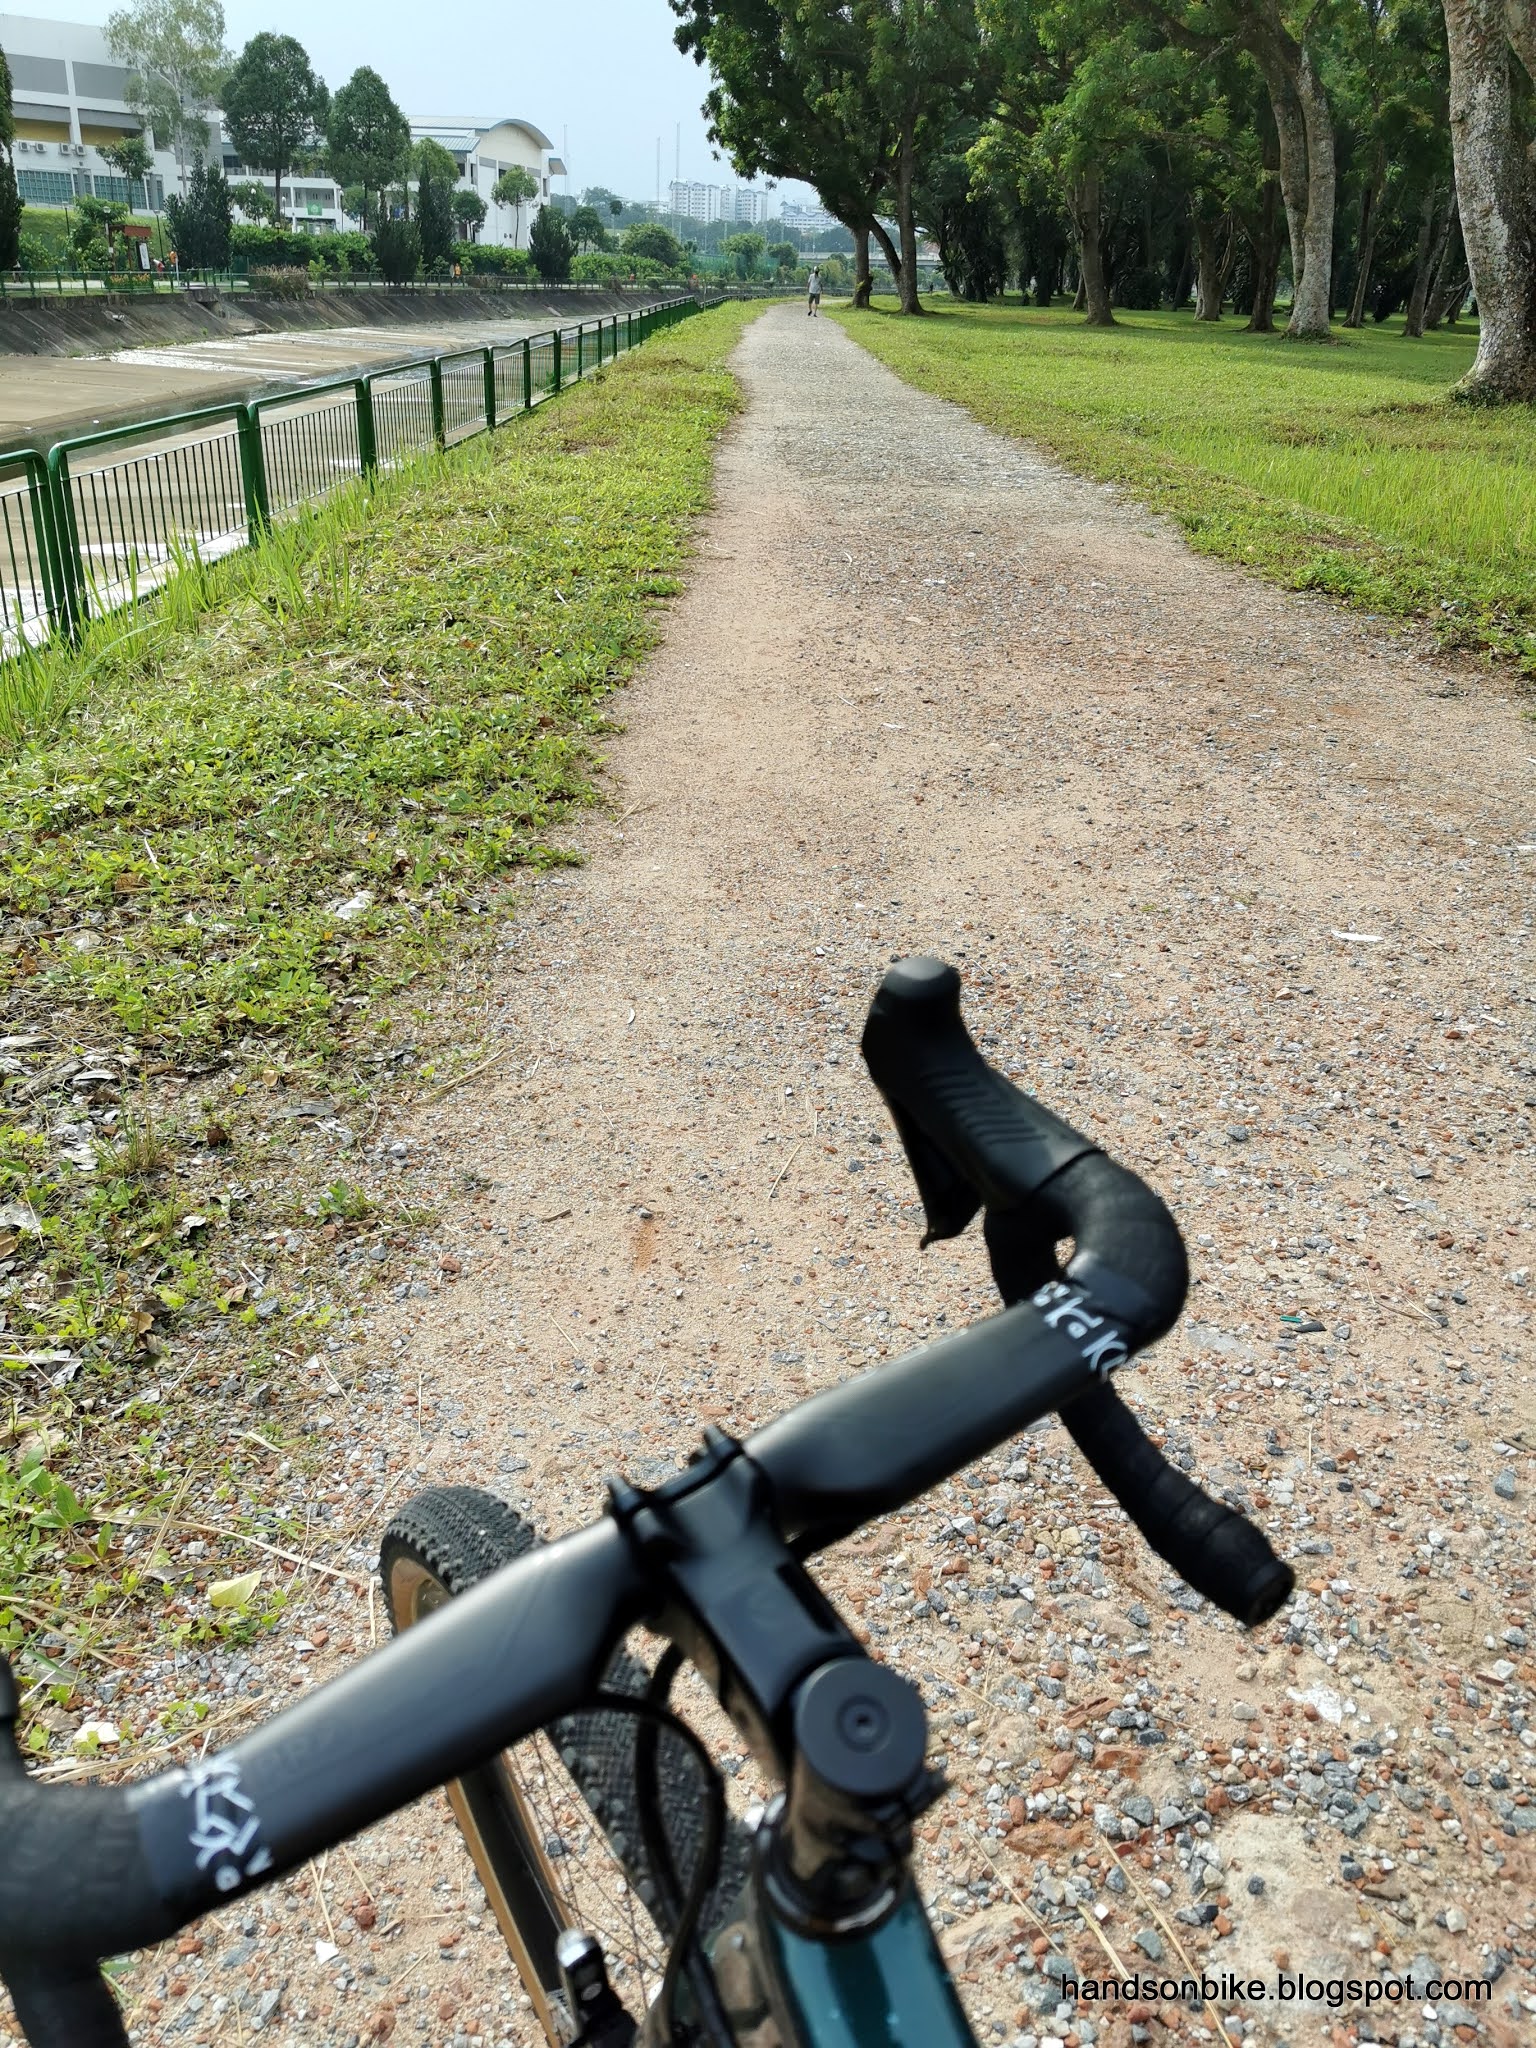
Lovely stretch of grass and dirt road, where a gravel bike excels.

Starting from behind Junction 10, there is a long stretch of pure gravel, running parallel to Pang Sua park connector. This is the best and longest stretch of gravel that I have found.

The WTB Venture 47 tires are perfect for this kind of terrain.


The freshly laid gravel is really thick, and it causes the bike to slide around, as the loose gravel behaves like ball bearings.

But I'm not testing the tires here, I'm testing the new ShockStop Pro suspension stem!

For the first few rides, I felt that the stem was really soft, as I can feel the stem flexing when I press down on the handlebars. It felt quite odd as it seems that the bike is not rigid enough.

However, I could definitely feel the damping effect of the stem when going over rough sections. Instead of having my hands bounce on the handlebars, the stem dampens most of the impact. One way of describing it is without the suspension stem, the bumps are tall and square-edged. With the suspension stem, the bump edges are rounded off, and the bumps are also smaller. Definitely can feel the improvement in comfort.

I felt that the stem was a bit too soft, so I changed the elastomers to a harder setting, using the 80 + 60 combination instead of the stock 70 + 60. However, this had a downside as it feels like the stem is not effective any more, as the dampening effect is reduced due to the harder elastomers.

Therefore, my final setting was changed back to the original 70 + 60 combination. For reference, my body weight is 66 kg, which is exactly in the middle of the range (61 - 70 kg) for the recommended 70 + 60 elastomer combination. Due to individual preferences, you should try different settings to see what works for you.

At first you will be quite conscious of the suspension stem, as it moves up and down slightly, as it should. However, after a few rides, I don't notice it at all! I don't even think about the suspension stem, and forget that it is even there. I think this is the highest praise, where you don't think about it because it does not give you any problems.

The suspension stem is most effective when you are holding the hoods, as there is more leverage on the stem. If you hold the drops, the leverage and dampening effect is lesser. If you hold the top of the handlebar, the stem basically behaves like a rigid stem.

It is stiff enough even when sprinting out of the saddle, while holding the drops or the hoods. There is no noticeable twisting or sideways flex. Going down kerbs is no problem, as the stem just dampens the impact along with the tires, like a super short travel front suspension fork.

One quirk of this stem design is that if you pull up hard on the handlebars, you can feel the stem topping out with a small clunk. This is because when pulling up on the handlebars, you are moving the stem in the opposite direction of the damper, which causes the stem to hit the internal stopper. The pre-load is basically cancelled out by pulling upwards on the stem.

Overall, I really like this suspension stem, as it allows me to maintain my desired tire pressure for good grip and speed, while adding some comfort for the arms through this suspension stem. The weight penalty of about 100 grams is not an issue at all. Highly recommended for gravel riding.