Showing posts with label Cateye. Show all posts

Tuesday, April 17, 2018

Fizik Saddle Bracket with Cateye Rapid 3 Rear Light

The Canyon Endurace came with a Fizik Aliante R3 saddle, which is the first Fizik saddle that I ever had. What is special about some Fizik saddles is that it has an integrated rear light mount under the saddle. This means that some compatible rear lights can be installed under the saddle neatly.

Fizik saddle, with a plastic cover taking the place of the saddle bracket that is needed to mount a rear light.

With the plastic cover removed, the saddle is now ready to accept the saddle bracket that can be used to mount a rear light.

Depending on which rear light you want to use, you need to get the correct bracket to fix the rear light to the saddle. For me, I will be using a Cateye rear light, and so I got the Cateye saddle bracket.

Cateye saddle bracket that is used to mount a Cateye rear light to a Fizik saddle.

It comes with two different sized brackets as different rear lights and saddle will require different bracket lengths to work.

Short bracket on the left, long bracket on the right.

Cateye Rapid 3 rear light. I would have preferred a USB rechargeable rear light, but I could not find a suitable one.

Battery life of up to 80 hours in flashing mode, which is excellent.

Battery run time for the different lighting modes.

Although the light works well, there are some areas on the light where the build or design quality is poor. It used to be better, until cost cutting measures came in and some quality was sacrificed to achieve lower costs...

Edges of the Cateye badge sticking out, which looks really poor.

This is because there is only one snap fit in the middle, with the edges free to deform.

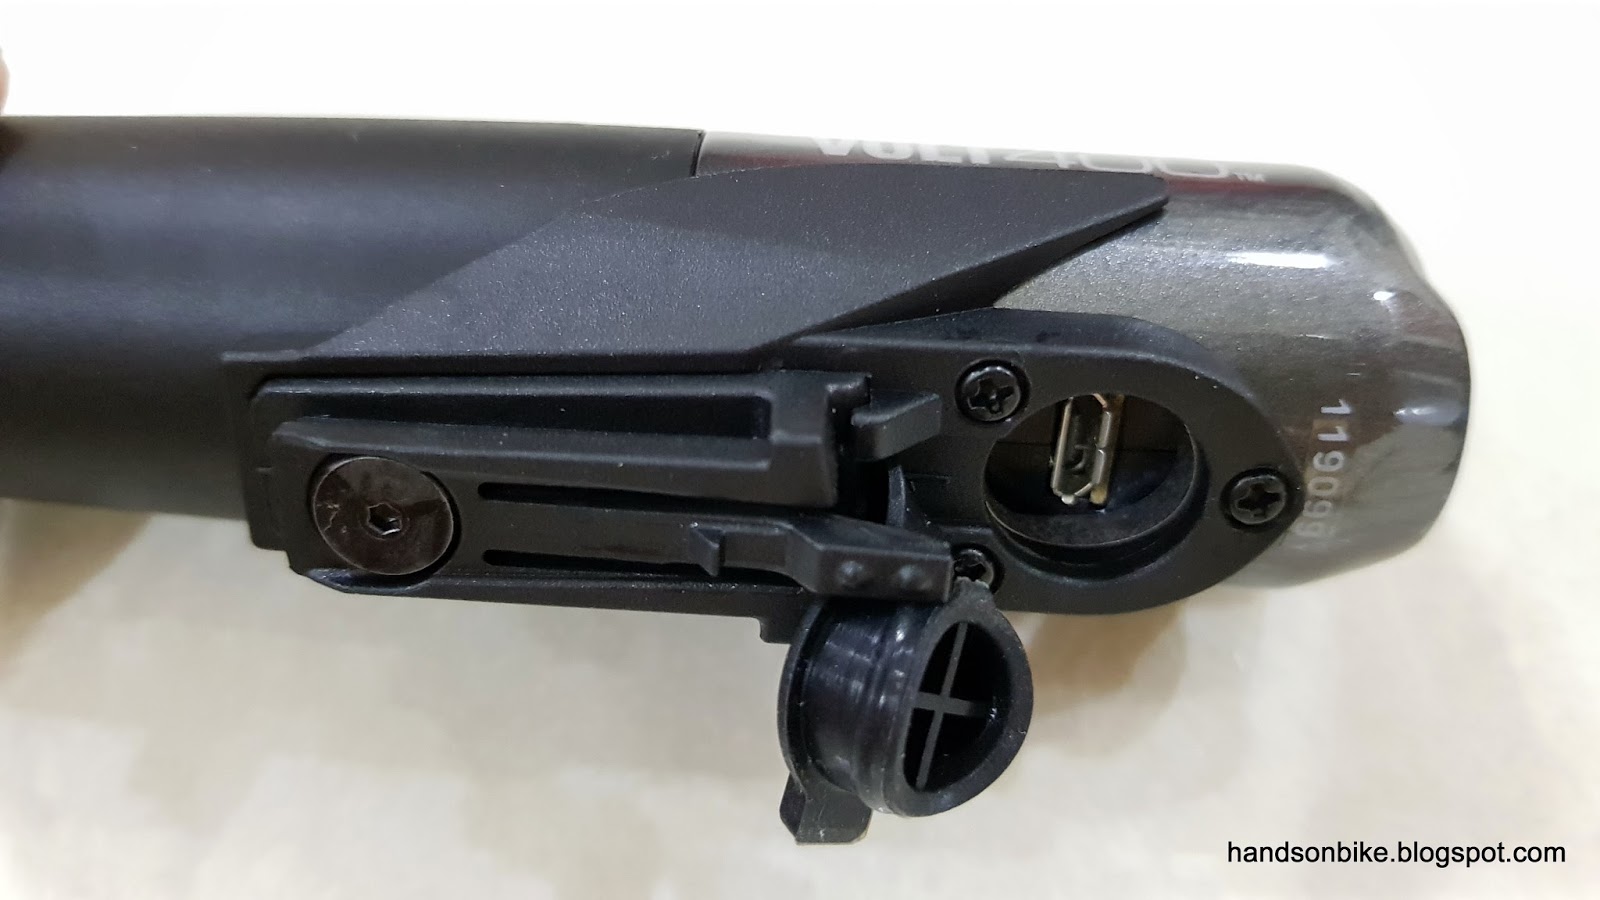
Uses 1 x AA battery. The rubber seal at the edge of the housing also comes off easily.

Lighting quality is good, with the two smaller LEDs at the side...

...and one big LED in the middle.

Together with the small bracket, the light and bracket weighs 56 grams.

The rear light slides onto the bracket...

...which is then inserted into the saddle mount.

Sticks out quite a bit from the saddle. Still leaves sufficient space for a saddle bag.

View from the rear. Depending on your saddle angle, the light angle will vary.

Advantages:
1) Compact as it does not take up space on the saddle rail.
2) Integrated look.
3) Another light can be mounted on the saddle bag or seatpost.

Disadvantages:
1) When moving your bike, most people will lift the rear saddle. In this case, they will end up pulling the light, causing it to drop out from the bracket.
2) Light angle is linked to the saddle angle.
3) Limited choice of rear lights.

What I feel is that if you already have a Fizik saddle, this is an option for mounting a secondary rear light. However, if you are thinking of getting a Fizik saddle just to mount a rear light on the saddle, you should reconsider as I don't think it is worth it. Good to have but not a strong enough reason to switch saddles.

Tuesday, October 17, 2017

Brompton M6R: Cateye Rapid Mini Rear Light

After changing the front light on the Brompton to a Cateye Volt 400, I decided to also change the rear light to a Cateye rear light. Another reason for changing was that I wanted to use the Moon Comet rear light on another bike.

Previously, I did not want to buy a new rear light for the Brompton, which was why I created a DIY mount for the Brompton. Now, I decided to do it the easy way and get a proper light bracket for the Cateye rear light.

There are a few Cateye rear lights that can be used with the rear rack bracket. I decided to get this Rapid Mini as it is compact sized, and can be recharged easily using USB, instead of changing batteries.

Cateye Rapid Mini rear light

The different operating modes available and also the battery runtime for each of them.

Comes with a bracket for mounting to seatpost, plus a rubber band and a wedge.

1 large LED in the middle, supplemented by 2 smaller LEDs at the sides

Cateye light bracket for rear rack

Using these stock mounting points on the Brompton rear rack, mounting the Cateye light bracket will be easy.

Easily done with bolts and nuts to fix everything together.

One problem I found was that this rear light bracket is actually not compatible to the Cateye Mini rear light. The shape is similar, but the dimensions are a little bit different. It is a very tight fit, which is a problem if I want to remove the light for charging next time.

Therefore, I had to file down a bit of the mounting point on the Cateye rear light, in order to make it fit better into the bracket. I did not anticipate this as the Cateye light mounting shape looked the same to me.

In any case, the modification was successful and I could fit this Cateye Mini rear light onto the Cateye light bracket for rear rack.

With Cateye Mini rear light mounted. Height can be adjusted if required. If angle adjustment is necessary, the metal brackets can be bent.

The light is nested within the diameter of the Eazy wheels, protecting it from damage.

Good clearance between the light and the ground, to prevent damage when rolling over uneven ground.

This is a very simple modification, what you need is just the Cateye light bracket for rear racks, and a compatible Cateye rear light. Compact and lightweight, yet bright enough for good visibility.

Thursday, October 12, 2017

Brompton M6R: Cateye Volt 400 Front Light + DIY Bracket

My first attempt at installing a front light for the Brompton was to simply wrap a Moon Comet front light around the stock front light bracket. Although this is simple and works well, the light tends to tilt towards one side due to the shape of the rubber strap. Therefore, I wanted to change the front light on the Brompton. Another reason was that I wanted to use the Moon Comet front light on another bike, so I needed to get another front light for the Brompton.

This gives me an excuse to get a new front light for the Brompton. Many Brompton owners like to install the Cateye Volt 300 front light onto the front of the Brompton, using a custom light bracket available from Mighty Velo. I wanted to try and see if I could reuse the stock light bracket or not.

Cateye Volt 400 front light. More powerful than the Volt 300, at only 5 dollars more.

Rechargeable via USB or a removable cartridge battery.

Decent battery runtime for the different lighting modes.

Can turn on the light either by pressing and holding it, or double clicking it. Double clicking jumps directly to the high beam mode, while pressing and holding brings you to the last selected mode before it was turned off.

The stuff that comes with the light.

Light weighs 108 grams

Light plus Cateye light bracket is 126 grams

Lens for focusing the light at the front, with the power/mode button on top

Micro USB charging port is at the bottom, protected by a rubber cover to make it splash proof.

Original light bracket, with the top half secured to the clamp band by a single fixing bolt.

After testing it out, I have an idea on how to attach the Cateye light bracket to the original light bracket on the Brompton. First, the Brompton light bracket needs to be removed for some modifications.

Brompton light bracket is mounted to the front fork using the axle from the front brake caliper. A quick photo to show the arrangement of the spacers before removing it.

Just before the light bracket is removed from the front fork. Note the small clearance to the bottom cup of the external headset.

Light bracket resides within a custom casted metal part, to ensure that the clamping force of tightening the front brake axle is evenly distributed to the frame.

Original light bracket from the Brompton, before modification.

Top part of the Cateye light bracket can be removed by just unscrewing the single fixing bolt.

After that, just slide the top part off the clamp band. We will only need the top part to hold the light.

Top part of the Cateye light bracket. This part will be fixed to the Brompton light bracket, acting as an adapter between the light and the Brompton light bracket.

The Brompton light bracket will be widened slightly, where it will then be slotted into the Cateye light bracket.

After some work with a bench vise and some straightening of the Brompton light bracket, here is the result.

Due to contact with the tools and vise, the surface coating on the light bracket has been worn off, exposing bare metal.

To protect the bare metal and to improve the appearance, a black marker is used to touch up the exposed metal surfaces.

This modified Brompton light bracket is then slotted into the Cateye light bracket. It is a good fit!

View from the top

With the light installed to test out the fitting. All seems good!

The two brackets are then fixed together with a bolt and nut plus some washers.

Reinstalling the Brompton light bracket to the front fork. No interference between the tail end of the light and the frame!

Sufficient clearance between the light and the surrounding parts when folded.

Light can be easily removed for charging when required

The actual modification required for this is only the original Brompton light bracket, which had to be straightened out. It is rather difficult if you don't have the proper tool or equipment to straighten it nicely, otherwise this is not a challenging modification.