For more details on the components of this bike, check out this page which has the links to all the previous posts about this Bike Friday Haul-A-Day cargo bike.
One of the decisions I had to make was to select the correct hole on the frame, to fix the length of the bike. This is one of the adjustable areas on the bike where the top tube length can be adjusted, which changes the handlebar reach, so that it can fit riders of different height.
Since this is a flat handlebar setup, I wanted to maintain the same geometry as the Dahon MuEX, which also has a flat handlebar setup that I am comfortable with. In this case, the measurement that I can use is the distance from the bottom bracket to the front axle.

Distance from bottom bracket to the front axle on the Dahon MuEX is about 620 mm.

By using the middle hole out of the five, I found that the distance between the bottom bracket and the front axle is almost 620 mm, which is same as the Dahon MuEX.
Later, the actual handlebar reach can be adjusted by using a different stem length, but I think it should be OK. Once this top tube distance is fixed, other bike geometry numbers will also be fixed. Also, the lengths of the Di2 wires and hydraulic hoses can be determined only after the frame length is fixed and the handlebar is installed.
The chain stay length (distance between bottom bracket and rear axle) is 690 mm, which is a lot longer than the usual 400-430 mm found on other bikes. Of course, this also means a longer chain is needed, which is why I had to get two chains and join them together.
Overall wheelbase (front axle to rear axle distance) is 1310 mm, which is also much longer than the usual 1000 mm found on a road bike. Note that this wheelbase is a result of selecting the middle hole on the frame. By choosing the extreme holes, I estimate the wheelbase range to be 1310 +/- 50 mm.
Overall length (front tire to rear frame) is 1870 mm, which is surprisingly not that long. My Fabike C3 commuting bike has an overall length of about 1800 mm, so this cargo bike is only longer by about 70 mm. This is due to the smaller 20" wheels of this Haul-A-Day, which enables a long wheelbase without extending the overall length by too much. Another advantage of using smaller wheels for cargo bikes.
One of the main concerns when building this cargo bike, is whether there will be sufficient ground and tire clearance with the rear derailleur. As a relatively large 11-40T cassette is used on these 20" wheels, there might not be enough clearance when shifting to the lowest gear (largest sprocket).

Cage position of the Deore XT Di2 rear derailleur, when shifted to the largest 40T sprocket.

Ground clearance should be OK, but it does look very close to the tire.

There will be sufficient ground clearance with the chain, unless you choose to ride UP a curb...

Not much tire clearance here! About 2 mm of clearance only. Luckily I chose the narrower Schwalbe Marathon tires with a width of 1.5".

At the other extreme condition, with the chain on the smallest 11T sprocket. The chain could have been slightly longer, but I think it should be fine.
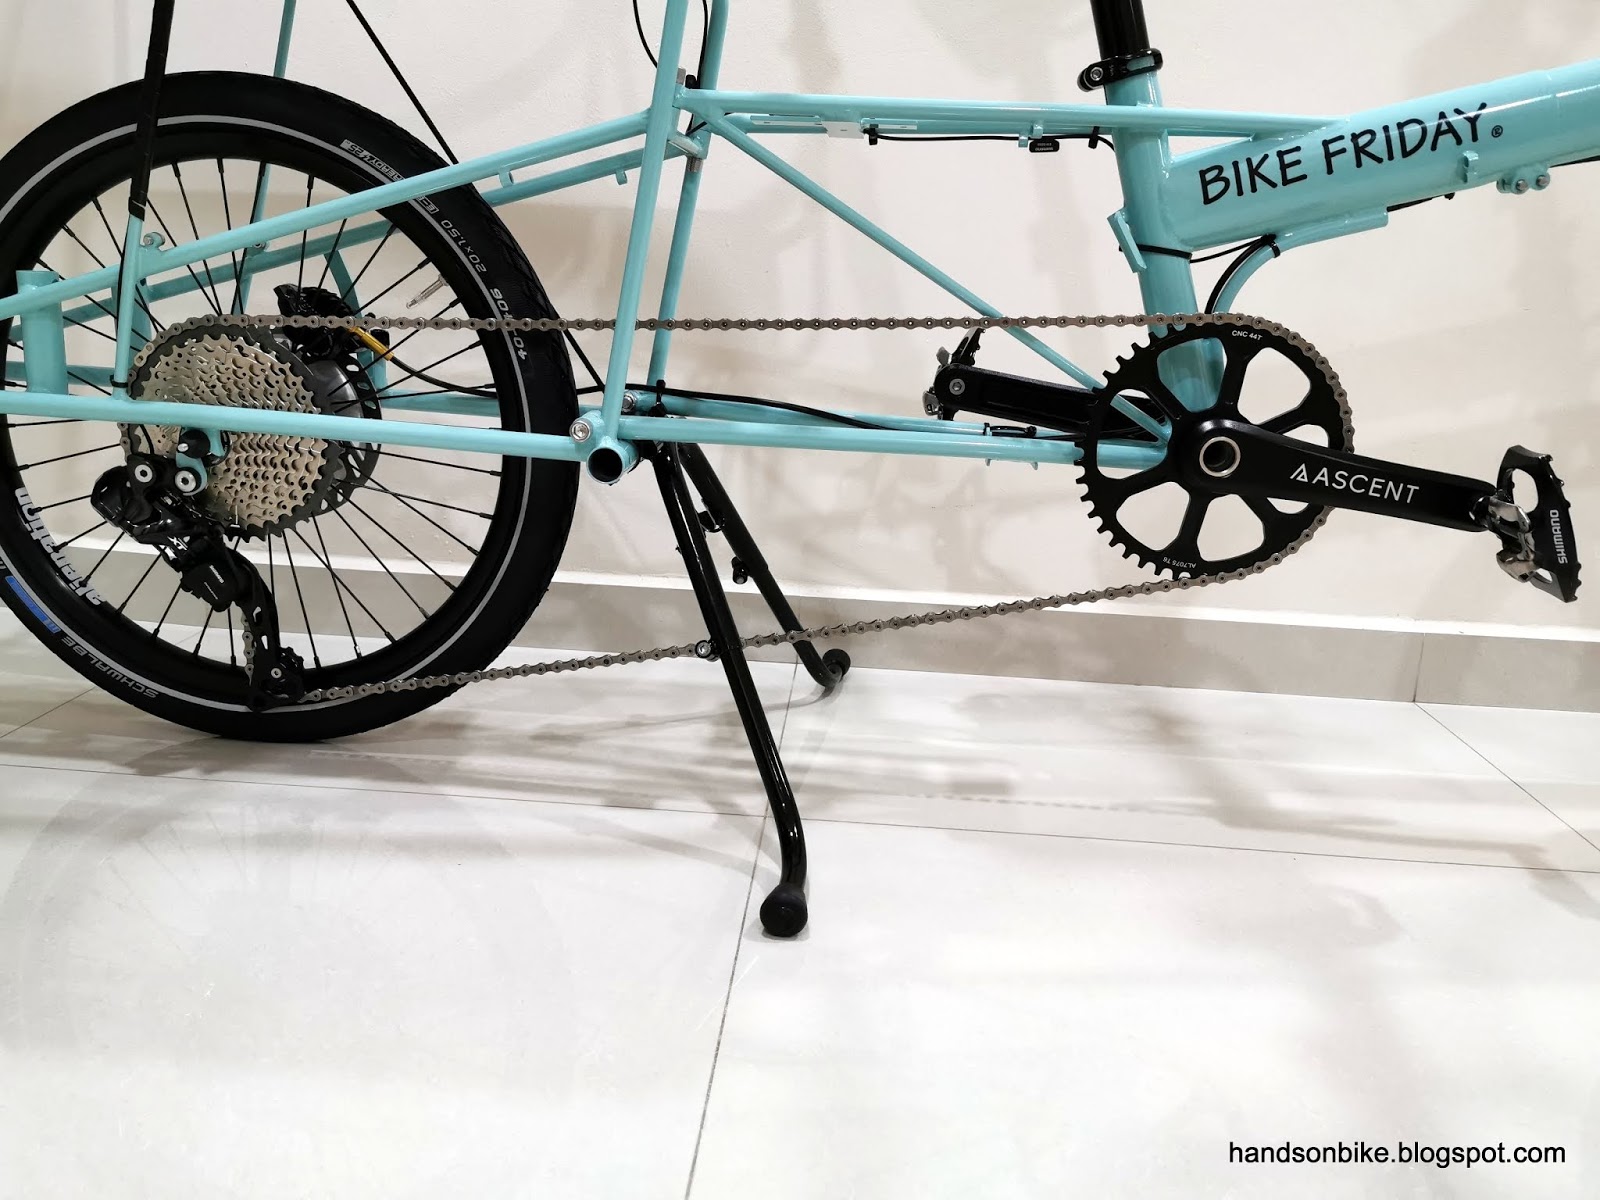
Overall look at the drivetrain. See how long the chain is!

Ascent Bikes front single crankset, with narrow wide teeth on the 44T chain ring. I like this crankset as it is simple and affordable, and already comes with a narrow wide chain ring.
A narrow wide chain ring is highly recommended for a front single drivetrain, to prevent chain drop when changing gears or traveling over bumpy roads. The long chain stay is advantageous in this case, as it reduces the offset angle between the chain and the chain ring teeth. Together with the one-way clutch function of the Deore XT rear derailleur, it should prevent chain drop and chain slap.

With the trusty PD-A530 pedals (SPD/Flat) installed.

Handlebar set up! Looks wide, but it is just 600 mm across.

With the 100 mm PRO PLT stem installed, and the Di2 Digital Display on the handlebar.

Very comfortable Ergon GS3 Grips installed! XTR Di2 Firebolt shifter is used to activate the Di2 rear derailleur.

Deore XT M8000 brake lever, which is paired with the Deore XT M8020 4 piston brake calipers.

Making the cabling neat with carefully measured cable lengths and some cable wrap.

View of the full bike! Bare bones set up, inclusive of the rear wrap-around bars for kids.

Another view of the full bike, ready to go for a test ride!

The full list of components used to build this Bike Friday Haul-A-Day cargo bike. There are some big discrepancies between the listed weight and actual weight of the Bike Friday parts.
I decided not to install the foot rests at this point in time, as my kid can't reach the foot rest anyway. It is an additional 1.4 kg, plus it adds to the bike width which is not ideal. It comes as part of the "Younger Riders" package by Bike Friday.
Estimated weight was about 16.88 kg (including pedals), but actual weight is 18.92 kg (including pedals. About 2 kg more than the estimated weight. The difference mainly came from the frame weight, but I did not dismantle it completely and so I am not sure which are the components that contributed to the differences.
To have a cargo bike that weighs less than 20 kg is actually pretty good. Although it weighs twice as much as my Fabike C3 commuting bike, it is expected since this cargo bike has a steel frame, plus lots of additional material and parts, such as the rear rack, wrap-around bars, side bags, seat mast, heavy duty wheels, etc.

Bike is out in the wild! With the large side bags that can carry lots of things.
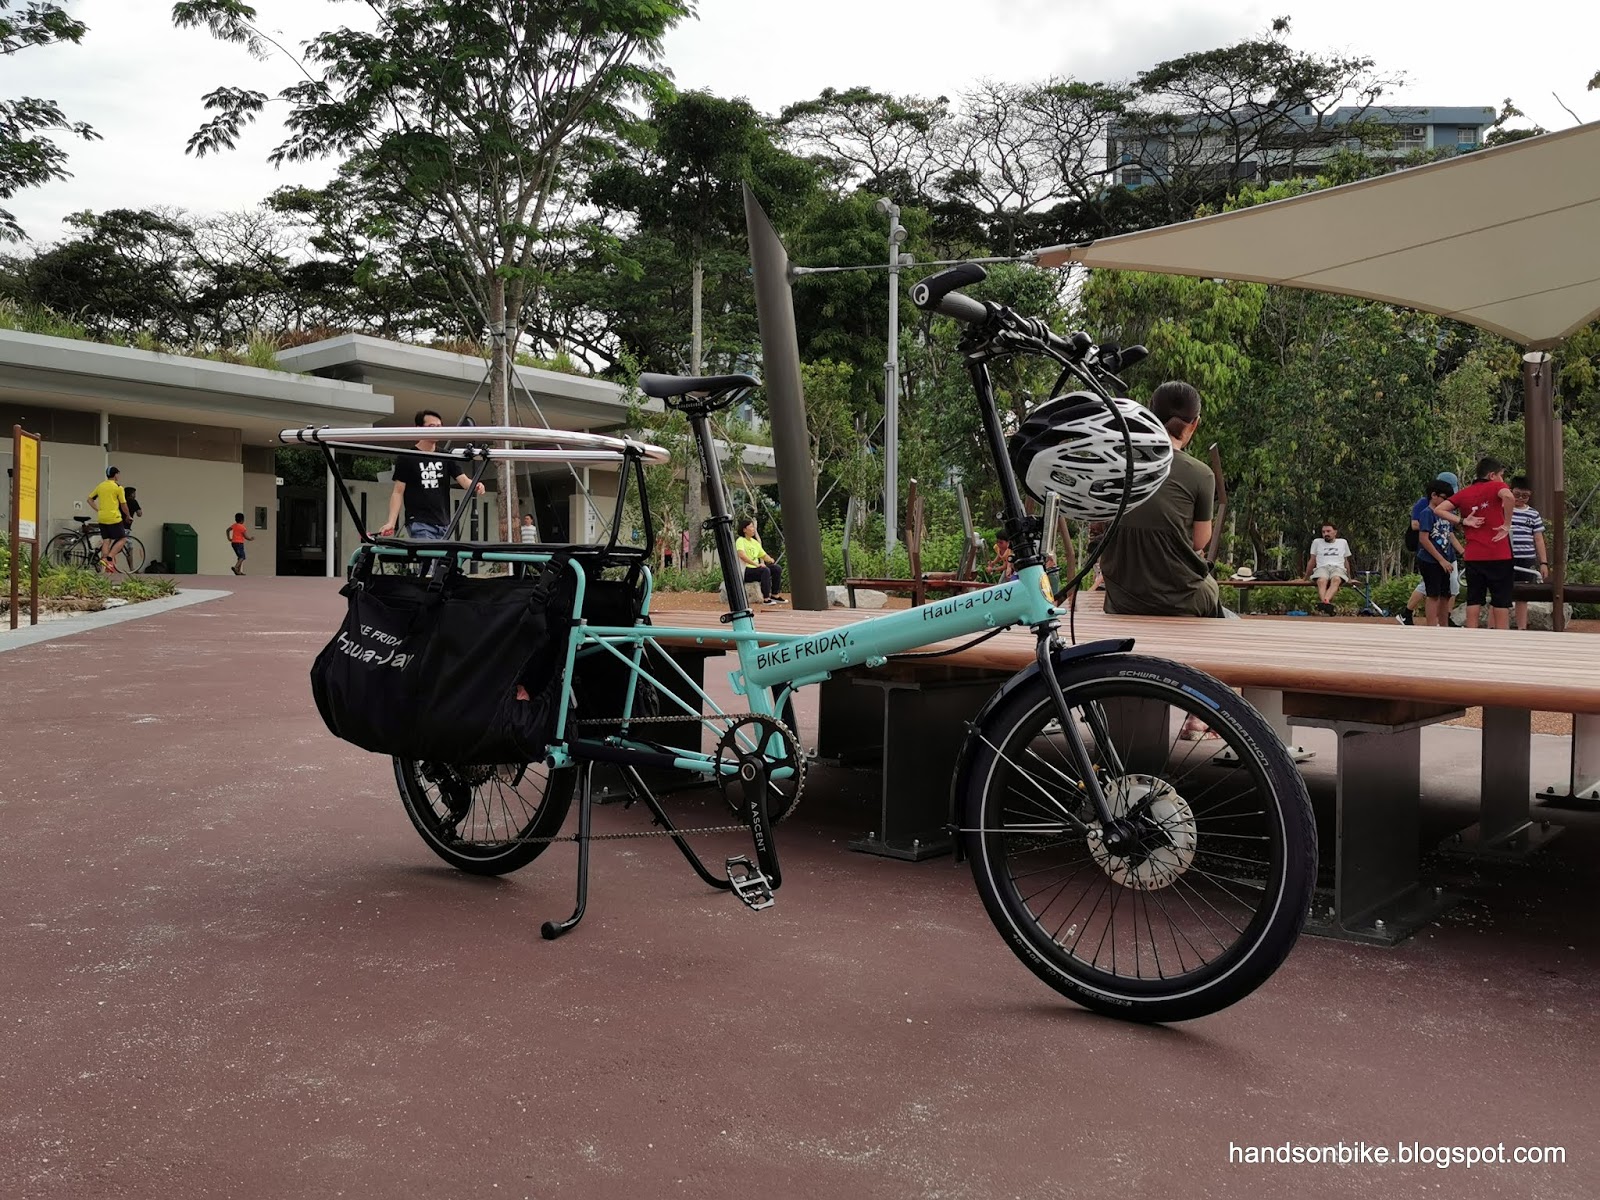
The bike is eye-catching everywhere it goes, with the unusual frame and lovely Robin's Egg frame colour.

Kick scooter plus helmet fits into one side bag! To be deployed at the park when necessary.
When the bike is positioned vertically during storage or entering the elevator, the ends of the rear frame will touch the ground. Temporarily, I used some black tape to protect the frame, while I come up with some ideas for a long term permanent solution.

Thick layers of black tape applied at the ends of the rear frame, to prevent damage to the frame.

This cargo bike can be stored vertically, which saves A LOT of space, as it only takes up as much floor space as a folded folding bike. How many wheels can you spot in this picture?
This cargo bike is unlike any other bikes which I have built or tested, as it is totally designed for another purpose. In my case, it is to bring my kid to the park or school, while allowing some items to be carried along easily. In a way, it is a weekend bike, which will be used rather sparingly as we will not be going to the park everyday.
There are many advantages that this Bike Friday Haul-A-Day has over other cargo bikes. Here are just a few:
1) Can be stored vertically to save space. This is a critical factor that led me to choose this cargo bike.
2) Small 20" wheels for lower centre of gravity and better load balancing.
3) Child friendly accessories such as the wrap-around bar, the seat cushion, side bags, etc.
4) Adjustable frame size, so that I can set it to exactly what I need.
5) Disc brake compatible, for safe and easy braking function.
As for the downsides, there is only a few that I can think of. Compared to other cargo bikes, these are not downsides, but compared to normal bikes, it is a disadvantage.
1) Long overall length makes it tricky and more troublesome to transport in an elevator, compared to a normal bike. It will not matter if you live on the ground floor.
2) Heavier weight compared to normal bikes, but it is actually lightweight compared to most other cargo bikes.


