Showing posts with label Canyon. Show all posts

Friday, October 7, 2022

Shimano GRX Di2 vs SRAM Force eTap AXS: Rear Derailleur

Traditionally, rear derailleurs are either road type or MTB type, and were designed quite differently to meet the different requirements.

Road rear derailleurs are small and lightweight, and have short cages to match the road cassettes. On the other hand, MTB rear derailleurs are built to be tougher and thus heavier, and they also have long cages to match the wide range MTB cassettes. Most importantly, it is equipped with a clutch to prevent chain slap and chain drop when riding on bumpy terrain.

Then, in comes gravel riding, and neither road nor MTB rear derailleurs are completely suitable. Road rear derailleurs are a bit too delicate for gravel riding, and the absence of a clutch causes the chain to bounce too much and result in chain drops. MTB rear derailleurs work a bit better, but are also not completely suitable as they are not suited for closer range cassettes.

Shimano has their GRX range of gravel rear derailleurs, while SRAM has the Force 1x series for gravel setups. Here is a comparison between the two different gravel rear derailleurs by Shimano and SRAM.

There are 4 types of gravel rear derailleurs by Shimano. Either mechanical or electronic shifting, and either front single or front double drivetrains. Pick the one that matches your setup!

GRX Rear Derailleur RD-RX815, which is for 2x11 speed gravel drivetrains, up to 34T cassette size.

Saturday, May 30, 2020

SKS Traveller Edge and Explorer Edge Frame Bags

A gravel bike will usually have a bit more luggage capacity than a normal road bike, as it is more suited for adventure and exploration. Therefore, being able to carry more things on the gravel bike is an advantage. Additional weight is usually not an issue as the purpose of a gravel bike is not to go fast or climb well like a road bike. Rather, a gravel bike is used to ride away from nicely paved roads, and it gives you the freedom to explore new routes easily.

For my gravel bike, I want to be able to carry a bit more stuff, such as an extra water bottle, or extra tools, spares and maybe even snacks. There are people who attach big bags onto the bike, in order to carry lots of stuff for bike packing, but that is not my kind of usage.

A frame bag can be useful, as you can make use of the space inside the triangle of the frame to carry stuff. This has less capacity than a bag attached to the seat post or on the handlebar, but it is enough for my usage.

I found two models of SKS frame bags, which comes in a good size that will fit my frame. I could not decide which was better, so I decided to get both to try it out.

SKS Traveller Edge and Explorer Edge frame bags.

The Traveller Edge is a triangular bag, designed for road bikes, while the long and slim Explorer Edge is more for MTB.

Different usage intention as shown here. However, there is nothing stopping you from using it on any bike as long as it fits.

Both have the same volume, but the triangular Traveller Edge is a bit lighter.

The zips have a large rubber surface to allow easy operation, but I wonder how long the rubber encapsulation will last.

Rubberized surface on the velcro straps ensure good grip on the frame to prevent movement and slippage.

The Explorer Edge is slim and long, and can fit relatively long objects. A compact hand pump would probably fit.

A 550 ml water bottle fits nicely inside the bag. Not much room for other things though.

There are netting compartments inside the bag to help organize loose objects.

There is also a protected compartment at the side that you can use to store sharper objects or your phone.

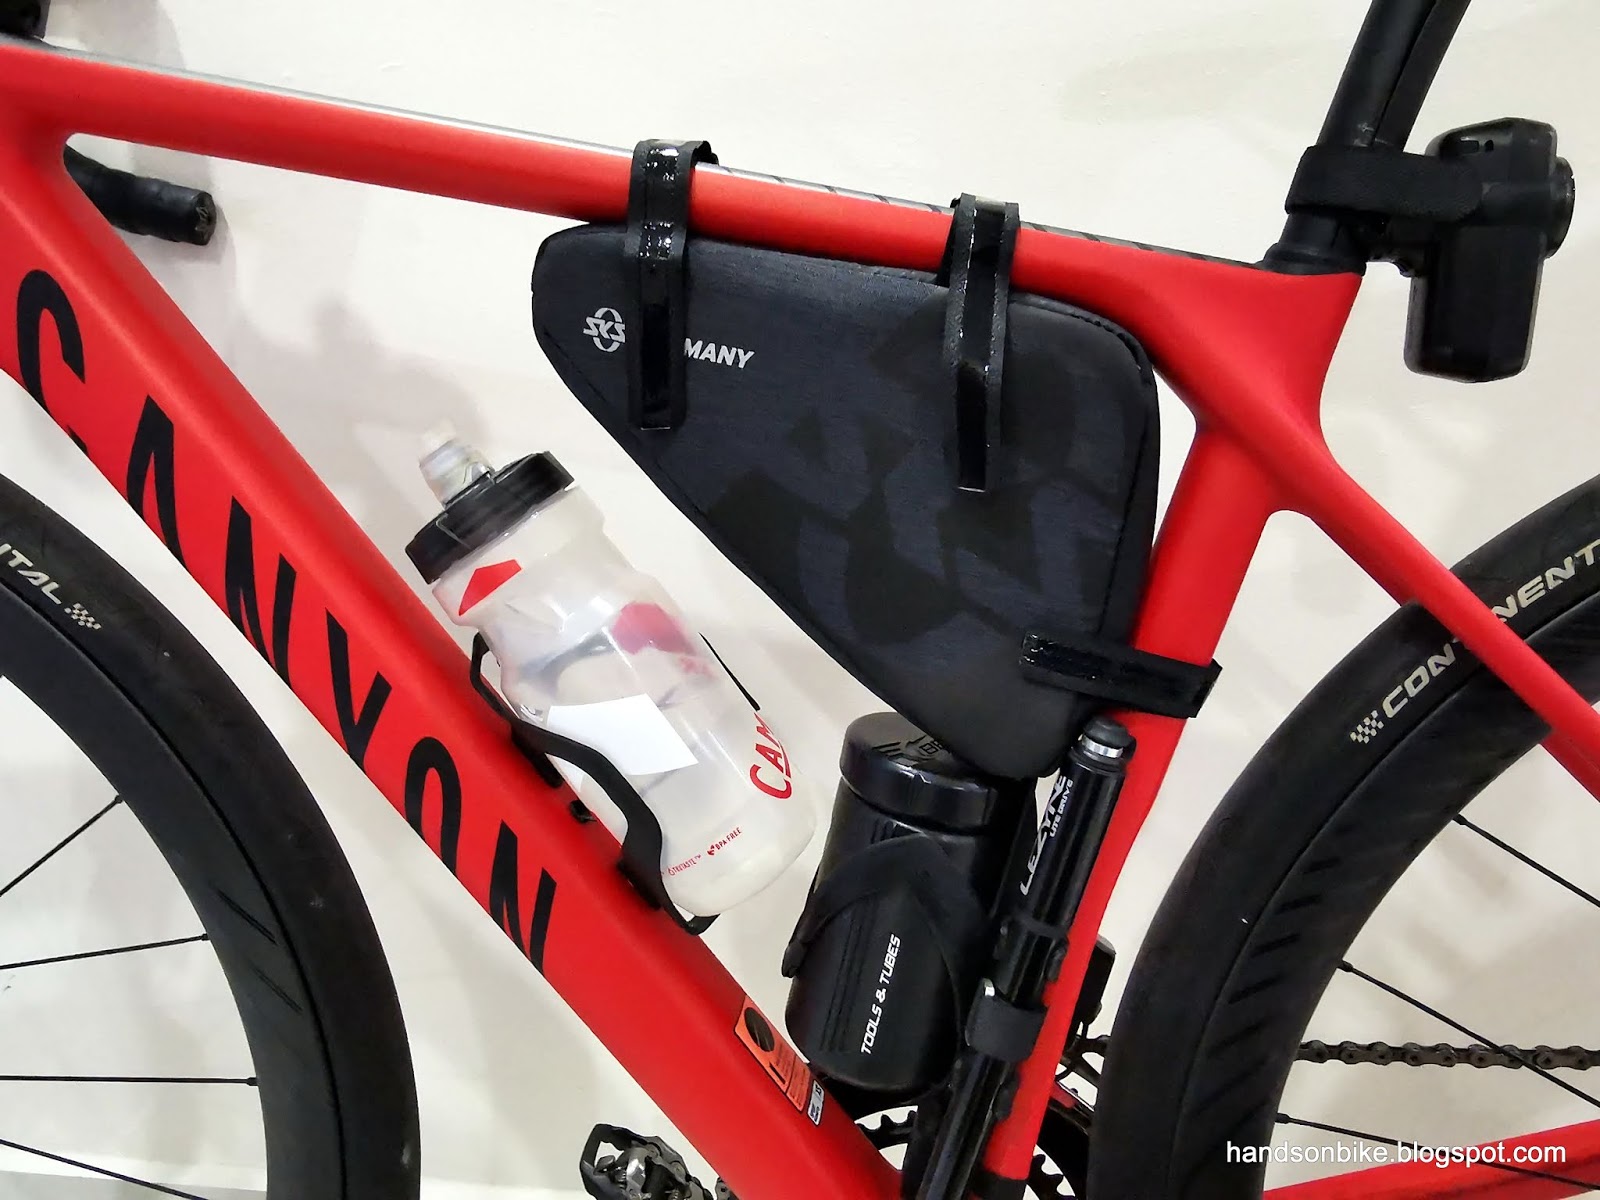
Fits reasonably well on the Canyon Endurace, with sufficient clearance with the tool bottle.

The Explorer Edge touches the water bottle, but it can still be removed quite easily.

The width is OK, and will not interfere with my legs while pedaling.

Comparing the sizes of the Explorer Edge on top, and Traveller Edge below.

The Traveller Edge is triangular shaped, and is more suited to flat and wide objects.

A water bottle does not fit inside the Traveller Edge, as the bag is not long enough.

No netting or inner compartments inside the triangular Traveller Edge frame bag.

The Traveller Edge also fits on the Canyon Endurace, and rests on the tool bottle.

There is much more clearance with the water bottle when using the Traveller Edge.

Main problem with the Traveller Edge is the width! It is too wide and will interfere with my legs during cycling.

Both the frame bags can fit on the Canyon Endurace without any issues. However, the Traveller Edge has a critical problem, where it is too wide. During pedaling, my legs will keep touching the side of the bag, which is really annoying. Therefore, I decided to use the slimmer Explorer Edge frame bag instead.

In the end, the Traveller Edge that was designed for road/gravel bikes does not fit well, while the Explorer Edge that was intended for MTB fits the gravel bike better.

Explorer Edge on the Canyon Endurace


After I changed my bike to the Cervelo Aspero, the SKS Explorer Edge frame bag can still be used. Regardless of whether it is in the road or gravel setup, the frame bag can be useful when you need a bit more luggage capacity.

Explorer Edge frame bag mounted on the Cervelo Aspero. The side velcro strap is exactly at where the seat stays joins to the seat tube, but the strap is long enough to go around the joint.

Looking good! SKS Explorer Edge frame bag installed on the Cervelo Aspero gravel bike.

I am happy that the Explorer Edge frame bag fits well, and is easy to attach or remove from the bike. You can bring along your wallet and spares easily when necessary, without carrying any backpack.

One minor complaint that I have about the frame bag is that I cannot hang my bike on the Minoura Bike Tower, as the bag blocks the hooks from holding the top tube. This is mildly annoying, but the solution is easy as I just need to remove the frame bag.

Wednesday, January 29, 2020

Canyon Endurace: Exploring the Gravel Routes

With the Canyon Endurace gravel bike fully assembled, it is time to go around riding the different gravel routes! There are many different types of off-road tracks, not just gravel. Even dirt tracks and easy MTB single track trails are possible.

Riding a short but fun gravel trail. Shown here is the DT Swiss G 1800 gravel wheelset.

Terrain here is gravel embedded in a hard dirt trail, with some loose sand on top.

With gravel tires at the appropriate low pressure, it is easy to ride fast on this trail.

A thicker layer of loose gravel can be found at certain parts of the trail. I find that a tire pressure of 32 PSI (front) and 38 PSI (rear) works well for me.

Super scenic shot with a great composition of colours!

This is a great place for taking beautiful pictures!

Here is another type of gravel, which is completely loose and goes quite deep.

Even though the GravelKing SK 700x35c tires are wide, the treads are not deep enough to cut through the gravel to find traction, and it will slide around on the surface.

Picture perfect gravel trail, completely deserted at this time of the day.

If not for the high rise buildings seen in the background, you would never guess that this location is in the middle of the city.

Where does this road lead you to?

These tires are not really suitable for riding in thick, loose gravel, but it is still manageable.

Venturing off-shore for more gravel action! 

Going to the nearby island for some natural trails and some off-road tracks, completely free of vehicles.

Some stretches consists of hard-packed dirt tracks which can even be ridden with normal road tires.  

Some sections of the trail are more muddy, but still manageable even with these tires. 


Full gravel setup, with a frame bag and a water bottle with cap.

It is really fun to ride off-road with a gravel bike, instead of using a normal mountain bike. It makes easy trails a bit more challenging, while the lower weight of the gravel bike makes climbing easier. When you transit to well-paved roads, you can ride really fast and smoothly like on a road bike.

Of course, there are limitations as to what a gravel bike can do, especially if the off-road sections are more technical. In that case, a proper MTB would be more suitable.

That said, I would like to use an even wider tire for a gravel bike, which is why I will be changing to a new frame that can accommodate wider tires. The Canyon Endurace is a great bike, and it has allowed me to try out gravel riding. Now, it is time for it to give way to a new bike.

Before disassembling the bike, I removed all the extra accessories from the bike, such as the bottle cages, lights, and etc. 

This gravel setup weighs 8 kg, which is a decent weight for a gravel bike, although it can be even lighter by about 400 grams if a carbon gravel wheelset is used.

Wednesday, January 22, 2020

Canyon Endurace: Gravel Setup

With all the gravel components installed, it is now time to make sure that everything fits and works well. The critical issue here is to ensure that there is sufficient tire clearance with the Canyon Endurace frame, so that the wheel can spin smoothly.

As previously checked, there is plenty of clearance when using the Continental GP4000 tires, which have an actual width of 32 mm. The area with tightest clearance is in between the chain stays.

These Panaracer GravelKing 700x32C tires have an actual width of 35 mm when mounted on the DT Swiss G 1800 gravel wheels, with an internal rim width of 24 mm. On most other road bike frames, it is impossible to fit a 35 mm wide tire, but this Canyon Endurace is special as it has a rather generous tire clearance, considering that it is not a gravel frame. Let's see how much tire clearance there is when this gravel wheelset is installed!

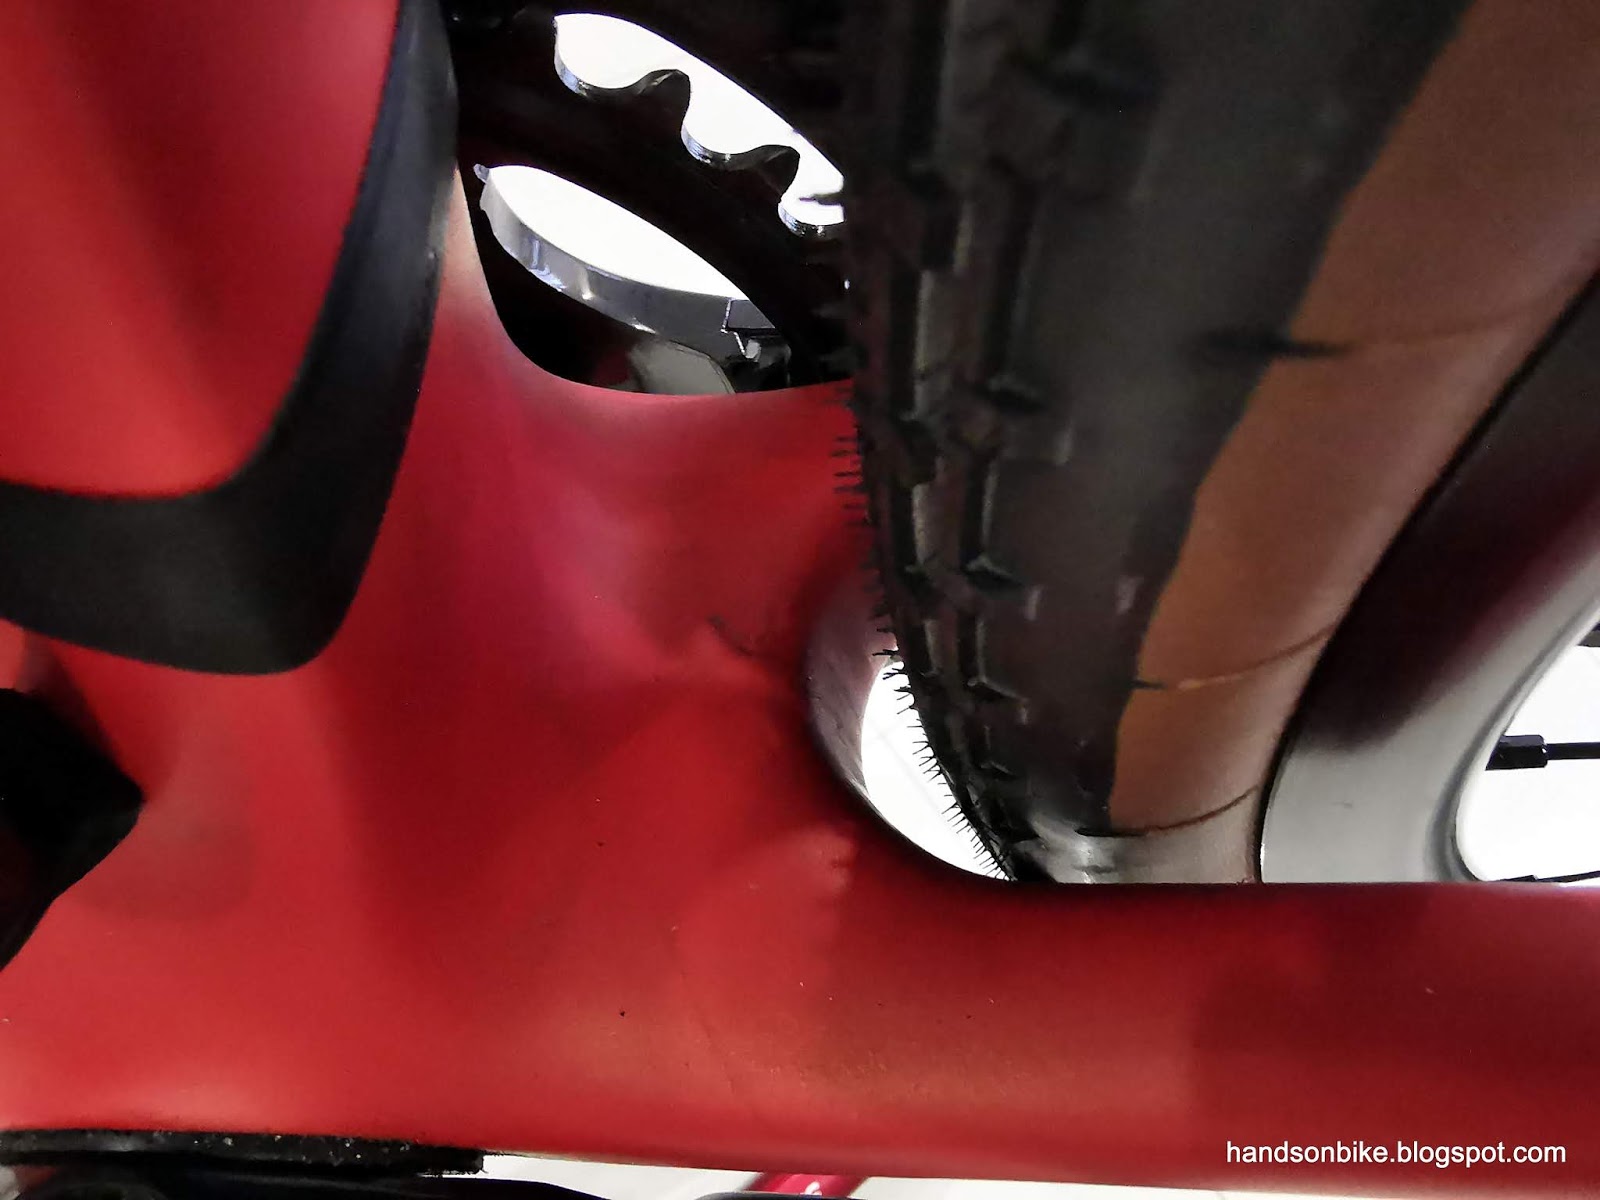
Barely enough clearance between the 35 mm wide tire and the chain stays. About 2.5 mm of clearance on each side.

Another view of the tire clearance. This is probably the minimum amount that is allowable, in terms of clearance.

Slightly more clearance around the tire circumference. There is a ledge behind the seat tube that tends to collect dirt.

Generous clearance around the seat stays area. A very good reason to use disc brakes instead of caliper brakes.

Still a generous 4-5 mm of clearance around the front tire, which is really nice to see.

With this, we can conclude that there is no issue with tire clearance! It is possible to run 35 mm wide (actual width) gravel tires on the 2017 Canyon Endurace CF SLX frame (Size XS).

Comparing the road front wheel with the gravel front wheel. Wheel diameter is almost the same.

Weight of Reynolds carbon front wheel with RT900 rotor is 1270 grams.

Weight of DT Swiss G 1800 front wheel with MT800 rotor is 1453 grams. Almost 200 grams more.

Comparing the road rear wheel with the gravel rear wheel.

Weight of Reynolds carbon rear wheel with Dura-Ace 11-30T cassette and RT900 rotor is 1595 grams. 

Weight of DT Swiss G 1800 rear wheel with HG800 11-34T cassette and MT800 rotor weighs 1960 grams, 300+ grams heavier than the road rear wheel.

Weight of Road Wheelset: 1270 + 1595 = 2865 grams
Weight of Gravel Wheelset: 1453 + 1960 = 3413 grams

Based on this weight comparison, the gravel wheelset will add about 550 grams to the weight of the bike, compared to the carbon road wheels setup. This is quite normal, but it can actually be reduced if I used a lighter carbon gravel wheelset.

The next item to improve would be the ease of swapping the wheelsets. As mentioned earlier during this gravel bike conversion project, my objective is to enable the bike to be converted between a road bike and a gravel bike, simply by swapping the wheelset. No adjustment would be needed to the GRX rear derailleur or any other component.

The 12 mm E-Thru axles that come with the Canyon Endurace have a detachable lever. There is only one lever which is shared between the front and rear axles. If you really want to save weight, you can detach the lever completely and leave it at home.

In my case, since I want to make it easy to swap the wheelsets, I will need to have a lever on each of the front and rear axles. This will make it much faster to loosen and tighten the axles, as I don't need to move the lever around. The lever also attaches quite tightly to the axles, which makes it difficult to remove easily.

Therefore, the solution is to buy one more lever, so that both the front and rear axles have a lever attached permanently. Based on my comparison, the lever used on the Canyon Endurace is based closely on the DT Swiss design, but with a different appearance. The attachment point has the same 6 mm hexagon head.

Just to confirm this hypothesis, I took the DT Swiss thru axle lever from the Fabike C3, and tried it on the Canyon Endurace thru axle. It fits perfectly!

New DT Swiss lever on top, original Canyon lever at the bottom. Appearance is quite different.

The 6 mm hexagon bit is the same, with a rubber O-ring to keep it snug inside the thru axle.

Design is the same, and is probably licensed from DT Swiss.

The levers work the same way. The angle of the lever can be adjusted by pulling out the lever and setting it on another notch on the splines.

Lever attached to the rear thru axle. Each lever adds about 30 grams of weight, but it is worth it for the time it saves when swapping the wheelsets.

New DT Swiss lever attached to the front thru axle.

With this, the gravel bike project is completed successfully! I can swap the wheelsets in less than 1 minute, taking my time to align them carefully and also making sure that the cassette meshes with the chain properly. No other adjustment is needed, making it really quick and easy to transform the bike for different rides.

Updated bike weight with these modifications. Mainly from addition of thru axle lever, GRX rear derailleur, slightly longer chain. This is for road bike setup. 

This is the additional weight when converting from road to gravel setup. Adds 500+ grams, giving a gravel bike weight of about 7.6 kg without pedals, and almost 8 kg with pedals.

Gravel wheelset installed

All ready for some gravel rides!


Added a frame bag and a water bottle with cap, to complete the gravel setup.