Showing posts with label Speedometer. Show all posts

Saturday, August 15, 2015

Garmin Edge 510: In Depth Review

After 3 months of using the Garmin Edge 510 cycle computer on both the Merida Scultura 5000 and the Dahon Boardwalk, I have had the chance to try out most of the features on the Garmin.

With that, it is now possible to give a more detailed review about the Garmin Edge 510, and also introduce some of the more interesting features found on the Garmin.

First of all, the interface of this Garmin allows it to be used on different bikes easily, even though the bikes may have different sensors or wheel sizes. This is achieved by allowing different bike profiles to be created to suit the different bikes.

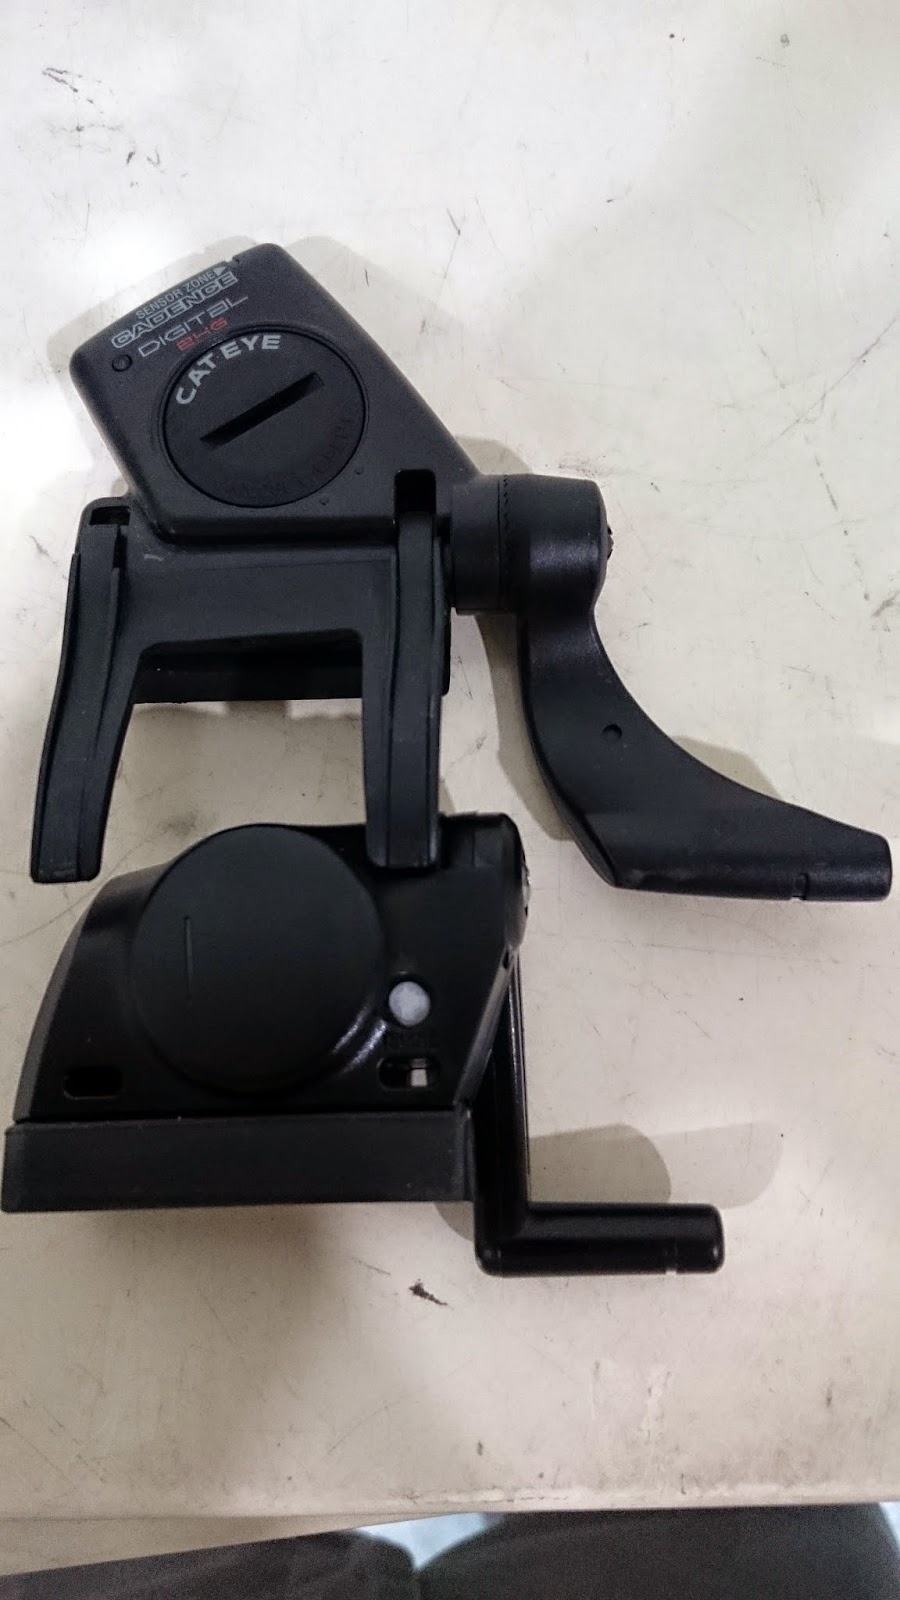
For example, the Merida is using 700C wheels with Schwalbe One 25C tires, with the Garmin GSC-10 ANT+ sensor installed on the bike. This sensor can track cadence and speed.

Garmin GSC-10 sensor on the Merida

As for the Dahon Boardwalk, it is using 20" wheels with Schwalbe Kojak tires. It has a new ANT+ Garmin speed sensor which does not require the use of a magnet on the spokes. Also, the Dahon Boardwalk has a Ultegra Di2 system, with a D-Fly wireless unit that enables gear data to be transmitted to and displayed on the Garmin Edge 510.

Dahon Boardwalk with D-Fly wireless unit that can transmit Di2 gear data to the Garmin

Despite the different sensors and setups, this is not a problem for the Garmin, as it is fully customisable to be able to be used effectively on both the bikes. I have created different bike profiles to suit the two different bikes, as shown below. Also, different activity profiles can be created, which refers to the different data fields that will be displayed on screen.

As long as the correct bike profile is chosen, it will detect the correct sensors and display the correct data. This setup only needs to be done once, as the linking of the ANT+ sensors to the Garmin is automatically done for subsequent usage. Choosing the different activity profile will then display different data fields on the screen.

Four different activity profiles and two different bike profiles, all nicely colour coded for easy identification.

Merida bike profile with Race activity profile, with red as my chosen colour 

The Merida is linked to the GSC-10 Garmin sensor, which has speed and cadence data as shown here. 

For the Merida Race profile, these are the info that I chose to display on the first page.

First page of the Merida Commute Mode, shown here in blue colour. Time of Day is important, while Heart Rate is not important while commuting.

Dahon bike profile with Commute activity profile is selected

On this bike, the sensors are the new Garmin speed sensor and the Di2 D-Fly sensor

 First page of the Dahon Commute activity profile. Di2 gears are clearly shown at the top of the screen. Also, shown here is the Night display mode, with a black background and lighted words.

Second page of the Dahon Commute profile. Di2 battery level is also shown here. This is the Day display mode, with a white background and black words for contrast under sunlight.

The data fields for each page is also fully customisable. Besides being able to choose the number of pages to display, the number of data fields to display on each page and the type of data to display can also be chosen.

Up to 10 data fields can be displayed on one page. However, displaying less data fields per page will allow each data field to be larger.  

With only 5 data fields on this page, the size of each field can be larger.     

For every data field box shown on screen, it can be changed to display the data that you want. Shown here are just three pages out of about six pages. 

Gears is a category that is only found if the Di2 D-Fly unit is connected 

More categories for those who love cycling data. Under each main category are more sub-categories.

I think that the Bike Profile and Activity Profile arrangement works really well, as this allows the Garmin to be used across different bikes, while still allowing full customisation of the sensors and data display to best match each bike and type of usage. It is easy to expand this to more bikes if desired.

There are also some other rather special features, such as Training Partner or Ride A Course. These can add a bit of excitement to an otherwise boring solo ride.

For Training Partner, what it does is to let you choose a previously ridden course, and then assign a virtual rider to pace you. For those who have played racing games before, this is similar to the Ghost Car mode, with a virtual car driving alongside you. In this case, you first choose the course to ride, and then adjust the speed of the training partner. The distance and time difference will then be displayed.

This mode is useful if you want to compare your average speed to the pre-set value. It encourages you to ride faster and put more distance between yourself and your virtual partner. The speed of the virtual partner can also be changed on the go, so you can increase the speed of your virtual partner if you find that you are pulling too far ahead, or vice versa.

Select the speed of your training partner, and start riding! The distance and time difference will then be displayed, to see how you match up against the selected speed. 

Another feature is the Ride A Course mode. This allows you to retrace a previously ridden route, and show you how far you are along the route. If you go off course, it will also inform you.

A selection of two different courses that I have saved and named. 

Rough map of the course. When activated, it will also show how far along the route you are.

The next major feature is LiveTracking, which allows your current location to be broadcast to selected viewers. Other than your location, selected parameters such as speed, distance, heart rate and etc can be seen by your selected viewers.

For this to work, the Garmin will need to be linked to your smartphone via Bluetooth. The data will then be transmitted from the Garmin to the smartphone, and then uploaded from the smartphone to the Internet. The Garmin Connect app will need to be downloaded on the smartphone.

Example of a ride that was tracked using LiveTracking. The default ride name is Johor Bahru Cycling, which is a bug with Garmin that has not been fixed yet.

To start LiveTracking, the ride needs to be first started on the Garmin. Then, you can send invitation emails (with the link to the ride map) to your selected viewers, or just upload it to Facebook or Twitter. After that, start LiveTrack on the phone and the ride will be live!

This is a fun feature that is useful if you want to let others know your location, or if you want to check where your friend is currently at. Not sure how much the lag is, but it is not too much to be unusable. Currently there is a bug with the automatic Facebook upload, which has not been fixed yet.

There are other features such as Navigation and such which I have not tried, so there is still some hidden potential in the Garmin Edge 510. Nevertheless, it already has a lot of features packed into it, many of which are quite useful.

Other than the features, here are some of my observations on the general function of the Garmin Edge 510.

Time Taken for GPS Lock
The first time I turned on the Garmin and tried to connect it to the GPS, it took more than five minutes before it was connected. The good news is, that was only for the first time. Subsequent locking of the GPS signal was very fast, taking less than thirty seconds, as long as you are in the open. If you are under shelter, it tends to take a while more, but still acceptable. Overall, connecting to the GPS is quick and reliable, so no problem there.

Battery Life
The battery life of the Garmin is very good, as I can easily go more than two weeks before needing to charge it, despite using it for commuting to and from work a few days a week. I never had a problem with the Garmin running out of battery, so I am very pleased with the battery life, with respect to my type of usage.

Using the Garmin Edge 510 without external sensors
It is possible to use the Garmin Edge 510 on its own, without connecting to any ANT+ sensors. I did try this when I tested the Garmin on the Dahon MuEX, which does not have any ANT+ sensors on it. If there are no sensors, the Garmin will estimate the speed and distance based on GPS data. This is of course not as accurate as having sensors on the bike, but it is good enough for most purposes. The overall distance and average speed will be reasonably accurate, but not the current speed as it cannot respond quickly enough to changes.

With that, my in depth review of the Garmin Edge 510 is complete! Definitely not as in depth as those by DC Rainmaker (which is super detailed), but probably useful enough to learn more about the Garmin. I think it is a good cycling computer, and is also a worthwhile investment if you have multiple bikes.

Sunday, May 24, 2015

Using Cateye Strada Digital Wireless with Minoura Bike Trainer

Now that I have installed a new Garmin Edge 510 cycle computer on the Merida Scultura 5000, the previous cycle computer is now available for other uses. I had previously installed the Cateye Strada Digital Wireless cycle computer on the Merida, and now I will move it to the Dahon MuEX.

There are a few reasons for me to install the Cateye Strada Digital Wireless on the Dahon MuEX. The first is because there is currently no cycle computer on the bike, and I have found that I missed the info (speed, distance) from the cycle computer when riding the MuEX. The other reason is that this particular cycle computer has cadence and heart rate info too, which is really useful when training or exercising.

I had previously set up the MuEX on the Minoura Bike Trainer, mainly for indoor cycling and training. To improve the efficiency of the training, it is good to have a target cadence and heart rate to maximise the effectiveness of the training session. Speed and distance will not be accurate as the resistance on the bike trainer is different from riding on the road.

The difference between this Cateye cycle computer and cheaper cycle computers is that while most cycle computers have their sensors on the front fork, this Cateye cycle computer has the sensor mounted on the rear chainstay. This is because there are two parts to the sensor, the cadence sensor and the speed sensor. This combo sensor will detect the cadence from the crankarm in addition to the speed from the rear wheel. As the distance to the handlebar is greater, the sensor also needs to be more powerful in order to transmit the data to the computer unit on the handlebar.

One tricky thing is that not all cadence/speed sensors can be mounted on a small wheeled bike. Garmin also has a similar chainstay mounted cadence/speed sensor (GSC-10), but it will not work on the MuEX (and most small wheeled bikes) because of the sensor design. See below for the explanation.

Comparing the Cateye speed/cadence sensor (top) with the one from Garmin (bottom)

By comparing the distance between the crankarm sensor area and the wheel magnet sensor area, we can see that the distance between the two sensors is shorter on the Garmin sensor than on the Cateye sensor. The problem with a short distance between the sensors is that for most small wheeled bikes, due to the smaller wheel diameter, the rear wheel is further away from the crankarm. The result of this is that the cadence/speed sensor is unable to reach both the crankarm magnet and the rear wheel magnet at the same time.

When the cadence sensor areas are both aligned, the Garmin speed sensor has a reach that is about 20mm shorter than the Cateye sensor.

This 20mm is significant, as the extra 20mm reach of the Cateye sensor means that it can be used on small wheeled bikes! As you can see from the picture below, the Cateye sensor only just manages to reach both the crankarm magnet and the rear wheel magnet. I also had to place the wheel magnet all the way to the spoke nipple, and it only barely manages to reach the sensor.

The Cateye sensor is able to reach both the crankarm magnet and the rear wheel magnet at the same time. Wheel used is Wheelsport Sunny, a 20 inch 406 wheel with a low (~24mm) rim profile.

If a high profile wheelset (such as Wheelsport Smart 1.0, 30mm rim profile) is used, this will not work as the magnet still cannot reach the sensor. On the other hand, if a larger wheel is used, such as 20 inch 451 wheels, it will allow the rear wheel magnet to go closer to the sensor (closer by about 1 inch, or 25mm).

As previously used on the Merida Scultura 5000, I also stuck a strong neodymium magnet (Diameter 12mm) on the pedal axle, instead of cable tying the provided magnet.

Shown as mounted on the bike. The computer unit is able to detect the cadence/speed sensor even when it is mounted far away on the rear chainstay.

The heart rate and cadence shown on the computer screen will help to improve the effectiveness of the workout, by ensuring that I am training in the correct heart rate zone.

Not only is this Cateye cycle computer useful as a training aid, it will also be useful when I take the bike out for a ride as it will just work like a normal cycle computer.

So, if you are considering getting a cycle computer for your small wheeled bike that can also detect your cadence, this Cateye Strada Digital Wireless will work. On the other hand, the standard Garmin GSC-10 cadence/speed sensor will not work on most small wheeled bikes as the sensor cannot reach both the crankarm magnet and rear wheel magnet at the same time.

Thursday, May 21, 2015

New Garmin Speed Sensor

In a previous post about the Garmin Edge 510, you may have noticed that one of the bike profiles is that of my Dahon Boardwalk. Although the Garmin bundle comes with 3 sets of mounts, it only comes with one set of Speed/Cadence sensor. That sensor has already been installed on the Merida Scultura 5000 road bike, so how did I manage to link up the Dahon Boardwalk with the Garmin?

The easiest way is to not use a sensor at all. Using the Garmin head unit alone, it can use GPS to detect the position and therefore estimate the speed and the distance. Although using GPS works pretty well for overall distance, it is not accurate for instantaneous speed readings. Also, it does not work properly when cycling in between tall buildings, under bridges or anywhere where there is no good GPS signal.

A more accurate way to get speed readings is to get a second sensor for the bike. I don't really need cadence readings, and so a speed sensor will be sufficient. With speed, the distance and other parameters can be calculated.

What I need is actually just an ANT+ speed sensor, which can be found quite easily. However, all these speed sensors rely on a magnet on the spoke and a sensor tied to the fork. Although this works well, it also means that some setup is required and it is difficult to move the sensor from bike to bike.

Garmin recently launched a new type of speed sensor that comes with the Garmin Edge 1000 cycle computer. This speed sensor does not require a separate magnet, and is just a sensor on its own. Best of all, it attaches to the bike with just a rubber strap, which makes it easy to transfer the speed sensor across different bikes.

The new Garmin speed sensor

Easy-to-install, as stated on the packaging

The speed sensor embedded in a rubber cover, with a rubber strap for attachment around the wheel hub.

The battery compartment (CR2032 battery) is hidden at the bottom of the sensor. The hook for the rubber strap is located on the other side of the sensor.

Installation instructions for the new Garmin speed sensor. It basically tells you to wrap the sensor around the wheel hub, and that is all that is required!

I think this speed sensor works by using a gyroscope to detect its orientation. Every time the sensor flips from right side up, to upside down and then back up again, it will detect this as one revolution. Together with the wheel circumference entered in the Garmin head unit, this will give the speed of the wheel. It is a very simple concept that should work quite well. Mounting the sensor on either the front wheel or rear wheel will do, as long as it is on the wheel hub that is spinning.

Although installation is supposed to be very straightforward, it is not as simple to install on a small wheeled bike such as my Dahon Boardwalk.

I tried to install the sensor on the Novatec front hub, but the narrow 74mm OLD front hub means that the hub flanges are very close to each other, and the sensor cannot fit in between the hub flanges.

Next, I tried the rear hub. However, due to the larger diameter of the Chris King R45 rear hub, the rubber strap is not long enough to stretch around the hub and onto the hook.

In the end, I used a rubber band from the Garmin mount to extend the rubber strap of the speed sensor. Now it fits nicely around the rear hub of the Dahon Boardwalk.

With this new Garmin speed sensor on the Dahon Boardwalk, I am now able to move the Garmin head unit between the Merida and the Boardwalk easily, since both bikes have their own sensors. Also, this new speed sensor can be moved to another bike very easily. An example would be the Dahon MuEX. In just 1 minute, I can attach a Garmin mount to the bike, and also attach the speed sensor on the MuEX. The Garmin Edge 510 can then be used on the MuEX to track the cycling activity.

Saturday, May 16, 2015

Garmin Edge 510: First Impressions + Installation

It is time for a new cycling computer! This time, I decided to get a Garmin cycle computer as it has many new functions that I want to try out.

All my other bikes are using Cateye cycle computers, so a Garmin is new to me. My Dahon Boardwalk and Dahon Vitesse are using the older Cateye Strada Wireless computer; the Avanti Inc 3 commuting bike is using the Cateye Strada Slim cycle computer, while the Merida road bike is using the Strada Digital Wireless with HR and cadence sensor.

I have plans to move the Strada Digital Wireless cycle computer from the road bike to the Dahon MuEX that is on the Minoura bike trainer. This cycle computer will help to keep track of the cadence and heart rate for a more efficient workout. At the same time, it can also track the distance pedaled on the bike trainer (although speed and distance are not accurate on the bike trainer). Therefore, I will need a new cycle computer for use on the road bike.

Why a Garmin? First, I wanted to try something different instead of getting another Cateye. Cateye cycle computers are good and reliable, but their functionality is limited even for the newer models. Also, I wanted to use ANT+ sensors, which allow the cycle computer to be moved around different bikes easily. It would also be useful to have GPS to log the route taken, and combine it with video footage taken with the Shimano Sport Camera.

From reviews, it seems that the Garmin is easy to use and has some really good functions that I can try out. There are a few models to choose from, the Edge 510, Edge 810 and Edge 1000. The Edge 1000 is too advanced for my intended usage, and it is also very expensive. Between the Edge 810 and Edge 510, it seems that the main difference is that the Edge 810 has map navigation functions, while the Edge 510 does not. Finally, I decided to get the Edge 510 as I think I will not be needing the navigation function.

Garmin Edge 510 Bundle

Also can be connected to a smartphone for even more functions and connectivity

The bundle comes with bike mounts, HR sensor, Speed/Cadence sensor

The head unit of the Garmin Edge 510

Comes with the full array of mounts, sensors and other miscellaneous stuff

HR sensor and strap, Speed/Cadence sensor, and the magnets

Speed/Cadence sensor with an extra rubber pad to fit different seatstay shapes

2 sets of basic handlebar mounts with lots of rubber bands, and an out-front mount

2 complete set of mounts for multiple bikes, with different rubber band lengths

The out-front mount with a 31.8mm clamp, and a rubber shim for smaller diameter handlebars  

What is great about the bundle is that it comes with all the ANT+ sensors and 3 full sets of mounts for multiple bikes. This saves time and money from having to buy additional mounts for your other bikes. Garmin expects users to use the cycle computer across different bikes and thus supplies the mounts for you to do so easily. It is also cheaper to get the bundle than to buy the mounts and sensors separately.


The rear of the head unit. The simple yet secure quarter twist mounting design that is unique to Garmin.

Rubber flap hides the mini USB port that is used for charging and data transfer, and also protects it from rain.

After starting up the computer, I followed the instructions as provided in the user manual, and fiddled around with the settings. With such a high tech cycle computer, it feels very much like the unboxing of a new smartphone, with lots of settings and customization available.

This new Garmin has a new way of setting up the computer, so that it is easy to use different settings for different bikes and rides. By setting a different bike profile for each bike, it lets the computer know which sensors to detect and what wheel size to use, if the bikes are of different wheel sizes.

Next, select the ride profile that you want to use. This determines what parameters to display on the screen. For example, when commuting, I would like to see the time of the day. I do not need to see cadence or heart rate when I am riding to work.

On the other hand, when I am riding fast on longer rides, I would like to see cadence, heart rate and perhaps average speed. By choosing a different ride profile, I will be able to choose what to display and what not to display on the screen.

The top row allows you to select the bike to track, and the bottom row allows you to select the ride profile and thus the parameters to display. You can also choose the colour to use for different ride profiles.

The ride profile that I use for commuting. Not many parameters are actually needed.

There are many more functions that I would like to share, but it will be in a future post where I give a more in depth review after using this Garmin for some time.

One thing to note is that the screen is pressure sensitive, which means that it requires some finger pressure to work properly, different from smartphones. This makes the operation slightly sluggish, but it also means that it will work even if you are wearing full finger gloves, and will not be affected by rain water on the screen.

The bike that I first installed the Garmin on is the Merida Scultura 5000 road bike. As you can see below, there is not much space left on the handlebar for the Garmin.

Squeezing in the Garmin beside the Shimano Sport Camera. With such an arrangement, the camera needs to be removed first, before I can twist off the Garmin from the out-front mount.

The camera has to be located on the right side of the Garmin. This is because the power button of the Garmin is on the left side, which means that if the camera is on the left side, it will block access to the power button.

Installing the speed/cadence sensor on the Merida. No problem here, quite similar to how I set up the sensor with the Cateye Strada Digital Wireless cycle computer.

Instead of using the supplied crank arm magnet, I just stuck a strong magnet on the pedal axle. This works just as well and looks way better than cable tying a magnet onto the crank arm.

Installation is very straight forward and quick. Pairing the ANT+ sensors to the Garmin head unit is also quite easy with no problem. Once the sensors are paired, they will automatically start transmitting data once there is movement. The head unit will also detect the data automatically, which makes everything work really seamlessly.

Currently I am still testing out the Garmin Edge 510, and figuring out how to use the more advanced functions. I will write a more detailed review when the time is right!

Garmin Edge 510: In Depth Review here!