Wednesday, June 15, 2022

Focus Paralane: 2x11 Speed Drivetrain Installation

As a commuting bike, the Focus Paralane is nearly perfect, as it is a fast road bike with high end components. However, since I use it a a road bike for group rides as well, I find that the gear range is not quite enough. This is most apparent when riding down slope, as the highest gear (Front 40T and rear 11T) is 98 gear inches, which is not enough when riding fast down the slopes.

Therefore, if I am using it as a road bike for group rides as well, I need more gear range. There is already a wide 11-36T cassette on this bike, so I cannot use a wider range cassette without sacrificing the close gear steps. Best way is to install a front double system with two chain rings, to get the wider gear range and yet with close gear steps.

When I installed the Dura-Ace R9100 crank arms onto this bike, the chain rings were kept aside. Now, what I need to do is to just reinstall the chain rings onto the Dura-Ace crank arms.

Before that, I needed to check if this frame can accommodate a front derailleur properly. The stock Curana fenders had a cutout to avoid interference with the front derailleur, so with the SKS mudguards, there might be some issue.

Attaching the Dura-Ace FD-R9250 Di2 Front Derailleur to the front derailleur mount to check it out.

Toopre Press Fit Bottom Bracket Tool Set

If you deal with bikes that have a press fit bottom bracket, you will probably dread removing a press fit BB from the frame. The traditional method requires inserting a metal tool behind the BB cups, and hammering the tool from the other side.

I always dread doing this process, as applying a high force to a carbon frame is always risky. It takes two people to do it properly, as the first person needs both hands to brace the frame properly, while the second person will hold the tool with one hand and a hammer on the other hand.

Sometimes the BB fits into the frame very tightly, and it takes a lot of hard but careful hammering to remove it from the frame. I dislike this kind of brute force method as there is chance of damage to the frame, and the BB will most likely be damaged after it is removed.

I had a few bikes that uses a press fit BB, such as the Java Freccia mini velo, the Canyon Endurace, the Cervelo Aspero and now the Focus Paralane. Installing the press fit BB is not an issue, as there is a threaded tool to press it in smoothly. However, the tough part is removing the BB to access the Di2 wires, hydraulic hose or other stuff inside the frame.

Traditional press fit BB removal tool. The flexible prongs at the end will brace against the back of the BB cups from the inside, while you hammer on the other end.

Insert the tool from this side, and pull the tool through, which will close up the prongs...

Saturday, June 11, 2022

Bestrider Pump Pro 16: Stem Upgrade + Exploration

This is probably the last upgrade post for this Bestrider Pump Pro 16 that I will be writing in a while. Starting from the stock bike, the drivetrain was upgraded from single speed to a 3 speed internal hub system. The tires were changed to slick type for lower rolling resistance, while the saddle and seat post were also changed to allow saddle position adjustment.

Now, I will be changing the stem, to improve the handling of this bike. I placed a GoPro on the stem cap of the bike, to record some riding videos from my kid's point of view. It is very interesting, and I found that the handlebar swerves left and right quite a bit even when riding in a straight line.

As I am unable to ride the bike myself to check the geometry, I suspect that this could be due to sensitive steering. It could be due to insufficient trail on the fork or some other geometry problem. Instead of being able to self-center when riding the bike in a straight like, the steering might be too sensitive, requiring constant input and correction to prevent it from steering towards the left or right side. I encountered this issue when I used a handlepost that was too short on the United Trifold.

Stock setup with a super short stem, MTB style.

Bestrider Pump Pro 16: Saddle and Seatpost Upgrade

The Bestrider Pump Pro 16 kids bike came with a decent small saddle for kids, but the 
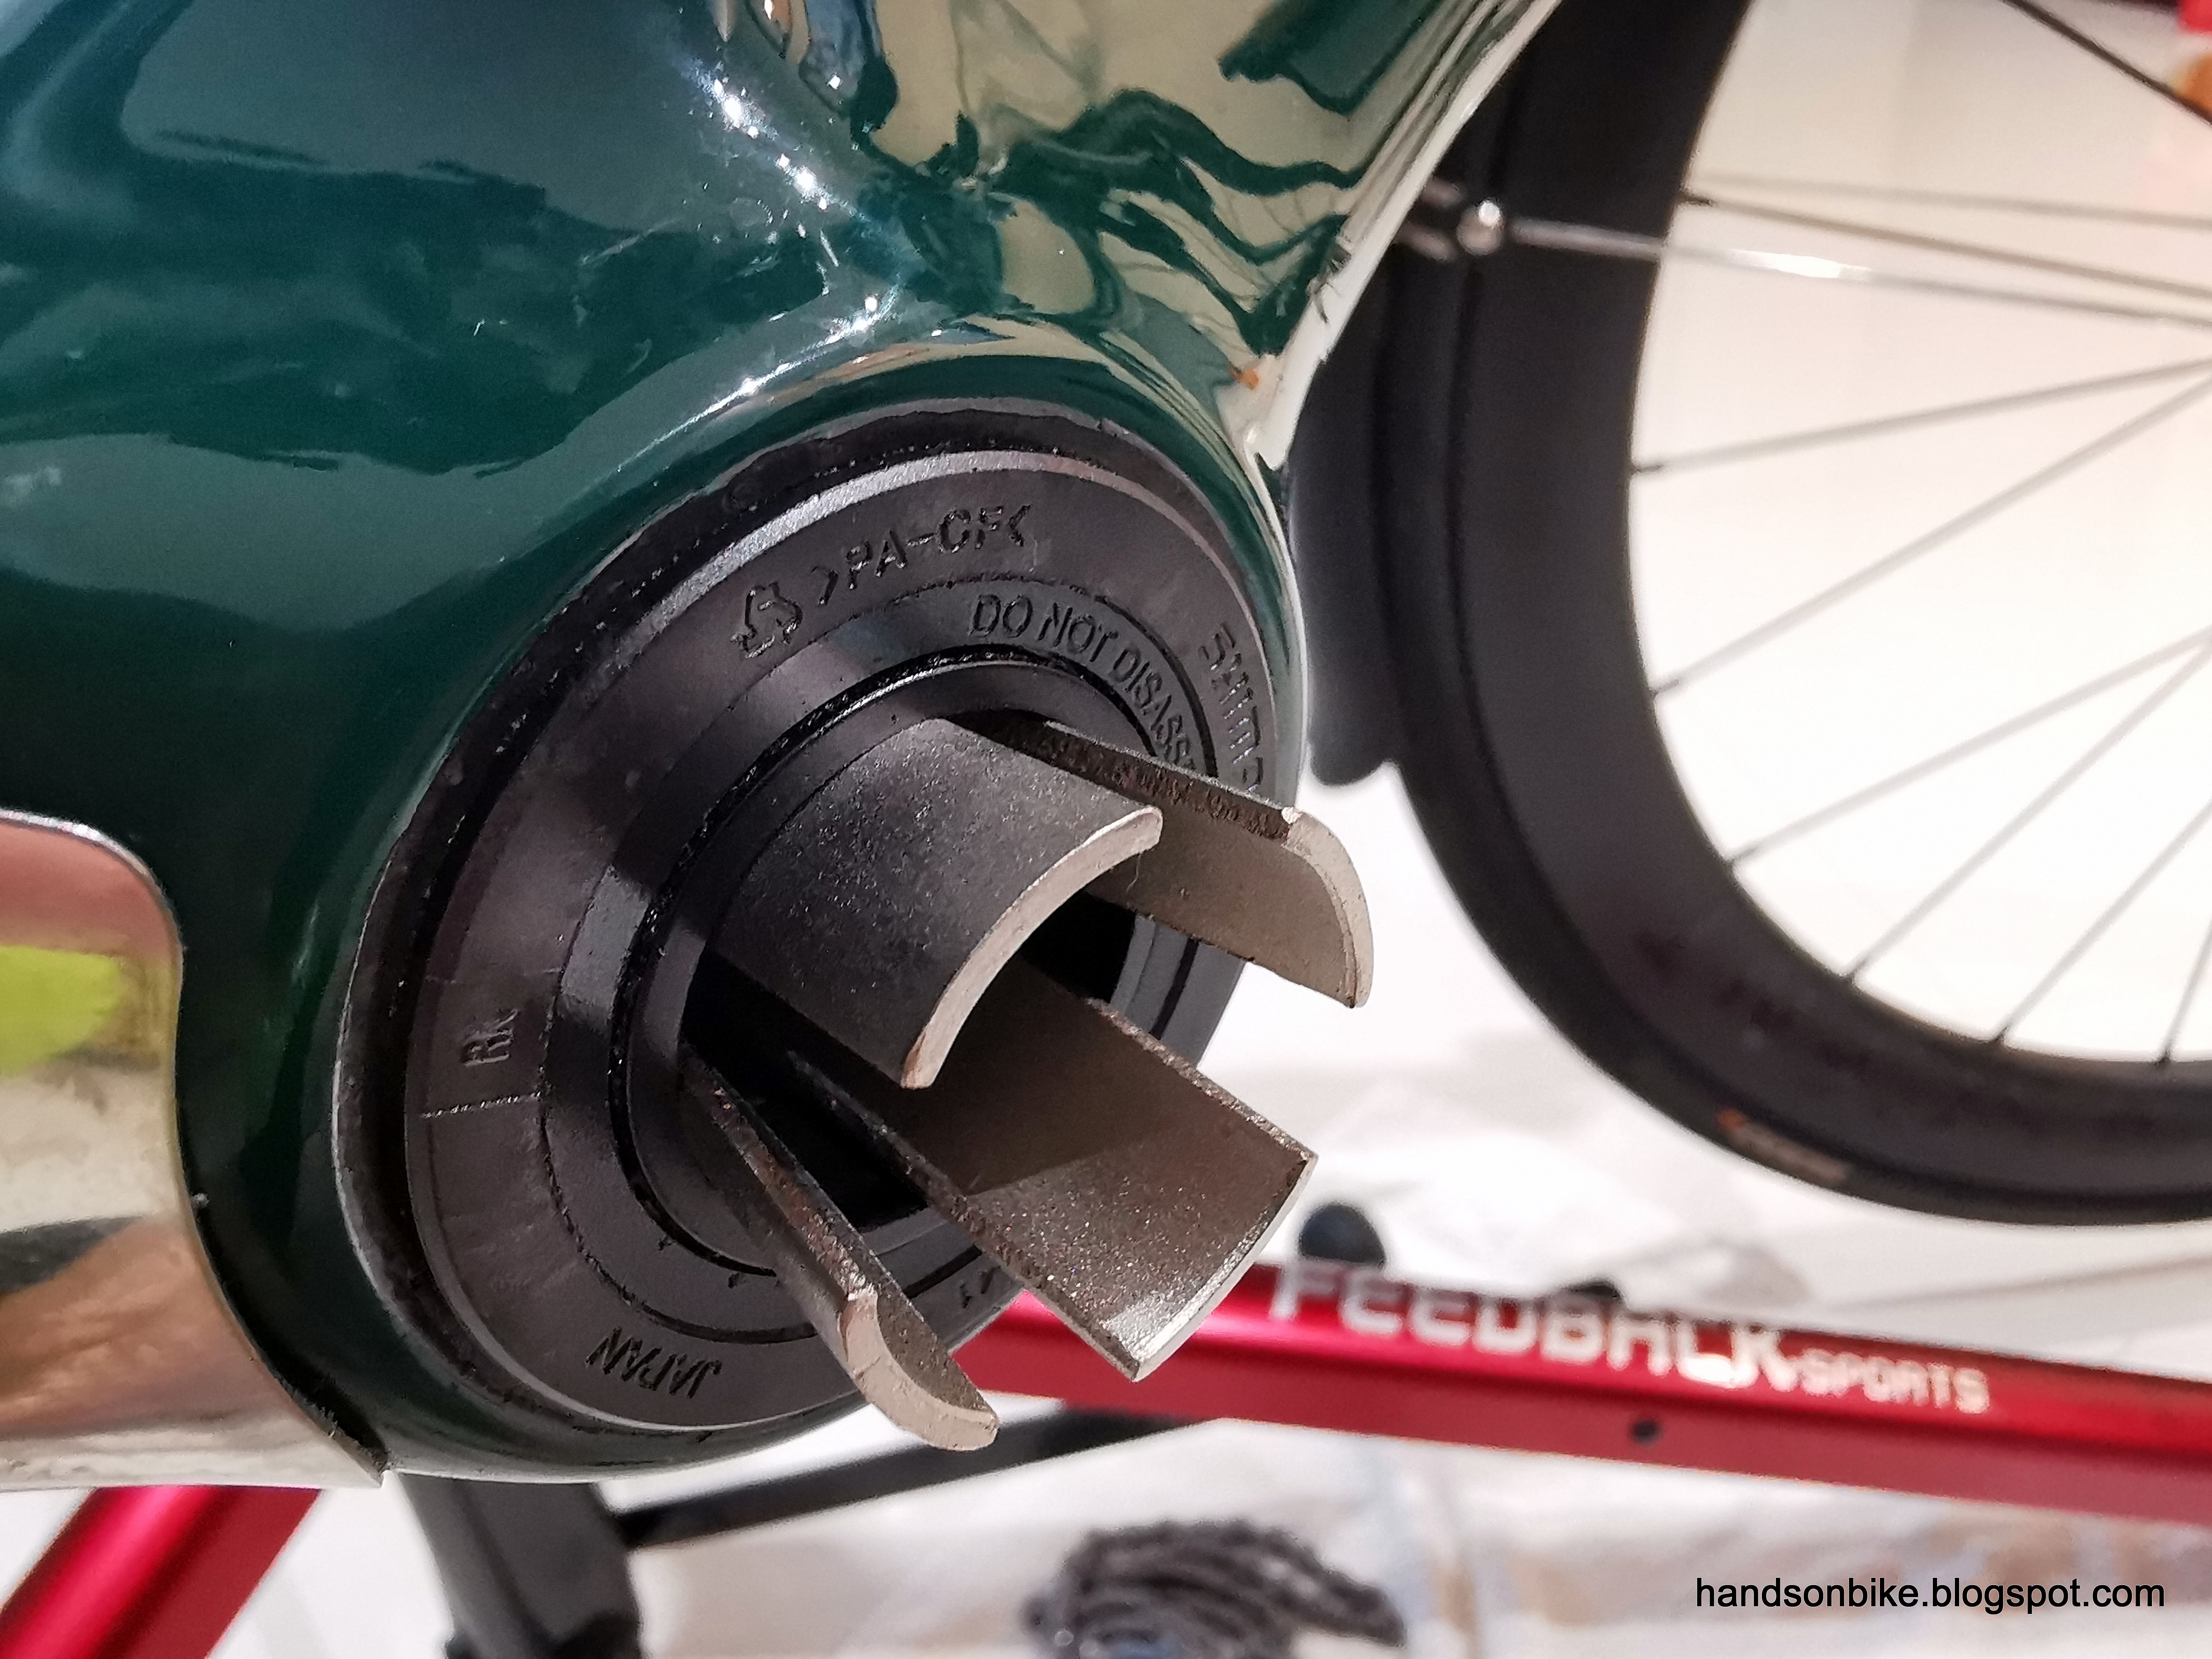
lack of adjustability is a problem. Only the saddle height can be adjusted via the seatpost height, while the saddle fore/aft and tilt cannot be adjusted at all. This is because the saddle attaches to the seat post via a pipe-fitting interface (refer to pictures below), instead of using the common saddle rail interface.

Another issue was that this pipe-fitting interface had looseness between the saddle and the seat post which could not be eliminated. To be honest, this kind of interface is not good at all, and only used because it is cheap.

Therefore, to optimize the saddle position for proper riding, I decided to get a new kids-specific saddle for this bike. As the stock seat post does not have a clamp for saddle rails, I also had to get a new seat post at the same time.

I found that it was nearly impossible to get a decent kids saddle that is not too big or with overly-thick cushion. There are very few options available.

Finally I found a source which had this SDG Fly Junior saddle that is highly rated for kids. There was practically no second option for a good quality kids saddle.

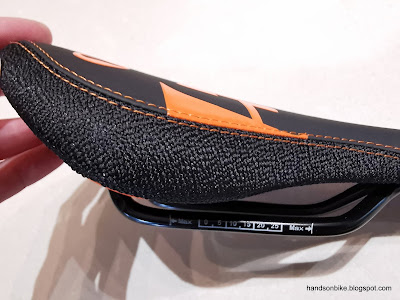
SDG Fly Junior kids saddle!

Some of the features of this saddle.

It was not available in red to match the bike frame, nor all-black. Therefore I had to settle for orange colour.

Standard saddle construction with normal saddle rails.

Tough side material to prevent scuffing when the bike is rested against the ground or wall.

Comparing it to a standard adult road saddle.

Although it is shorter than the adult saddle, it can actually be even shorter and will still be fine.

Narrower to suit the kids' narrower sit bones. You will be surprised how many kids saddles are too wide.

Comparing the shape of the stock saddle (on the left) with the new saddle. Original saddle is even shorter.

Stock saddle has a large plastic bottom shell which matches with the stock seat post. This is what I meant by pipe-fitting interface.

Stock saddle has a cutout at the rear of the saddle, for an adult to hold the saddle using fingers when guiding the kid on the bike.

Stock saddle is chunkier as well, with a very thick and soft cushion.

As for the seat post, a standard 27.2 mm diameter seat post is needed. Since I already had the carbon handlebars, I might as well get a carbon seat post as well. There are many available online, but I decided to get one from Toseek which is of better quality. I'm not too concerned about the strength of these carbon seat posts, because it will only need to take a kid's weight and not an adult. Also, as long as you don't get the super lightweight type, the strength is usually more than sufficient as they will just use more carbon to ensure sufficient strength. The risk comes when you buy lightweight carbon parts from unknown sources.

New carbon seat post! Definitely needs to be cut to fit the kids bike frame.

Dual bolt top and bottom clamp, pretty standard stuff. However, the resting surface for the saddle rails is rather short as it is limited to the centre portion.

Standard bolt and clamp interface, similar to Litepro seatposts.

There is actually an open slot at one of the clamping areas, which is not such an ideal design. I did not notice this when I ordered the seat post.

Wall thickness is equal around the circumference, and more than thick enough.

Weighs 221 grams, which is decent but not really lightweight for a carbon seat post. That's perfectly fine as I don't need to worry about insufficient strength.

After measuring and cutting off almost 90 mm of seat post...

...the seat post weight is now reduced to 194 grams which is great.

New SDG Fly Junior saddle is 260 grams which is so-so. I expected it to be lighter as it is smaller than the usual adult saddles.

New saddle plus new seat post weighs 454 grams.

Stock seat post and saddle only weighs 254 grams! That is really very lightweight.

A lot of the seat post weight comes from the saddle clamp area, not the aluminium or carbon tube. Also, the steel saddle rails on the saddle accounts for a lot of the saddle weight as well. The stock seat post and saddle design eliminates both of these heavy components, which allowed it to save a lot of weight. However, this sacrifices the option of saddle adjustability. 

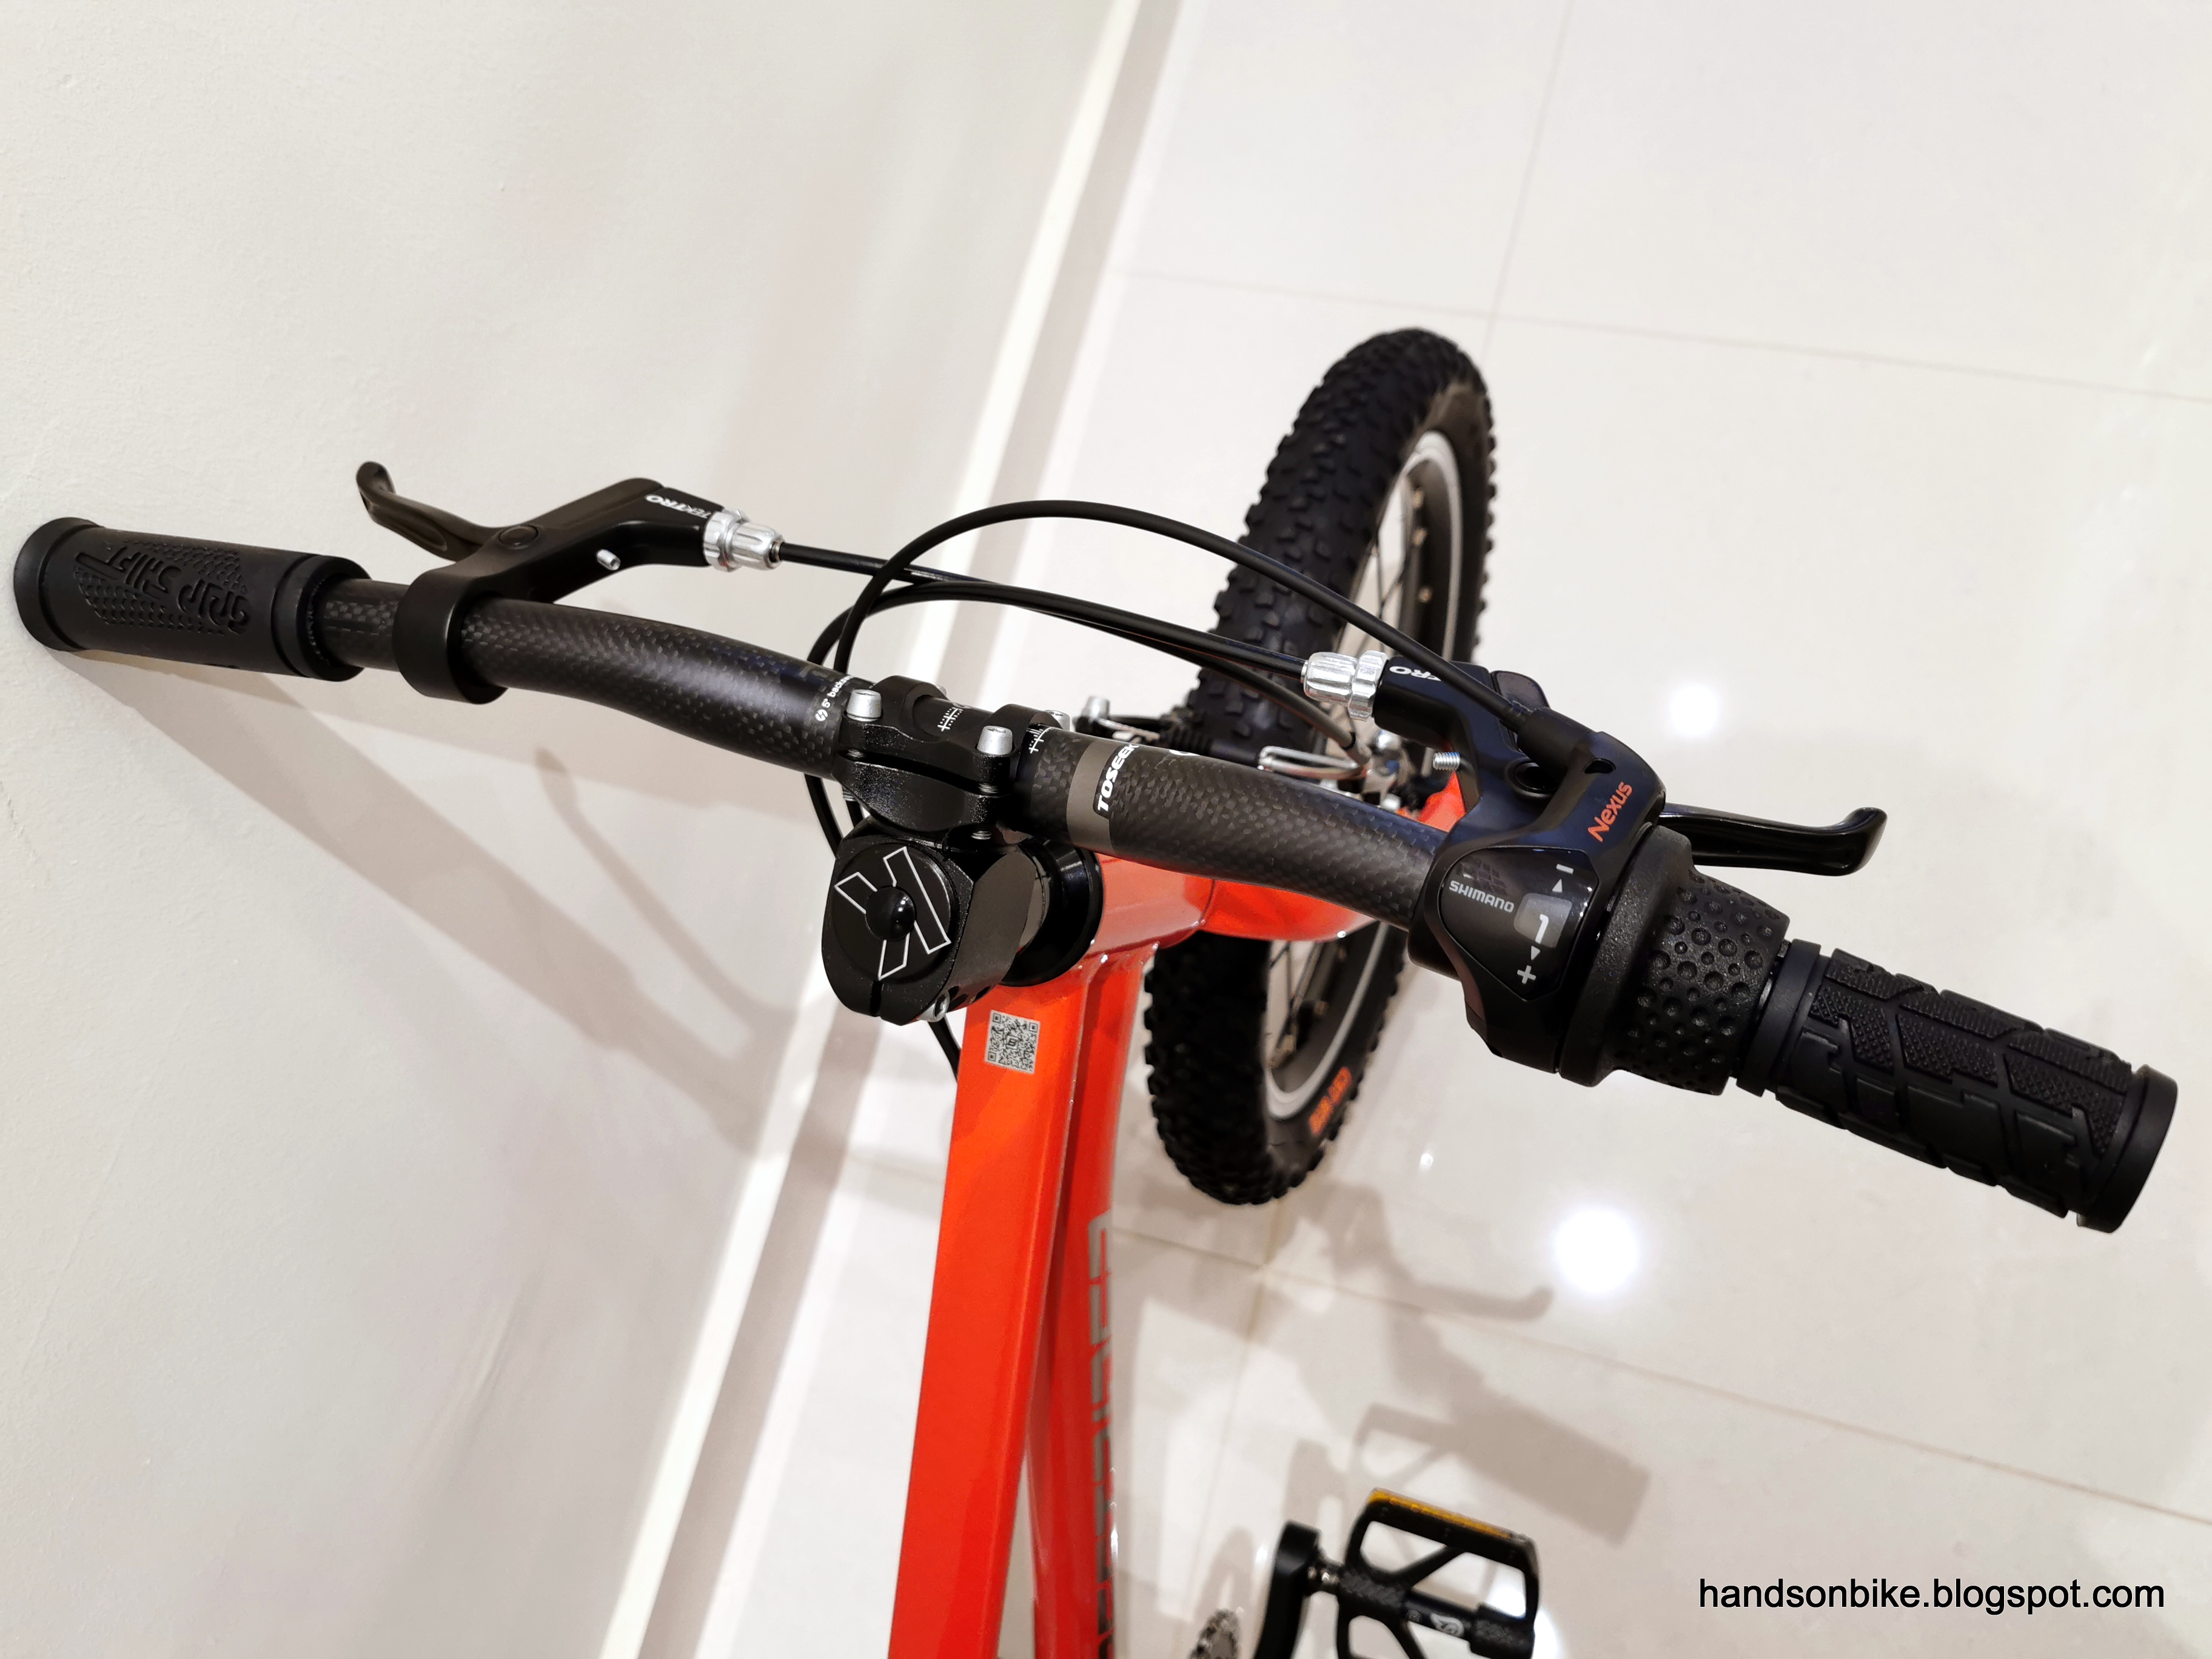
New saddle and seat post installed on the upgraded 3 speed kids bike! Unfortunately the orange saddle does not really match the red frame.

Finally we can adjust the saddle tilt angle...

...and also the fore/aft setting to optimize the pedaling ergonomics.

Overall, this seat post and saddle upgrade actually caused a 200 grams increase in weight, which is unusual. The better saddle quality and position adjustment comes at a cost of heavier weight.

Bestrider Pump Pro 16 (Single Speed)
5.6 kg without pedals and kickstand, in stock condition.
About 6 kg with larger Early Rider pedals (266 g) and kickstand (102 g).

Bestrider Pump Pro 16 (3 Speed)
After upgrading to 3 speed drivetrain, new SDG saddle and seat post.
- 6.6 kg without pedals and kickstand.
- 7.0 kg with Early Rider pedals (266 g) and kickstand (102 g).

At 7.0 kg for a 3 speed kids bike, I think it is a very good weight. Probably very difficult to go any lower unless you change to carbon wheels or carbon frame/fork.

Sunday, June 5, 2022

Bestrider Pump Pro 16: Slick Tire Upgrade

The Bestrider Pump Pro 16 came stock with MTB tires, which is very common on kids bikes. It is not that kids are using their bikes for off-road riding. Rather, it is due to the belief that knobbly MTB tires offer better traction, which reduces the chance of skidding and is thus safer for kids.

However, slick tires can actually offer good grip on pavement as well, as the contact area with the ground may be larger than knobbly tires, where only a few blocks are actually in contact with the smooth pavement. Unless the bike is really being used for some off-road riding, I think most kids bikes are actually better off using slick tires that have much lower rolling resistance.

In this case, this kids bike will not be used for off-road riding. It will only be used on pavement and PCN, and so a slick tire will provide a smoother and faster ride with less effort.

Therefore, I searched for a suitable slick tire in the 16 inch 305 wheel size, which is much less common than the 349 wheel size. I found that there is no slick tire in 305 size available from the big brands, such as Schwalbe and Continental. There are more models available from the Chinese brands, such as Kenda, CST, and etc.

However, I was surprised to find that these cheaper 305 tires are actually quite heavy. For a start, they are only available in wire bead types, which are heavier than those with kevlar beads that are only found on high end tires. Next, many of these tires are still knobbly MTB tires that are heavy, or semi-slick types with grooves and a thick rubber tread and sidewalls.

All of these 305 tires that I found are heavier than the much larger Continental GP5000 tires which are only 238 grams each. Of course, the width and price differs greatly, but what I found was that there is probably no market demand for a lightweight 305 slick tire.

Finally, I found a relatively lightweight 305 slick tire from CST, which stands for Cheng Shin Tire. Let's check out these new tires and compare it to the stock tires.

New 40-305 tires from CST. This brand is very common on mid-range to entry level bikes.

Relatively thinner sidewalls help to reduce the tire weight.

Claimed width is 40 mm or 1.50 inches. It will vary depending on the rim width.

Recommended tire pressure is 60 to 100 PSI, which seems very high given the width. Definitely can go lower if used on a kids bike.

Actual tread pattern, with a smooth centre tread and some side grooves. This was the smoothest 305 slick tire I could find.

Comparing it to the stock knobbly MTB tire, it is completely different!

Quite a big difference in tire width. Actual width to be shown later.

Stock tire is 305 grams. This is surprisingly light, as many of the 305 tires that I came across are heavier despite being less knobbly.

New CST tire is lighter at 260 grams. Still heavier than the much larger 700C GP5000 tire though, which makes me appreciate how much work went into making the lightweight race tires.

Stock inner tube with Schrader valves is 123 grams.

I took the chance to change the inner tubes as well, to use Presta valves instead. This would allow me to pump all the bike tires in my stable without having to change pump heads.

Slimmer inner tubes to match the slimmer tires.

New CST inner tubes with Presta valves are 102 grams each.

Since I will be replacing both the tires, I took the chance to weigh the front wheel as well. 413 grams for this 305 front wheel.

Instead of having a quick release axle pass through the hub axle, the wheel is bolted to the front fork by bolts on either side of the fork. Apparently this is a safety feature on kids bikes.

Stock MTB tire has a width of about 44 mm on the Inter-3 wheel, and 46 mm on the original wheel.

If the side knobs are included, the width is 49 mm. Even wider than my 650B gravel tires!

With the new CST slick tires, the tire width is greatly reduced to 36 mm.

As expected, the actual tire width differs from the claimed tire width of 40 mm, but it is OK. I think this width of 36 mm should be a good balance between low rolling resistance and also safety. Narrower tires for kids bikes are not ideal as they can get stuck in drain cover grilles or grooves in the ground, so I think 36 mm should be OK. For adult bikes, 28 mm road bike tires are common, but it requires attention to ensure that they are not trapped by drain cover grilles.

Outer tire diameter with the slick tires is 390 mm, smaller than the 400 mm with the knobbly tires.

With this change of tire, the effective tire diameter will become smaller, which translates to a lower gear ratio. Also, the slick tire will result in lower rolling resistance compared to the knobbly MTB tire.

Therefore, to maintain a similar gear ratio and to take advantage of the easier pedaling due to slick tires, I decided to change the rear sprocket size as well to ensure that the gearing does not become too light.

Previously I used an 18T sprocket, now a smaller 16T sprocket will be used to compensate for the tire change.

The smaller 16T sprocket saves a tiny bit of weight over the 18T sprocket.

Tire change is completed! Due to the change of sprocket size, I had to tension the chain by moving the rear wheel slightly further back, which requires the rear brake pads to be adjusted as well.

Slick tires on the front wheel as well.

Apart from the flashing due to the molding of the tire, the centreline is smooth with low rolling resistance.

Bike looks quite different with the slick tires. Now instead of looking rugged, it looks faster and more like a race bike.

With this tire change, the bike rides smoother, as I observed during our rides. Not only is it able to roll down slopes more easily without pedaling, the entire cycling experience is more enjoyable without having to work against unnecessary rolling resistance. At the same time, managed to save about 140 grams overall, which is a nice bonus.