Wednesday, June 24, 2015

Journey of the Boardwalk: Part 41 - Components for 11 Speed Ultegra Di2

Why 11 speed? For Shimano Di2, shifting feels the same for 10 speed or 11 speed systems. This is because the shifters can be the same, as they are just buttons that activate the derailleurs. Therefore, there is actually no real need or incentive to upgrade my 10 speed Ultegra Di2 system on the Dahon Boardwalk to 11 speed.

My original objective is to set up another bike with flat handlebar Di2 shifters. That would mean that I need another set of Di2 components, such as the derailleurs, battery, junctions and etc. One way is to buy another complete set of Di2 components for the other flat handlebar bike. However, the other bike can only accommodate up to 10 speeds due to the freehub on the rear wheel. It would not make sense to buy the older 10 speed Di2 components, when the 11 speed Di2 components are already available and at the same price as 10 speed Di2 components.

Some time ago, I had changed the rear hub on the Dahon Boardwalk to a Chris King R45 11 speed rear hub. However, the drivetrain remained at 10 speed Ultegra Di2. Now, I can finally make use of the 11 speed capability of the rear hub and upgrade to 11 speed!

The plan is to get the new 11 speed Di2 components for the Dahon Boardwalk, and then transfer the 10 speed Di2 components to the flat handlebar bike. This would be the easiest way as I don't need to get any new wheelsets for the bikes. At the same time, I would also be able to compare the 10 and 11 speed components in more detail. The components to transfer over would mainly be the 10 speed Di2 RD and FD only.

As shown below, here are the new components for upgrading the Dahon Boardwalk from 10 speed to 11 speed. I chose the 11 speed Ultegra 6870 Di2 components, as they are much cheaper than Dura-Ace Di2 components and work just as well.

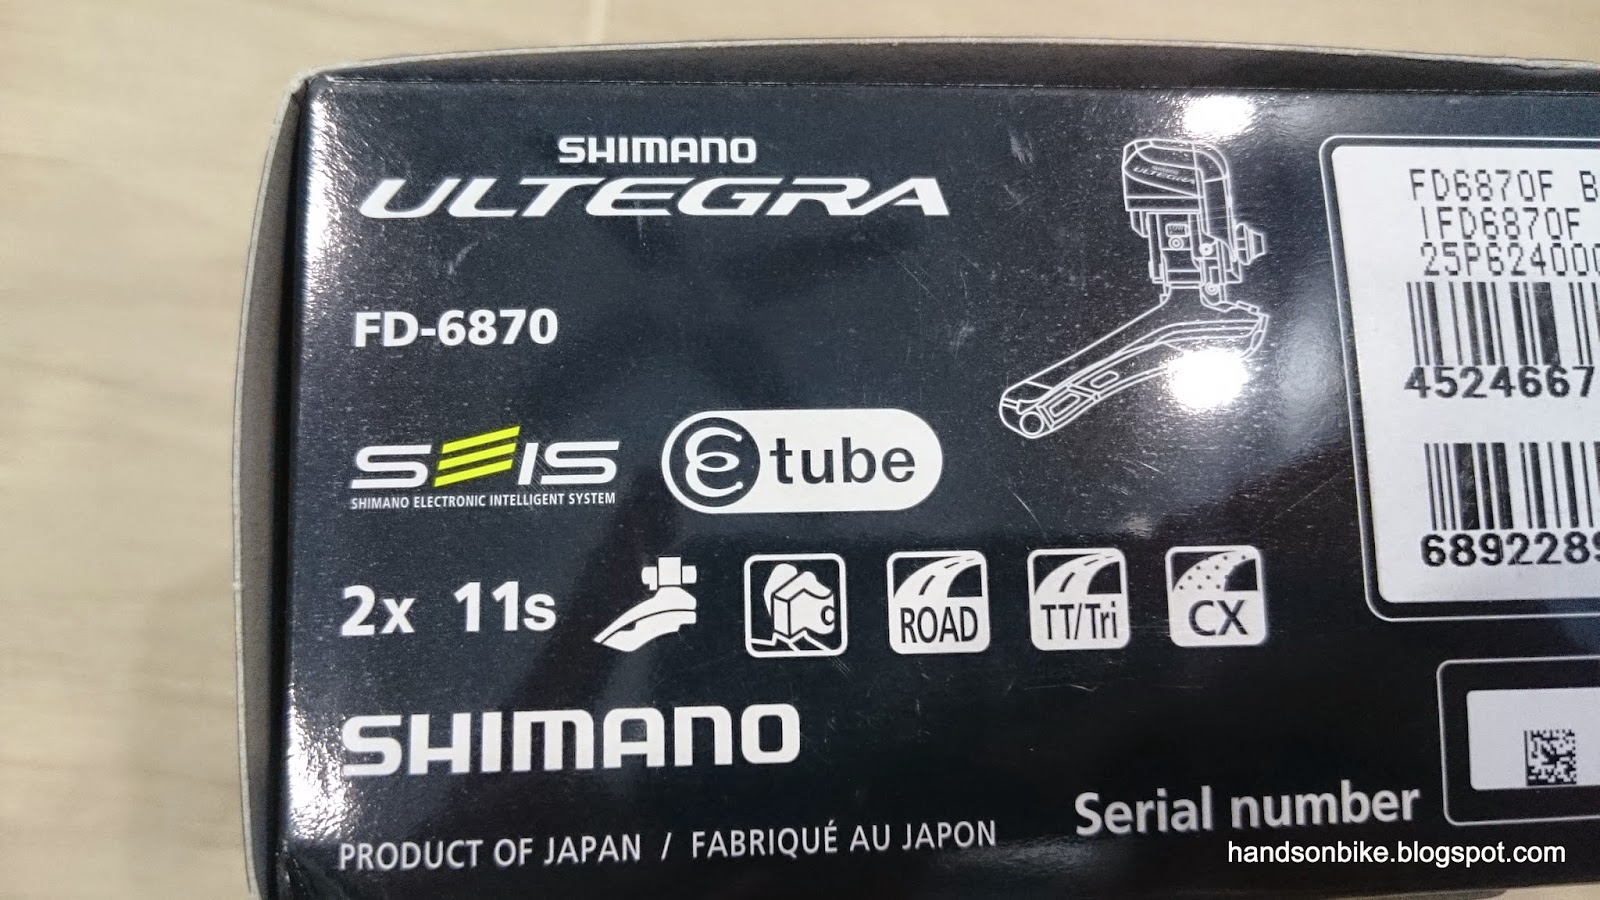
Ultegra 6870 Di2 Front Derailleur for 11 speed system

Quite lightweight at only 138 grams, considering that it houses a servo motor inside. Much smaller size than the previous Ultegra 6770 FD

Same locations for the High, Low adjustment bolts and the support bolt.  

New plastic clip at the rear of the FD for holding a stray Di2 wire

Di2 wire connection point has been changed from the top-front to the rear-bottom of the FD, probably for better appearance.

Ultegra 6870 Di2 11 speed Rear Derailleur, short cage version

Healthy weight of 256 grams for the Ultegra 6870 Di2 RD, approximately the weight of a Tiagra RD

Much more compact size than the previous Ultegra 6770 RD! Great glossy surface finishing too.

Crash protection arm at the bottom of the RD will give way and allow the RD to be disconnected from the servo motor, in order to prevent damage to the servo.  

Rear view of the RD. Compact design that is very similar in size to the Dura-Ace Di2 RD.

I will also be writing a detailed comparison of the 10 speed Ultegra Di2 6770 components vs the new 11 speed Ultegra Di2 6870 components in a separate post. Do watch out for it soon!

Other than the 11 speed RD and FD, the whole drivetrain also needs to be changed to 11 speeds. The remaining components that needs to be changed are the cassette, chain and crankset. The previous Ultegra 6770 Di2 shifters can still be used, the firmware just needs to be updated to recognise the new 11 speed components.


Titanium is used for the largest sprockets for weight savings

As for the chain, any 11 speed Shimano chain will be compatible. In fact, for this generation of 11 speed Shimano components (Dura-Ace 9000, Ultegra 6800, 105 5800, XTR M9000 and XT M8000), they can all use the same 11 speed chains. The different grades of chains mostly differ in surface treatment, but the chain compatibility is the same.


The reason for using this Ultegra 6800 crankset is because the appearance matches nicely with the new Ultegra 6870 Di2 RD and FD.

Lightweight at only 677 grams for the crankset

The best part about upgrading a Di2 system is that not all the components need to be changed. The current Ultegra 6770 shifters can still be used, as well as all the wiring and the battery for the system. However, all these components will need to be updated with the latest firmware so that the old and new components can all communicate and work with each other.

Since the shifters and wiring will be the same, there is no need to remove or reinstall the bar tape or the cables. This means that a lot of time is saved, as I only need to do a direct swap of the 10 speed components for the 11 speed components, which is quite straightforward.

In order to update Di2 firmware and customize the system, the PC Linkage Device SM-PCE1 is required to connect the PC to the Di2 system. Previously, I borrowed the PCE1 to use when I was customizing the 10 speed Ultegra Di2 system. However, as I will be setting up and customizing 2 separate Di2 bikes, it would be more convenient if I were to get my own PCE1 device.

PC Linkage Device, SM-PCE1 for updating and customizing the Shimano E-Tube Di2 system.

It comes with all the necessary wires to connect to the Di2 system

Connect the USB cable on the left side to the PC, while the other end has 2 Di2 wires. Just link up any 2 components of the Di2 system with these 2 wires and start the E-Tube software on the PC to start the configuration.

Now, you may have noticed that I am using a compact 50/34T crankset on the Dahon Boardwalk. Usually I would not advise using a compact crankset on a small wheeled bike, such as this 20" wheel bike, as the gearing may be too low for faster riding. A standard 53/39T crankset is usually more suitable.

However, in this case, I am also changing the cassette from the original 12-27T cassette to a 11-25T cassette. This cassette combination will compensate for the lower gearing of the crankset.

Before change: 53/39T crankset with 12-27T cassette
After change: 50/34T crankset with 11-25T cassette

What this affects is the overall gear range of the bike, and how close the ratios are between the gears. As shown by the graph and table below, the overall gear range of this new setup has increased slightly, both at the top end and the bottom end of the gear range. A 50T front/11T rear actually gives a higher gear ratio than a 53T front/12T rear gear combination. Together with the additional gears by going from 2x10 to 2x11 speeds, the spacing between the gears is maintained at a comfortable difference.

Graph comparing the gear range of the old vs the new drivetrain setup

Also, from the table below, the number of unique gears (after removing overlapping gear ratios) has been increased from 13 to 15 (shown by the blue and green highlighted boxes). These additional gears will allow better cadence control as I will always be able to find and select the preferred gearing for comfortable and efficient pedaling.

Table showing the difference between the old and new drivetrain setup.

Lastly, the highest gear ratio should still enable me to maintain a good speed of around 36km/h on the Dahon Boardwalk. As shown from the cadence vs speed table below, I can reach 36km/h when I use the highest gear (50T front/11T rear) and pedal at 90 RPM which is easily achievable. Whether or not a higher gear ratio is needed will be determined after test riding.

Comparing cadence vs speed for the different gear ratios

In short, this new setup is better as I have a slightly wider gear range and more unique gears to use. As a side benefit, this compact setup is slightly more lightweight as the chainrings are smaller, the cassette is smaller and a shorter chain can be used.

Therefore, it can be feasible to use a compact crankset (50/34T) on a small wheeled bike, provided these conditions below are satisfied.

1) A small cassette (with 11T as the smallest sprocket) is used to give a sufficiently high top gear.
2) Pedaling style should be a high cadence, smooth spinner type, instead of hard mashers who push high gears at low cadence.
3) Leisurely style of riding, with a top speed of below 40km/h. Higher speeds are possible only if you increase your cadence to beyond 90 RPM.

Picture of the new components that will be going onto the Dahon Boardwalk. The cassette had already been mounted on the rear hub.

Click here to continue reading about the installation!

Thursday, June 18, 2015

Journey of the Boardwalk: Part 40 - From Touring Mode to Race Mode

It has been a few months since I last upgraded the handlepost on my Dahon Boardwalk, from a Fnhon handlepost to a Tern Physis handlepost. In the meantime, I have been modifying my other bikes, especially the Avanti Inc 3 commuting bike. Now, it is time to come back to this Dahon folding bike.

I have noticed that my usage of this Dahon Boardwalk folding bike has evolved over the years, since I first bought it in year 2010. From my one and only leisure bike, to a speedy bullhorn bike, to a overseas touring road bike, and finally as a commuting bike, this bike has served many different purposes over these years. Ever since I got a few other bikes that serves specific purposes, this do-it-all Dahon Boardwalk has had a chance to be repurposed for other uses.

Avanti Inc 3: For daily commuting purposes and also for riding in/after rain.
Merida Scultura 5000: For faster and sportier rides. Occasionally used for commuting too.
Dahon MuEX: Mainly used when compact folding is required, such as when taking the MRT to other places for rides. Currently used on the Minoura bike trainer on normal days.

The Dahon Boardwalk was recently decommissioned as a touring bike, when I removed the rear rack from it to reduce the weight of the bike. I still use the Dahon Boardwalk as a commuting bike, but on regular rotation with the Avanti and the Merida. For commuting, I use the Shimano Unzen cycling bag, and so there is no use for a rear rack. Also, there are other accessories on the Dahon Boardwalk that are no longer required, and so I will be removing them from the bike.

Bike as seen previously, with the Biologic Arclite rear rack removed.

My plan for this bike is to convert it into a more race orientated setup. Another way to look at it would be to use it as a folding road bike, with minimal non-essential accessories. This means removing the Pletscher double kickstand and the SKS fenders from the Dahon Boardwalk.

Weight of the Pletscher double kickstand, 553 grams!

Weight of the set of SKS fenders (excluding mounting bolts), 248 grams!

By removing the double kickstand and the fenders, I have been able to cut 800 grams from the bike! Adding the 700 grams that was already removed previously, this brings the total weight savings to 1.5kg, which is a massive amount. This will make it much easier to carry and move the bike around, regardless of whether it is folded or not.

After removing the front fender

After the rear fender is removed. There is actually a large gap between the tire and the long arm Tektro R559 caliper brakes!

After removing the fenders, the rear wheel of the bike is no longer covered.

Now the bike looks much sportier with no fenders and kickstand on it

Overall view of the bike without rear rack, fenders and kickstand!

After removing all the under-utilized accessories, the Dahon Boardwalk has been converted from touring mode to race mode. Another area that I wanted to clean up was the handlebar area. I had previously rearranged the accessories at the handlebar area to try to tidy them up, but it still looks rather messy.

During that rearrangement, I managed to mount the Shimano Sport Camera sideways on the handlepost itself, as shown below. The Shimano Sport Camera has an angle-free feature that allows it to auto rotate the video to the right way up, when viewed on Quicktime player. However, when viewing in VLC player or DashWare, it will not display properly as those software cannot detect and rotate the MOV video automatically.

I have tried to use software to rotate the video, but they don't work well and will result in loss of video quality. My conclusion is that although the angle-free feature is there, many video software cannot rotate the video properly. After some experimentation, I found that the solution is to position the camera such that it is the right way up, or upside down. Mounting the camera 90 degrees to the side is not advisable.

Previous mount setup for the Shimano Sport Camera. Although it is space saving, the video will not be auto rotated to the right way up properly.

Previous setup with the Lezyne Super Drive XL front light on top, and the Moon Comet front light mounted on the handlepost.

This time, I will rearrange the accessories on the handlebar again. Besides finding a suitable place to mount the Shimano Sport Camera properly, I also need to make space for the Garmin Edge 510 cycle computer. I have already mounted the new Garmin ANT+ speed sensor on the rear hub, and of course I will need to mount the Garmin computer unit on the bike to make use of the speed sensor.

New setup with the Garmin Edge 510 mounted in front, and the Shimano Sport Camera mounted upside down, under the Garmin.

View from the front

View from the side. The arrangement looks similar to the K-Edge Aero Garmin & Camera combo mount that I am using on the Merida Scultura 5000.

Making this change means removing the Lezyne front light, as it is too big to mount anywhere on the handlebar neatly. The only front light will then be the Moon Comet front light. I have always tried to mount at least 2 front lights and 2 rear lights on every bike for redundancy and backup, as I have encountered situations where one of the lights ran out of battery.

In this case, I decided to mount a D-Light USB Rechargeable front light onto the front fork of the Dahon Boardwalk. One thing I like about the D-Light lights is that the mounting is very versatile, helped by the fact that the lights itself are very lightweight and small sized.

Mounting the D-Light front light onto the side of the front fork.

Lastly, I realised that without a kickstand on the bike, it can sometimes get really inconvenient when I need to park the bike somewhere at home. The Minoura Bike Tower 10 is mainly used for the Dahon MuEX and the Merida road bike, while the Feedback Sports RAKK Bike Stand is used for the Avanti Inc 3. Depending on which bikes are at home, the Dahon Boardwalk may not have a space to park, and will need its own kickstand.

For convenience's sake, I decided to add a lightweight kickstand to the Dahon Boardwalk. It is similar to the stock kickstand found on almost all Dahon/Tern bikes with kickstand.

Lightweight kickstand, at only 157 grams.

Seen as mounted on the bike. I had to cut the kickstand by about 1 cm as it was too long for the bike to balance properly.

Finally, I have converted the Dahon Boardwalk from a touring/commuting orientated setup to a race oriented setup that is more lightweight. By removing the fenders and double kickstand, a lot of weight has been removed. In the end I still added a simple kickstand, but it is much lighter than the double kickstand.

The handlebar area has also been tidied up, by removing the Lezyne front light and adding the Garmin Edge 510. A small secondary front light has been added to the front fork, in addition to the main front light on the handlepost.

I do like this new setup as it is more lightweight, and also looks much neater and sportier without the double kickstand and fenders. As the bike's purpose evolves, I will modify it to better suit my usage and preferences.

Saturday, June 13, 2015

Shimano Dura-Ace 9000 Cassette

Time to disassemble and compare the Shimano Dura-Ace 9000 11 speed cassette! I had previously compared the Ultegra 6800 cassette with the Shimano 105 5800 cassette, both 11 speeds.

How does the Dura-Ace cassette differ from the other cassettes? What extra feature do you get for the higher cost of the cassette? Let's find out.

11-25T cassette, installed on the Dahon Boardwalk during the upgrade to 11 speeds.

Being a compact 11-25T cassette, it weighs very little, at only 176 grams. This is much lighter than the 11-28T Ultegra or 105 cassettes which weigh well over 200 grams.

Exploded view of the cassette sprockets! 11-12-13-14-15-16-17-19-21-23-25 gear combination.

Lots of holes and grooves on the sprockets, to maximise the weight savings.

One difference that I noticed between this Dura-Ace cassette and the Ultegra cassette is that the spiders on the sprockets are designed differently. For the Ultegra cassette, the 1st to 3rd largest sprockets are riveted together, while the 4th and 5th sprockets are also riveted together on another spider.

As for the Dura-Ace cassette, the 1st and 2nd largest sprockets are riveted together, and the 3rd to 5th sprockets on another spider. This arrangement of sprockets on the spiders are different between the cassettes.

The major difference between this Dura-Ace cassette and the other cassettes is the use of titanium for the largest 5 sprockets. This translates into a good amount of weight saving, but at a much higher cost.

Weight of the largest 2 sprockets. Made of titanium for maximum weight savings.

The next 3 sprockets are also made of titanium. Riveted onto a carbon fibre composite spider.

Together, the largest 5 titanium sprockets weigh only 95 grams, which is just slightly more than half the weight of the entire cassette.

11-25T printed on the largest aluminium spider with the 23T and 25T sprockets.

Next 3 gears are the 17T, 19T and 21T sprockets.


Interesting layout of the rivets and shape of the carbon fibre composite spider. This design seems to enable the sprockets to reinforce each other for greater strength.

All 5 titanium sprockets, mounted to the 2 different spiders. Aluminium spider on the left, carbon fibre composite spider on the right.

Difference in surface finishing between the steel sprocket on the left and the titanium sprocket on the right.

The main advantage of the Dura-Ace cassette over the Ultegra and 105 cassettes is the weight. Other than that, the shifting performance would probably be similar. For most people, using the Ultegra cassette is a good option as it shifts well and is also quite affordable. The Dura-Ace cassette is a luxury that is nice to have but not really necessary, even for competitive riding.