Tuesday, February 4, 2014

BLAZE Laser Bike Light: First Impressions

Finally, I have received the long-awaited Blaze Laser bike light! This Blaze light is a Kickstarter project that was started back in November 2012. I came across it and contributed to it in December 2012, and the estimated shipping date was actually April 2013. Of course, Kickstarter projects are often (mostly!) unable to ship on time, due to many unforeseen delays along the way.

That said, this particular Kickstarter project has been really well run, despite it being many months late for delivery. There was constant communication between the project backers and the project team, and I have received at least 25 updates from the Blaze project team since I signed up. That means an average of 2 emails per month, updating the project backers on the project and the reasons for delay. At no point in time was I worried that I would not receive the Blaze light, the only question was when.

Blaze Laser Bike Light in its nice packaging! Waited for more than a year before finally receiving the product. So exciting!

So what is this Blaze bike light all about? First and foremost, it is a really good front bicycle light. I have compared it to my other powerful front lights, the Lezyne Super Drive XL and the NiteRider Mako 200, and this Blaze light is on par with their performance. More details will be seen below.

The feature that really makes it stand out from other bicycle front lights is that the Blaze front light has a laser that projects an image of a bicycle in front of the rider. To quote from the Blaze website directly:

"BLAZE is a front light with super-bright LEDs, but it also projects the symbol of a bike down onto the road ahead of the cyclist. It’s adjustable, but ideally about 5m in front. It alerts road users ahead of the cyclist of their presence, helping to prevent them turning across their path (especially the big ones like buses and trucks!).  Making the cyclist more visible and increasing their footprint on the road."

This means that the Blaze bike light has both a white front light and also a green front laser. They can be operated independently to give you multiple mode combinations.

Time to unbox the Blaze laser bike light!

The rear of the box, showing the different modes and the estimated runtimes.

Lovely packaging! The light is presented to the user in a really eye-catching manner, not unlike unboxing an iPhone. Lovely casing!

The accessories and parts that come with the Blaze light

3 different sized rubber shims, a clamp, a special charging cable and even an Allen key for installing and adjusting the clamp.

Nickel plated top plate gives a mirror-like finish to the buttons. The 2 buttons operate the laser and the front light independently. The 2 pins in the middle are for charging and also displaying the battery status.

Lots of warning stickers, due to the laser in the light

Front window of the light. The laser lens can be seen at the top corner of the window.

Fixture for fixing the light onto the clamp. Can be operated with one hand, just by pulling the lever and lifting out the light.

Clamp for fixing the light to the handlebar. Made of sintered steel for strength.

3 different rubber shim thicknesses to fit different handlebar diameters. Nice green colour!

Top of the clamp. Note the hexagonal shaped hole which connects to the light, and the little circle which houses the magnet.

The special charging cable! It has 2 metal contacts at the side for charging and a magnet in the middle for alignment.

Just stick it to the top of the light (with the 2 metal pins) and it will start charging! No need to remove any rubber cover and plug in any USB plugs.

Blue light means that the light is fully charged!

 Weight of the light alone, 169 grams
 
Weight of the light plus clamp and rubber shim, 210 grams

The Blaze light comes locked, so it has to be unlocked first before it can be used.

The estimated runtime for different modes, made more complex by the independently controlled front light and laser that uses the same battery.

The more detailed battery runtime chart showing the estimated durations for various modes.

There are some unique features of the Blaze light that sets itself apart from other lights:
1) Magnetic sensor that prevents the laser from being activated when it is off the clamp, to help prevent shining the laser accidentally at other people.

2) Special charging contact system that can charge the light without needing to insert any plugs into the light. This means that the light can be made waterproof without needing any rubber plugs to cover up the charging ports, since there is none.

3) Independent laser and front light buttons, to provide total control over the mode combination desired.

4) Low battery modes that virtually prevents the light going dead while still on the way home. As can be seen from the picture above, the light starts to go into energy saving mode when the battery level drops below 20%. At 5%, it enters another energy saving mode. At the very minimum, 5% of battery life will ensure that the light will stay lighted at 30 lumens for 1.5 hours. It is very unlikely that the battery will go completely flat before you reach home, with all these features built in.

The various energy saving modes that ensures that you can get home safely with a light even if the battery level drops below 20% or 5%!

I also compared the new Blaze light with my other powerful front lights, the Lezyne Super Drive XL and the NiteRider Mako 200, to see where it stands compared to those.

Comparing the sizes

Looking at the front lens. The Blaze light has a pretty slim and long shape.

Comparing the light beams of the NiteRider Mako 200 (left side, 100 lumens) with the Blaze (right side, 100 lumens). The Blaze light is whiter and more diffused.

Comparing the light beams of the Lezyne Super Drive XL (left side, 350 lumens) with the Blaze (right side, 300 lumens). The Blaze has a more diffused pattern, a smaller beam and a whiter light.

As for the clamp mounting and the actual usage of the light on the road, it will be described in the next post, as I have yet to try it out on the road yet. However, you can take a look at the laser pattern first!


As seen in the two pictures above, the green bicycle symbol is generated by the laser of the front light. Note that it is visible even in the day! At night on darker streets, this laser image will really glow and stand out.

Right now it looks small, as the horizontal distance from the light to the spot on the ground is less than 2 metres. The recommended distance is 5 to 6 metres, so the bicycle symbol will be at least 3 times larger when mounted properly on the handlebar.

Part 2 of the Blaze Laser Bike Light! An in-depth review is now up.

Sunday, January 26, 2014

Lezyne Zecto Drive Front LED Light

I can't resist bike lights, especially when they come in a well designed package. Of course, they should also be easy to mount on the bike, and be easy to use. With this, let me introduce the latest addition to my array of bike lights!

On my Avanti Inc 3 commuting bike, I already have the NiteRider Mako 200 front light. However, I would prefer at least 2 front lights and 2 rear lights for each bike, for better visibility and also for backup. Therefore I got this new light for my Avanti Inc 3 commuting bike.

This is the Lezyne Zecto Drive Front Light, which is a dedicated front light. There is also the dedicated Zecto rear light, and a special front/rear dual purpose light. The Zecto Pro has both white LEDs for front usage and red LEDs for rear usage. It is best used as a backup light due to its dual colour LEDs, but it would be a pricey backup light!

Black coloured casing to suit my Avanti Inc 3. Look at the 3 LEDs enlarged by the lens!

The estimated runtime in the various modes. Is it good to have so many modes? Read on to find out.

The items that come with the light. A micro USB cable (which we already have too many of) and the rubber strap for mounting the light.

The casing seems to be built rather sturdily. Nice build quality.

The rubber cover for the USB charging port at the bottom of the light. Sealing seems OK.

Power button on top of the light.

The plastic clip at the rear of the light, for mounting onto saddle bags.

If you plan to mount it on a seatpost or handlebar, you can install the rubber strap for that.

This light has a good battery level indicator, with different coloured lights showing the battery charge left in the light.

Just press the ON button for a short 1 second and the battery indicator comes on.


Installation and Mounting:
Mounting this light on the handlebar is rather easy. Just loop the rubber strap around the handlebar and hook it on the bottom of the light. However, it find that it is quite a stretch to get it around the 31.8mm diameter handlebar. It is very secure, but I am concerned that the rubber strap may break after some time.

To charge the light, the light needs to be removed from the bike, which may or may not be troublesome, depending on how often the light needs to be charged. Or you could just get a long USB cable...

Usage:
To turn on or off the light, just press and hold on to the ON button for 2 seconds. The light will turn on in the first mode, which is the Economy mode. To change to the other modes, just press the ON button briefly and it will cycle through the modes.

Economy Mode: Steady 20 lumens of light
Blast Mode: Steady 40 lumens of light
Flash 1: Top LED stays lighted, while the 2 bottom LEDs blink alternately
Flash 2: All 3 LEDs flash on and off
Flash 3: All 3 LEDs blink sequentially
Daytime Mode: All 3 LEDs flash rapidly for 2 times, before turning off for 1 sec. Flashes at 80 lumens.

From what I see, the more useful modes for me are the Flash / Daytime modes, as the blinking will catch more attention than a steady light. The curious thing is that the brightest mode (Daytime mode) actually also has the longest battery runtime. It is probably due to the short time that it is actually lighted compared to the other modes.

In this case it is a no brainer to always use the Daytime mode, since it is the brightest and lasts the longest. The other NiteRider Mako 200 light on the Avanti Inc 3 will then be used in the Low steady mode, as a to-see light.

However, what I don't like about this light is that when I turn it off, it will always start up in the Economy mode the next time I turn on the light. This means that I will have to click through all the modes before I get to the Daytime mode that I use. This is when I feel that there are too many modes, when I have to click through everything to get to the last mode.

It would have been much, much better if the light turned on at the last selected mode. Eg. If I turned off the light in Daytime mode, the next time I turned it on, it would start in Daytime mode.

Compatibility with Wireless Speedometers:
I have tried this light when it is mounted next to the Cateye Strada Slim wireless speedometer, and there is no interference with that. This would be down to good engineering on Lezyne's part to ensure that their electronics don't interfere with wireless speedometers.

Lezyne Zecto Drive mounted next to the Cateye Wireless Slim, with no electromagnetic interference between them.

Turning on the light. This is the Economy mode of 20 lumens

Pretty good as a to-be-seen light, especially if using the bright Daytime mode.

To conclude this short review, here is a summary of the good and bad of this Lezyne Zecto Drive Front LED light.

Plus Points:
1) Useful battery level indicator
2) Easy mounting method
3) No interference with wireless speedometer
4) Good battery life, especially on Daytime mode
5) Good build quality and attractive design
6) Brightness is quite good for a small sized light
7) Many modes to suit different users and preferences
8) Lightweight, good for weight conscious road bikes

Downsides:
1) Rubber strap may not be suited to oversized handlebars, as it feels overstretched
2) ON button is a bit hard to activate, and the tactile feeling of the click is not strong enough
3) Does not turn back on in the previously selected mode, making it necessary to cycle through the modes to get to Daytime mode

Would I buy this light again?
Yes

Overall, this bike light is quite good, packing a lot of brightness into a small package. The battery life is good, and the design of the light is also quite attractive. It is a great addition to any bike, as a high quality to-be-seen light. In fact, a pair of these lights would work really well on the handlebar, boosting visibility to other road users.

Sunday, January 19, 2014

Journey of the Boardwalk: Part 37 - Installing the new Drop Bar, Handlepost and Stem

To follow up on the previous blog post, where the new FSA Vero compact drop bar, new Fnhon handlepost and new stem were introduced, I will now show the installation of these new parts.

Two different 31.8mm stems were shown; the gold coloured stem and the silver coloured one-piece stem. Before I decided on the stem to use, I installed them on the new handlepost and drop bar to try it out.

This is how the gold coloured stem looks. It is very similar to the LitePro stem, with the only difference being the clamp diameter of 31.8mm for oversized handlebars.

Gold coloured 31.8mm stem on the new 27cm Fnhon handlepost

Side view

This is how the new stem will be used. Instead of extending the reach, the stem is used to increase the height of the handlepost. The reason for using the stem this way is because I want to maintain the clamping height of the handlepost. The previous ABR drop bar was clamped directly to the top of the 31.5cm Fnhon handlepost. As I am now using the new stem for mounting an oversized drop bar, the handlepost needs to be shorter in order to maintain the same height. 27cm handlepost + 4.8cm stem gives an overall height of 31.8cm, which is almost the same as the 31.5cm Fnhon handlepost.

Height of the Fnhon handlepost + stem is about 31.5cm, similar to the previous setup.


The gold coloured stem matches nicely with the black colour of the handlepost and drop bar.

I also tried out the other one-piece stem, to see if it is better than the gold coloured stem. This stem is lighter and stronger than the gold stem, due to its one-piece design. The only downside is that the colour does not fit in as nicely with the rest of the bike.

Side view of the one-piece stem. Strictly speaking it is not one piece as there are 2 face plates on top, but the rest of the stem is machined as one-piece.

Open clamp design makes it easy to set up the handlebar

Putting on the new FSA Vero compact drop bar

Another side view of the stem and drop bar

Top view of the stem. Note that there are many clamp bolts here! 8 in total.

Overall height of handlepost + stem is about 31.7cm, which is almost the same as the 31.5cm Fnhon handlepost

Overall view of the drop bar, stem and handlepost.

It was time to make a decision. To use the gold coloured stem, or the silver coloured stem? In the end I decided to go with function over aesthetics. The silver one-piece stem was chosen for its better stiffness and lighter weight. The open clamp design will also be very useful if I need to remove the handlebar from the handlepost.

Before I installed the new components onto the bike, I compared it with the existing setup on the Dahon Boardwalk.

New compact drop bar on the right. See the difference in the angle and height of the drops. The compact drop bar has a much shallower drop which should be more comfortable.

Similar width of 400mm

Another picture comparing the shape of the drop bars.

Side by side comparison of the new setup (on the left) and the old setup (on the right). Distance between the centre of the drop bar and the base of the handlepost is the same.

Old setup before it was taken off the bike

New setup! Just swap the entire handlepost unit, together with the new stem and drop bar. To see how to install the handlepost, check out the guide here.

The drop bar manual says that this drop bar is designed to have the drops parallel to the ground

Fixed the drop bar and stem positions as shown.

Positioned the Ultegra Di2 road shifters such that the hoods are tilted up slightly for better comfort.

Since I had to remove all the brake cables, I took the chance to swap out the brake outer casing for the new Dura-Ace 9000 outer casing. This is to make the braking action even smoother and lighter.

Swapping the brake cable housing

After wiring up everything! The handlebar extension mount was carried over from the previous drop bar and installed on the new drop bar.


New Cane Creek Crosstop levers. Installed slightly nearer to the centre of the drop bar compared to the previous setup,

New stem and 4 bolt handlepost clamp. The Di2 satellite switch is now mounted over the clamp band of the Cane Creek brake levers. It fits perfectly!

Setup looks very similar after the upgrade.

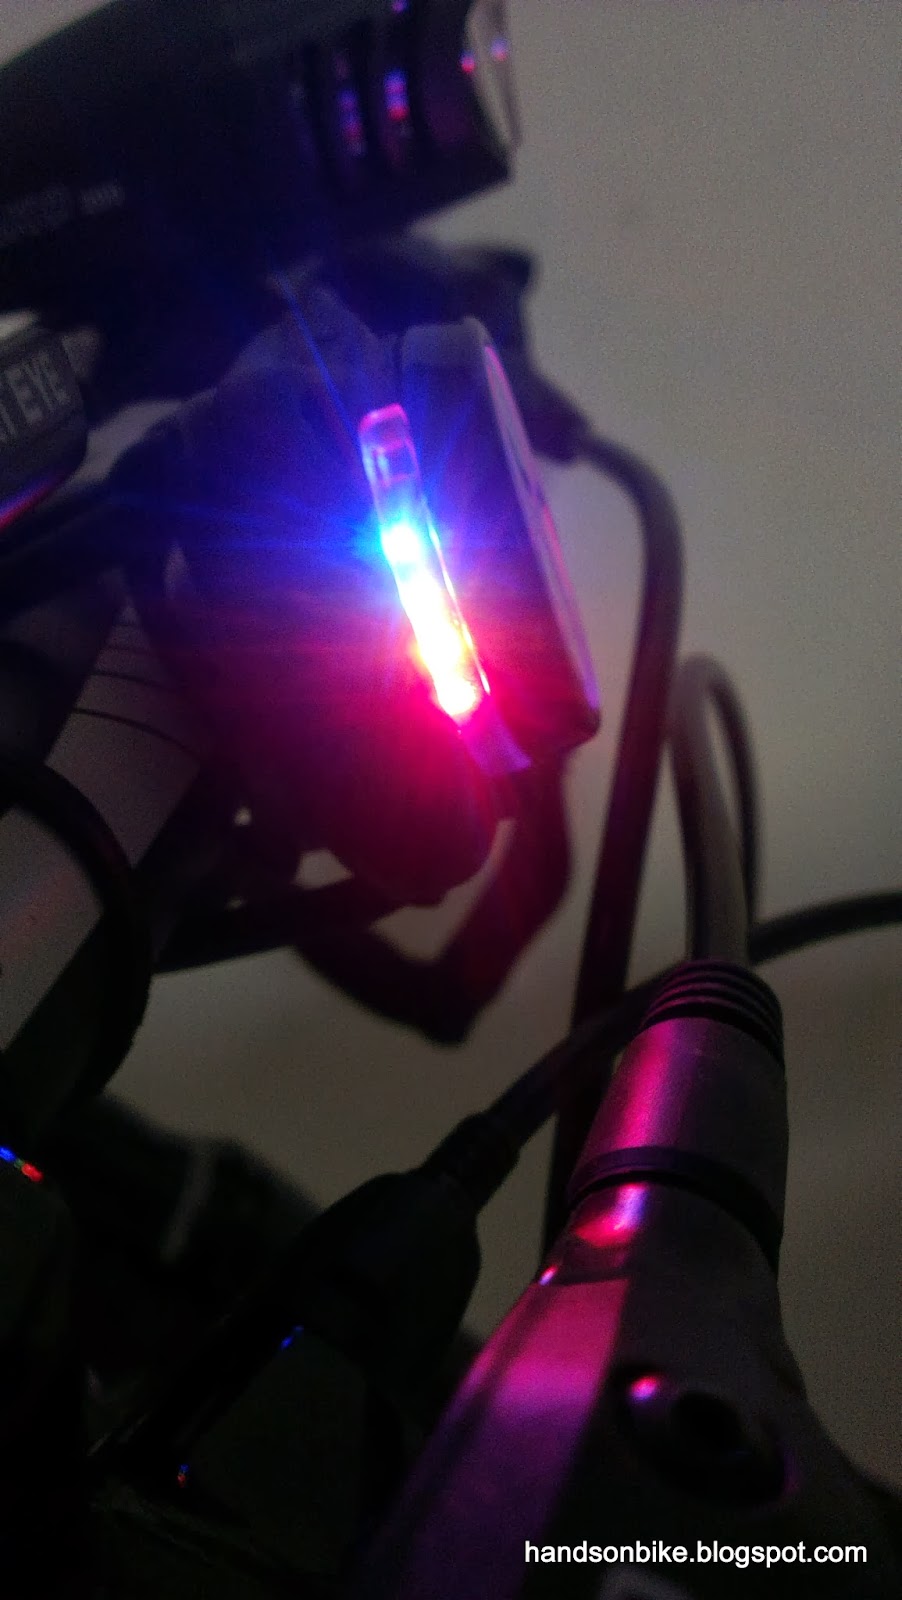
As the handlepost is now shorter, I have to mount the two Moon Comet Front Lights horizontally instead of vertically.

Showing the new curves of the drop bar. Shorter reach to the shifters, and also a more shallow drop. Looks much more comfortable than the previous drop bar!

Front view of the new setup

After trying out the new setup, I found that my riding position has really been improved, to become more comfortable. The shorter reach to the shifters means that I don't stretch out as far, while the shallow drops make it easy for me to stay in the drops for longer distances. In short, the ergonomics and comfort of riding has been improved with this new drop bar setup.

As for the stiffness of the new setup, it feels similar to the previous one-piece 31.5cm handlepost. Although the addition of a stem should make the handling feel less stiff, the wider position of the stem clamps and the oversized drop bar compensates for this. Most importantly, the comfort has been improved!

Overall view of the new setup