Part 2: Compatibility Check for Wheelset and Brake Calipers
Part 3: Component Selection
With all the required components gathered, it is now time to assemble the bike! The headset bearing cups had already been pressed into the head tube by the bike shop, and this makes it easy for me to assemble everything else without needing any special headset tools.
Before assembling the carbon fork to the Wheelsport Fantasy mini velo frame, the crown race needs to be first installed onto the steerer tube. Being a slotted type of crown race with an open end, this makes it easy to install without needing to press fit it onto the steerer tube. It is a good idea to apply some grease here to prevent creaking.

Installing the crown race onto the steerer tube, after applying some grease onto the contact areas.

After inserting the sealed bearings into the top and bottom of the head tube, the fork can be installed! The compression ring goes on top of the top bearing.

The carbon spacer as shown in Part 1 goes onto the outside of the steerer tube. The stem will then rest on top of it and press down on the headset bearings.

However, the carbon spacer is too long, and the stem protrudes too far above the steerer tube. The solution would be to shorten the carbon spacer by cutting off the excess length.
I had previously shortened a handlebar before by using a pipe cutter, and also shortened the steerer tube of the Tern fork using the same pipe cutter. However, I realised that the maximum diameter that the pipe cutter can accomodate is 30mm. This works well for flat handlebars (22.2mm diameter at the ends) or steerer tubes (28.6mm diameter), but not this carbon spacer (35mm diameter).
Issue number 1:
The solution is to get a saw guide, or a larger pipe cutter. I could not find a saw guide at such short notice, but managed to find a larger pipe cutter at a nearby hardware store. Hopefully this will work!

Using the larger pipe cutter which fits the large diameter carbon spacer

Roll the blade round and round the carbon spacer, tightening the knob after every couple of rounds to eventually cut through the tube. About 13mm of the spacer was eventually cut off.
However, I soon found that a pipe cutter is not really suitable for cutting through a carbon tube. A carbon tube is tougher than aluminium tubes, and it took much longer to cut through this carbon tube. Also, the final cut surface was quite uneven, and was not perpendicular to the tube. This would not allow the carbon spacer to sit flat against the stem or the headset.
More work had to be done, as I had to file the end of the carbon spacer to ensure a flat surface. All these took a lot of work and time, and it would be much better to use a saw guide to cut through the tube for a flat and smooth surface.

Final surface condition of the cut after much filing to create a flat surface. Still acceptable.
Finally, the headset, fork and stem have been installed! It was more troublesome that I thought it would be, due to the tough cutting work required for the carbon spacer.
Next, I decided to install the gold coloured Aerozine ceramic BB onto the frame first.

Gold coloured Aerozine ceramic BB, gives a strong contrast to the matte black frame
After installing the BB, the next step I wanted to do was to confirm the position of the Di2 battery. My preferred position for the Di2 battery is to mount it behind the bottle cage, using the long Di2 battery mount. This would protect the battery from dirt or water kicked up by the front or rear tires.

Location of the bottle cage, and the remaining space available for the Di2 battery
Issue number 2:
Yet another issue has cropped up! Given the location of the bottle cage screw bosses, there is insufficient space left for the Di2 battery. It would not be possible to remove the battery for charging, without first removing the bottle cage.
The solution here is to move the screw location for the bottle cage. Shimano does make a bottle cage adapter to move the screw holes, in an event that the bottle cage interferes with the Di2 battery or the FD.

Shimano bottle cage adapter, SM-BA01. This will allow the screw holes for the bottle cage to be offset by between 32mm to 50mm.

Here is how it works. Fasten the metal plate to the original screw holes. On the metal plate itself, there are two new M5 screw holes for the new bottle cage location. The slots allow adjustment of the offset distance. All these will be covered by the plastic cover as shown.

After much trial and error, this is the final setup of the bottle cage adapter. The bottle cage position has been moved forward and upwards.
I decided to use the Monkii Clip bottle cage, which allows the water bottle to be removed together with the bottle cage when in use. This is necessary as it will be difficult to remove the water bottle from a standard bottle cage, due to frame interference with the water bottle. There is also sufficient space to remove the battery when the Monkii bottle cage is installed.

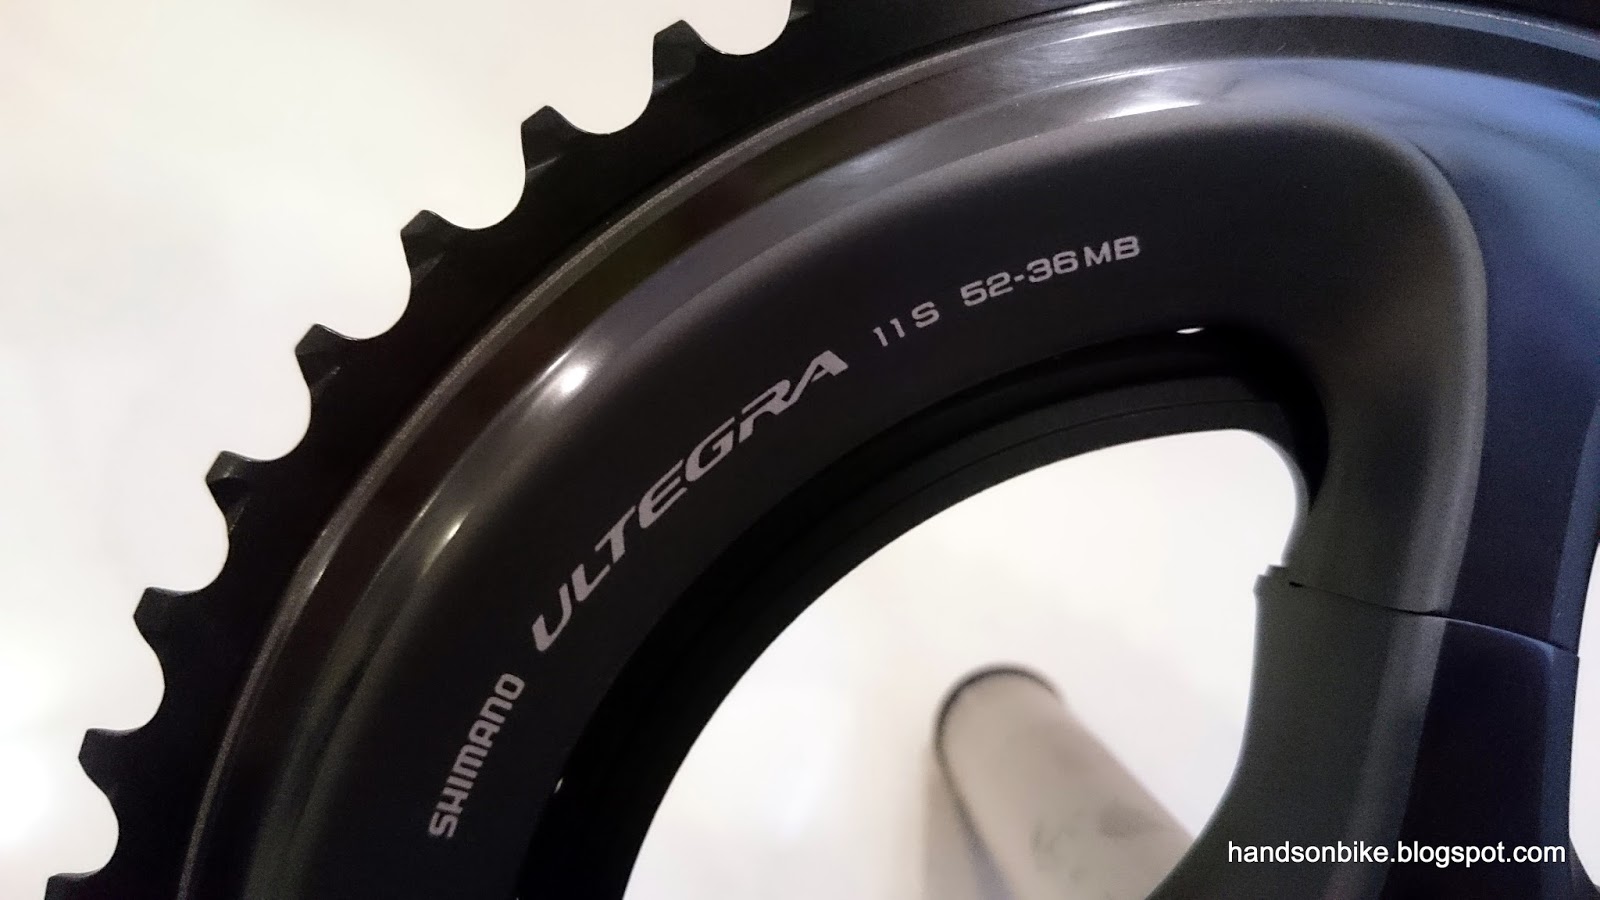
Ultegra 6800 52/36T mid-compact crankset and Ultegra 6870 Di2 FD installed!

Ultegra 6870 Di2 Short Cage RD installed
Issue number 3:
Unfortunately, another issue was discovered once I tried to tune the gears for the front and rear derailleurs. I found that when the chain is in the front low position (36T chainring), the chain will touch the bottom of the FD chain guide when the higher gears on the cassette are selected.

Chain touching issue when set to front low (36T) and rear top (11T). The chain will drag across the end of the chain guide when pedaling, which creates a lot of noise and friction.
In fact, this chain touching issue will occur if the RD is set to the higher 9 gears (11T to 21T sprockets), and the chain only just manages to clear the chain guide when in the lower two gears (23T and 25T) on the cassette. This problem only occurs when in the small 36T chainring, and not in the large 52T chainring.

Chain position when set to front low (36T) and rear low (25T). The chain is almost touching the end of the FD chain guide.
After much thinking and research, I found that this is mainly due to the geometry of small wheeled bikes as compared to standard large wheeled bikes. On standard 700C wheeled road bikes, the rear cassette position is above the BB, whereas on small wheeled bikes, the rear cassette position is below the BB. This is why this FD will fit nicely on standard road bikes, but will have chain touching issue when used on this particular mini velo frame.

On the road bike, the chain runs upwards from the BB to the rear cassette, while on the mini velo, the chain runs downwards from the BB to the rear cassette. If the FD mounting position is not correct, it will cause shifting and interference issues.
One curious thing is that when I previously installed the Shimano 105 5700 FD on the other Wheelsport Fantasy bike, it did not have the same issue. After checking it out, I found that this is because the length of the FD chain guide is different. The chain guide of the older 5700 FD is longer than the new generation of FD (9000/6800/5800/9070/6870 series), which prevented the chain touching issue.

If the older 105 5700 FD is used, it does not have chain touching issue even when in the front low and rear top gear.

There is a small clearance between the FD chain guide and the chain. This clearance is available due to the longer chain guide on the older 105 5700 FD, as compared to the shorter chain guide on my Ultegra 6870 Di2 FD.

Comparing the length of the FD chain guide. 105 5700 FD on top, 105 5800 FD at the bottom. The new generation of Shimano FD (9000/6800/5800/9070/6870 series) has a chain guide that is quite a bit shorter than the previous generation, which means possible incompatibility with small wheeled bikes.

The preferred position of the FD mounting, to prevent chain touching issue. Offset behind the original mounting, and rotated to be concentric with the chainring.

Similar designs can be found on the FD adapter used by Tyrell bikes, with the FD position offset backwards by the FD adapter instead of being fixed to the seat tube.

It would be better to have a separate FD adapter, so that the FD position can be optimised, as shown here on a Tyrell frame.
Fortunately, all is not lost! With some inventiveness and a DIY spirit, I managed to move the FD to a more suitable position with a custom mount. The idea is to offset the FD rearwards, and then rotate the FD such that the chain guide is concentric with the chainring. This would put the FD in a position similar to that on a Tyrell bike, which is correctly designed for small wheeled bikes.

First, a block is needed to shift the FD rearwards. I got this FD adapter from Taobao, which is originally designed for Java folding bikes. What I need is only the silver block.

Next, a Ridea wedge type shim is required to rotate the FD on the adapter. The shim is thick at one end and thin at the other end, which will rotate the FD on the mounting. Each of this shim will rotate the FD by 4 degrees.

Part List: Spacer Block, 2 x Ridea 4 degree Shim, 1 set of Concave/Convex Washers and a M5x45mm Bolt.

The aluminium block plus two Ridea shims (8 degrees in total) will move the FD to the desired position. Due to the angle of the wedges, I needed to use the concave/convex washers from V-brake pads to allow the longer bolt to be tightened properly.

Final setup of the FD! Looks ugly with the large block visible, but this is required to put the FD in the correct position.
With the custom FD adapter parts in place, there is no more chain touching issue even when in the front low and rear top gear. Also, the chain guide is nicely concentric to the chainring. As for the shifting performance, it works surprisingly well on the workstand, even though the support bolt on the FD is not in use. The actual shifting performance will be tested once the full bike is assembled and goes for a test ride.
For this Wheelsport Fantasy mini velo bike, the FD mounting position needs to be improved, to place the FD in the position as shown above. This is important to ensure that future FD will be compatible with this bike frame, especially for newer FD designed for 11 speed systems. It can be done by either improving the position of the FD braze on mounting, or removing the mounting and providing a separate clamp on FD adapter instead.
Up till now, there have been more installation issues that I had expected. For the first issue with the cutting of the carbon spacer, the solution was obvious, which is to shorten the carbon spacer, although it was not an easy job.
As for the second issue with the interference between the bottle cage and the Di2 battery mount, it was because I decided to place the Di2 battery there. If a normal mechanical shifting setup is used, or if the battery is placed elsewhere, there would not be such an issue.
Finally, for the FD chain touching issue, it was partly due to the frame design, where the FD mounting is located at the wrong place. It is also partly caused by the FD, where the chain guide has been shortened from the previous generation, creating this interference problem that will not occur if an older FD is used.
I am glad that I managed to find a suitable solution for each of these problems, and now the assembly of this Wheelsport Fantasy Ultegra Di2 2x11 Speed mini velo can continue!
Part 5 here