Wednesday, June 7, 2017

Java Freccia Carbon Mini Velo: Part 5 - Insufficient Brake Caliper Reach

In the previous blog post, the bike was already shown as half assembled, with the wheelset and drivetrain transferred over from the Wheelsport mini velo.

Next, I tried to install the road caliper brakes onto the frame and fork, but ran into problems. Although there is no problem mounting the brake caliper onto the bike, the brake pads cannot reach the rims of the wheels! These are standard Dura-Ace 9000 brake calipers, so there should be no issue unless there is some problem with the frame.

Quite a big clearance between the front caliper brake and the tire

Even when the brake pad is shifted all the way down to the lowest point, it still cannot completely clear the tires

Same for the rear, the brake pad cannot clear the tire completely

As you can see, there is quite a big gap between the rear caliper brake and rear tire

I actually contacted the bike frame seller from Taobao via WeChat, but we were unable to resolve the problem. He told me that his other bikes are able to fit standard Ultegra brake calipers, although the brake pad holder has to be right at the bottom of the slot, at the limit. Dura-Ace and Ultegra brake calipers have similar dimensions, so I am not sure why it does not fit.

The factors affecting this are:
1) Brake caliper reach
2) Position of brake mounting point on frame, relative to wheel dropouts
3) Diameter of braking track on wheel rims
4) Width of rims or thickness of brake pads (small effect)

It seems to be that the frame dimensions are right at the limit where the brake pad is just unable to reach the rims properly. Almost there but not quite there, it is short by only 1 to 2 mm.

Actually this is easy to solve, I just need to use brake pad extenders, like what I used on the Dahon Boardwalk or Dahon Vitesse when I used road caliper brakes on those frames.

Aican brake pad extenders, which lowers the brake pads by about 10mm.

Weight of Dura-Ace 9000 brake pad holder and mounting hardware which is super lightweight at only 9 grams. Think it uses a titanium bolt and aluminium washers.

Aican brake pad holder, slightly heavier at 12 grams

Weight of hardware from Dura-Ace brake pad holder

Weight of hardware from Aican brake pad holder

If I combine the Aican brake pad holder with the Dura-Ace hardware, it is also lightweight at 10 grams

Testing the Aican brake pad holder with Dura-Ace hardware on the brake caliper

With the brake pad extender, the reach of the brakes is sufficient to reach the rims. However, what I don't like about the Aican brake pad holder is that the rounded area for adjusting the angle of the brake pad does not really work. Upon tightening the bolt, the brake shoe will be tilted to one side, no matter how I adjust it prior to tightening. Also, the squarish design is not nice looking, and it extends too much.

I found another type of brake pad extender by Ridea, which lowers the brake pad by 6.5mm instead of 10mm. Best of all, it has its own lightweight hardware which is also titanium. Although they are pricey, it should be worth the money.

Ridea brake pad extender which lowers the brake pad by 6.5mm. Looks much better than the Aican type, and also comes with its own brake pad.

Weight of Ridea brake pad extender is 10 grams. Slightly heavier than the Dura-Ace type, probably due to a bit more material from the extension.

However, there is one downside to this change, as I am unable to fit the SwissStop brake pads into the Ridea brake pad holders. There is some difference in dimension which makes it too tight to fit. I also cannot fit the Shimano brake pads into the Ridea brake pad holder.

Therefore, I have to use the Ridea brake pads, which at least seem to be of decent quality. Hope it works well with decent stopping power. Pictures will be shown later when the full bike is completed.

Finally, with the insufficient brake caliper reach issue resolved, I can move on to install the rest of the components onto the bike!

Thursday, June 1, 2017

Java Freccia Carbon Mini Velo: Part 4 - Preparing for Assembly

With the frame and fork weighed, and the geometry comparison completed, it is time to prepare the frame for component assembly! All the components will be transplanted from the Wheelsport mini velo wherever possible, as this Java mini velo will replace the Wheelsport mini velo.

First, let's install the headset. This is easy as there is no need to press fit any headset cups into the frame.

Placing the lower headset bearing onto the fork. The crown race is already molded into the bottom of the steerer tube.

Placing the compression ring on top of the upper headset bearings

Placing the cover on top of the headset compression ring. The carbon spacer will then press onto this cover.

The carbon spacer was purchased separately, and I had to estimate the length required. 120mm is too long for this steerer tube, so some cutting is required.

Inserting the compression plug from the top cap into the steerer tube, in order to judge the length of the carbon spacer that needs to be cut.

As I plan to use the 80mm Controltech stem which is originally used on the Avanti Inc 3 (it turned out to be too long for that bike), I measured the stem height to determine the amount that needs to be cut.

Available space between top cap and 120mm spacer: 13mm
Space required for Controltech stem: 40mm
Space required for 5mm spacer on top of stem: 3-5mm

Therefore, I will require about 43mm of clearance between the carbon spacer and the top cap, so that I can fit the stem (with 40mm height) and spacer (5mm height), while ensuring that the spacer protrudes from the steerer tube by a few millimeters.

This means that I will need to cut about 30mm off the carbon spacer, trimming it from 120mm to approximately 90mm.

Using a carbon saw (similar to how I cut the FSA SL-K seatpost), instead of using the pipe cutter (when I cut the carbon spacer for the Wheelsport mini velo), I was able to obtain a relatively good and flat cut.

Final height between the 90mm carbon spacer and the top cap is about 43mm, which is perfect. If anyone else intends to build a bike with this frameset, a 90mm carbon spacer will be just right.

Controltech stem installed!

As pointed out earlier, this frame uses a press fit bottom bracket, not a traditional threaded bottom bracket. I would have preferred a threaded bottom bracket, as it makes it easy to install or remove the bottom bracket. However, the advantage of press fit bottom bracket is lighter weight, as there is no need to have metal threads on both the frame and the bottom bracket itself.

I was not sure which press fit bottom bracket to use, therefore I had to do some research to see what bottom bracket will fit this frame. The frame shell width is about 86mm, while the internal diameter is about 40.9mm.

Specifications for Shimano press fit road bottom bracket

With this confirmation, this frame will accept a Shimano press fit road bottom bracket.

Surface of the press fit contact area looks rough, but it is actually quite smooth to the touch, which is ideal. Will use some fine grade sandpaper to prepare the surface before installing the bottom bracket.

The main issue with press fit bottom brackets is creaking sound during usage, which is almost always due to poor fitting between the bottom bracket cups and the frame. It can be due to poor press fitting tolerances, or just failure to prepare the surfaces properly. Some people prefer to use loctite to prevent any movement that will cause creaking, but this makes it super difficult to remove. I prefer the other school of thought, which is to apply grease at the contact areas, so that in case it does move, it will not cause creaking sounds.

While prepping the frame for assembly, I also studied the cable routing for this frame. This frame is designed for internal routing, which keeps the exterior of the frame clean and tidy. However, this also makes it more troublesome to install or service the cabling.

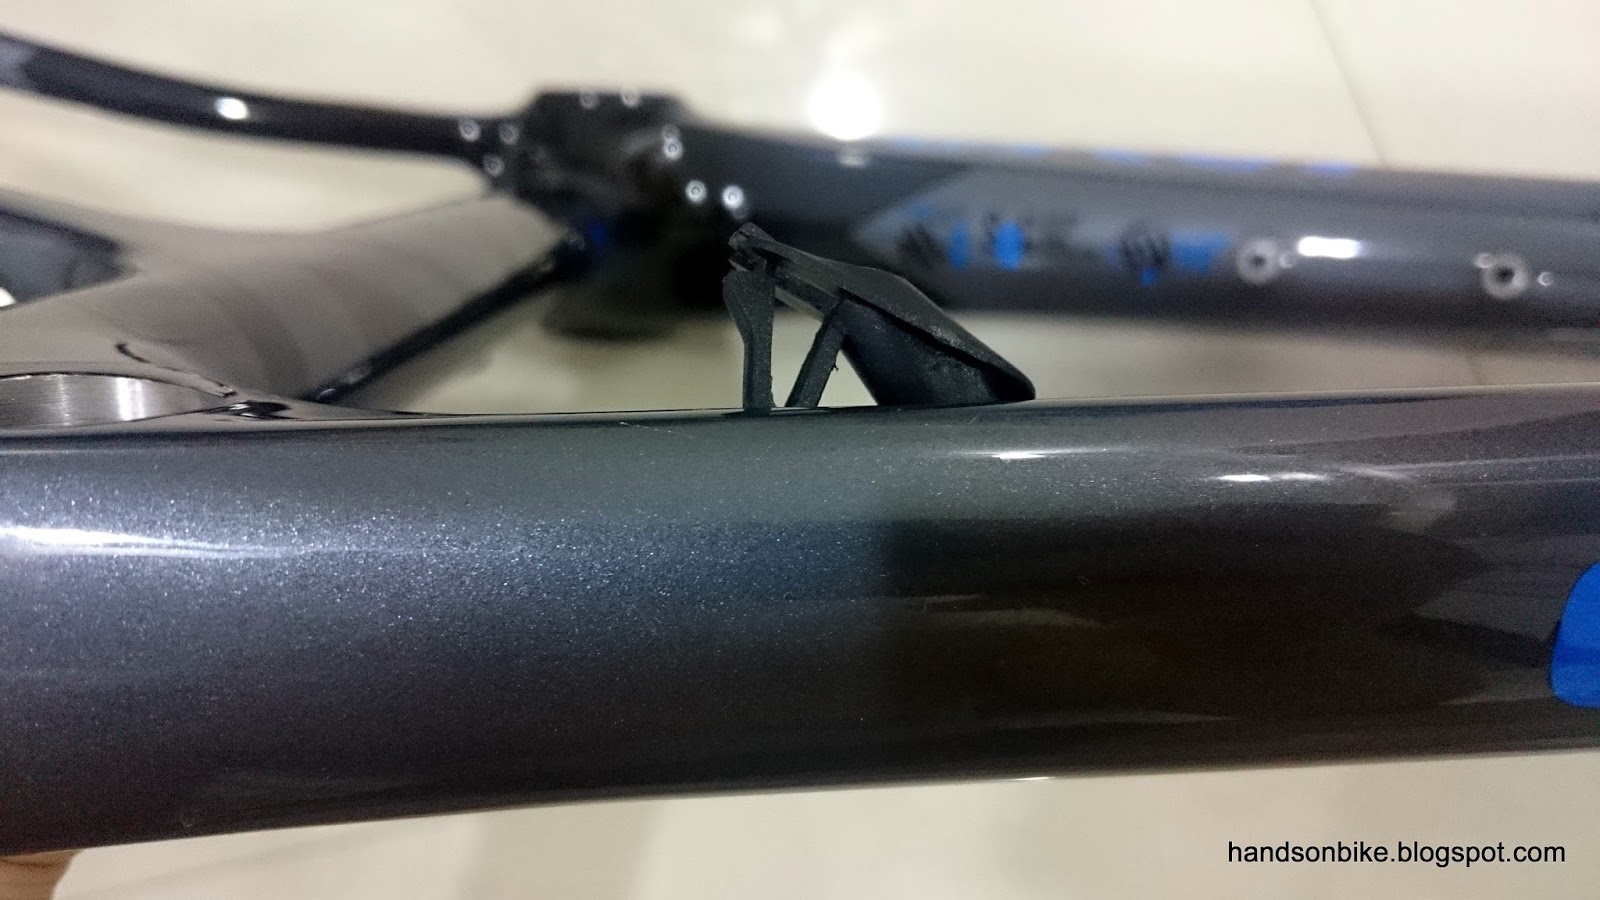
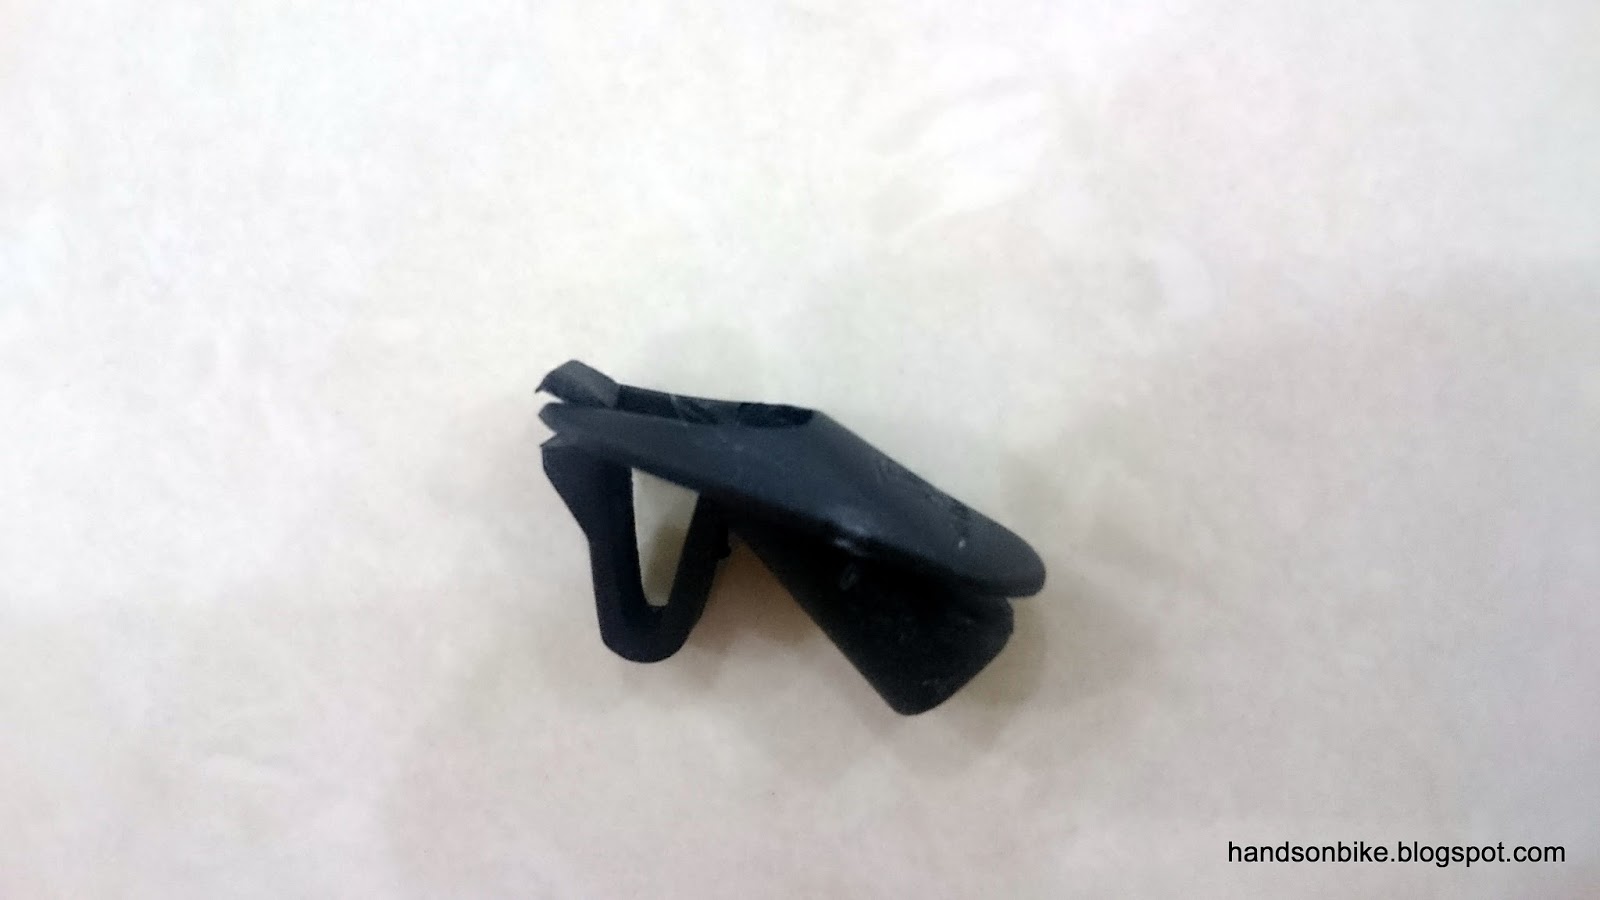
Cable stoppers on the frame, which clips into the hole on the frame via a smart snap fit design.

Snap fit design of the cable stopper makes it easy to remove the stoppers for easy cable installation.

Upon closer inspection, I found that there are two different stopper designs. The first is for shifter cables, where the outer cap will be stopped by the cable stopper. The second is for the brake cables, where the outer casing will run straight through. The difference is a step inside the cable stopper.

Cable stopper for shifter outer casing, which holds the outer cap and allows only the inner cable to pass through. The inner cable will then be exposed while running internally through the frame.

Cable stopper for brake outer casing, which has a through hole that allows the whole brake outer casing to pass through, with no exposed inner cable.

Testing the cable guide under the bottom bracket, to determine how to route the cables through the frame. The route shown here is for the rear derailleur inner cable.

This bike will have a 1x11 speed drivetrain, similar to that on the Wheelsport Fantasy mini velo. Therefore, I only have to be concerned with the routing of the rear derailleur inner cable and also the rear brake cable.

I was not too happy with the exposed inner cable running under the bottom bracket, as it will collect too much dirt and affect shifting accuracy. In order to prevent this, I decided to run a plastic cable liner to protect the inner cable from dirt.

The cable liner is the same as the one found inside the shifter outer casing, and the easiest way to get it is to cut open the shifter outer casing and extract the plastic liner from the inside. Another advantage of putting this plastic liner is to make it easier to install the inner cable later on.

Splitting the shifter outer casing to obtain the plastic liner

Running the plastic liner from the front of the frame...

...under the bottom bracket...

...and out from the right side chain stay.

During the installation of the inner cable, it will be easier to thread the inner cable through the whole frame, since the plastic liner is already there to guide it through. After that, the plastic liner will need to be trimmed so that it does not touch the outer cap on the outer casing at either end. This liner is supposed to "float" on the exposed section of the inner cable which is inside the frame.

Next, the wheelset, crankset, rear derailleur and chain was transferred over from the Wheelsport mini velo. The next step would be to install the rest of the components!

Java Freccia mini velo half assembled. To be continued!

Thursday, May 25, 2017

Java Freccia Carbon Mini Velo: Part 3 - Frame Geometry Comparison

As with any frame, the geometry is important as it affects how the bike rides and also the handling. Since I have the Java Freccia bare frame, it is a good idea to compare it with the other bikes to see the differences in geometry. The weight of the frameset components had already been checked previously.

Java Freccia carbon mini velo frameset

Overlaying the new Java frame onto the Wheelsport mini velo for comparison

I tried to line up both the front and rear axles, but the bottom bracket does not line up. The geometry seems to be quite different...

Different top tube design, although the horizontal top tube length seems to be similar

Bottom bracket for the Java frame seems to be higher up

Front axle lined up nicely, acting as a datum for comparison

Rear axle of Java frame does not match up nicely, suggesting a shorter chain stay length

Seat tube angle and location seems to be similar

Head tube of the Java frame is much higher, which should translate into more stiffness at the front end since the exposed length of the steerer tube is shorter.

Steerer tube of the Java fork ends about 40mm below that of the Wheelsport fork, which means a more aggressive riding geometry.

That concludes the frame comparison with the Wheelsport mini velo. With a shorter steerer tube, it will mean a lower handlebar height for the Java Freccia mini velo and thus a more aggressive riding posture.

Next, I also compared the frame with the Merida Scultura 5000 road bike.

Just to double check: The Wheelsport handlebar is quite a bit higher than the Merida handlebar. The Java handlebar height should thus end up pretty close to that of the Merida road bike.

Overlaying the Java Freccia frame onto the Merida Scultura 5000 road bike, using the bottom bracket area as the datum.

Top tube height is obviously lower on the mini velo frame

Steerer tube height is about the same as that of the Merida road bike. This means that the handlebar height of the Java should be close to that of the Merida.

After doing more research, I finally found some details of the Java Freccia frame dimensions. What stood out for me was the chain stay length, which is short at only 380mm! This is quite a bit shorter than the 405mm on the Merida and the 420mm on the Wheelsport.

Frame dimensions of the Java Freccia frame

The major findings from this frame comparison is the difference in head tube length with the Wheelsport frame, and also the short chain stay length. A short chain stay length usually means a more agile but also less stable ride. Nevertheless, all these numbers should only be used as a reference, as the ride quality and characteristics ultimately depends on riding the actual bike. It may or may not have a big effect on the ride at all.

Saturday, May 20, 2017

Java Freccia Carbon Mini Velo: Part 2 - Weight of Frameset Components

After taking a close look at the Java Freccia carbon mini velo frame and fork in the previous post, let us now see exactly how lightweight this frameset is.

By building the bike up from a bare frame, it makes it easy to measure all the weights exactly. The main objective of this project is to build a mini velo that is as lightweight as possible.

From some research, I have the weight comparison of some popular and more well known mini velo framesets.

Wheelsport Fantasy (aluminium frame, carbon fork): About 2.3kg
Tyrell FX (aluminum frame, carbon fork, folding): About 3.1kg
Tyrell CSI (aluminium/carbon frame, carbon fork): About 2.15kg
Tyrell PK1 (titanium frame, carbon fork): About 2.45kg

As you can see, the lightest frameset, which is the Tyrell CSI, still weighs about 2.15 kg as it is mostly aluminium with a carbon rear triangle and fork.

The Java Freccia frameset will beat all these frameset weights by a large margin, if the claimed weight on the website is to be believed.

Java Freccia claimed frameset weight: 850 grams for frame, 360 grams for fork, giving a frameset weight of only 1210 grams (1.21 kg)!

I know that these claimed weights are often overly optimistic, and are usually too good to be true. Even then, the difference with the other frame weights are so big that there will definitely be weight savings even if the actual weight is not as light as claimed.

Frame: Claimed weight is 850 grams, actual weight is 1060 grams. Quite far off, but still lightweight.

Fork: Claimed weight is 360 grams, actual weight is 412 grams. Smaller difference than the frame.

Claimed frameset weight: 1210 grams
Actual frameset weight: 1472 grams

Although the actual weight is higher, just as I expected, it is still considered a very lightweight frameset, as it is more than 800 grams lighter than the Wheelsport Fantasy mini velo frameset!

This is a significant weight saving as the frameset weight has been reduced by more than one third.

How about the weight of the other frame components, such as the headset, carbon spacer, carbon seatpost and etc?

Headset bearings, compression ring and cover. 58 grams. No headset cups required as it is integrated into the frame for weight savings.

Specifications of the headset bearings, in case anyone is interested to know.

More carbon goodies. Carbon top cap by Controltech, 27 grams.

Carbon spacer weight, 63 grams before cutting. 120mm long.

As this frame uses an aero shaped seatpost, the aero seatpost is also included. This also means that I cannot use the modified FSA SL-K seatpost which only weighs 206 grams.

Aero carbon seatpost that comes with the Java Freccia frameset

Aluminium plate that clamps the saddle rails onto the carbon seatpost. Quite a common design nowadays.

It even has a special rough coating on the seatpost to prevent seatpost slippage. Similar to that found on the clamping areas of carbon handlebars.

There is an aluminium insert that extends about 10cm upwards from the base of the seatpost, presumably to strengthen the seatpost without adding too much weight.

This seatpost is also quite lightweight! Only 213 grams, only slightly heavier than the modified FSA SL-K seatpost which weighs 206 grams.

Seatpost clamp design, which has two wedges at the side that pushes a third wedge against the seatpost to clamp it in place.

Seatpost clamp mechanism weighs 27 grams

It also comes with a rubber cover to prevent water entering the frame through the seatpost area

Complete assembly of the seatpost, seatpost clamp and rubber cover onto the frame. This seatpost clamp design gives a very clean look to the frame, with nothing sticking out.

As described in the previous post, the frame and fork has special mountings to accept aero type V brakes. However, since I am using standard road caliper brakes, these mountings are not required. As such, it is a good idea to block off these holes by inserting a bolt.

Aero type V brakes seen mounted at the rear of the front fork

To save a tiny little bit of weight, I decided to use nylon bolts instead of steel bolts to seal off these holes.

Nylon bolts, not for any load bearing usage. Perhaps only suitable for decorative purposes.

4 M6 mylon bolts only weigh 2 grams

Nylon bolt sealing off the holes on the fork

Same for the holes on the rear triangle of the frame

In summary, this carbon frameset saves over 800 grams over the Wheelsport mini velo frameset, which will result in a super lightweight mini velo.

The next post will show the frame geometry comparison between this new Java frame, the Wheelsport frame and also the Merida Scultura frame.