With the same idea in mind, Fly 6 launched their rear video camera + rear light earlier this year for use on bicycles. Although it was not cheap, for this price you actually get a rear video camera and a rear light, so it is still reasonable. The main draw for this device is that both the video camera and the rear light are integrated as one unit, so only one mounting is required. Also, it has a looping video function which means that there is no need to clear the memory card manually when the memory card is full. This works the same way as dashboard cameras in vehicles.
In October this year, I came across a pre-order for the 2nd generation of the Fly 6! This second generation Fly 6 is smaller in size than the first generation design, which is really good. I decided to order it to try it out. Together with the Shimano Sport Camera at the front, it gives me front and back video coverage if desired.
The estimated delivery date for the 2nd Gen Fly 6 is in Dec 2014, so I was actually expecting it to come early next year as the actual delivery date usually gets pushed back due to various issues. Thus I was pleasantly surprised when I received the Fly 6 in the first week of December! It is great when the actual delivery date can meet the promised/estimated delivery date.
Enough of my rambling, let's take a look at the new 2nd Gen Fly 6!

Comes in a pretty and nicely designed box. It has the same high quality feeling as when I received the Blaze Laser Bike Light.

What's printed at the bottom of the box. Features of this rear video camera + rear light.

Includes lots of mounts and even the MicroSD card. 8 GB of memory card storage can provide 2 hours of looping HD footage.

The technical specifications of this device
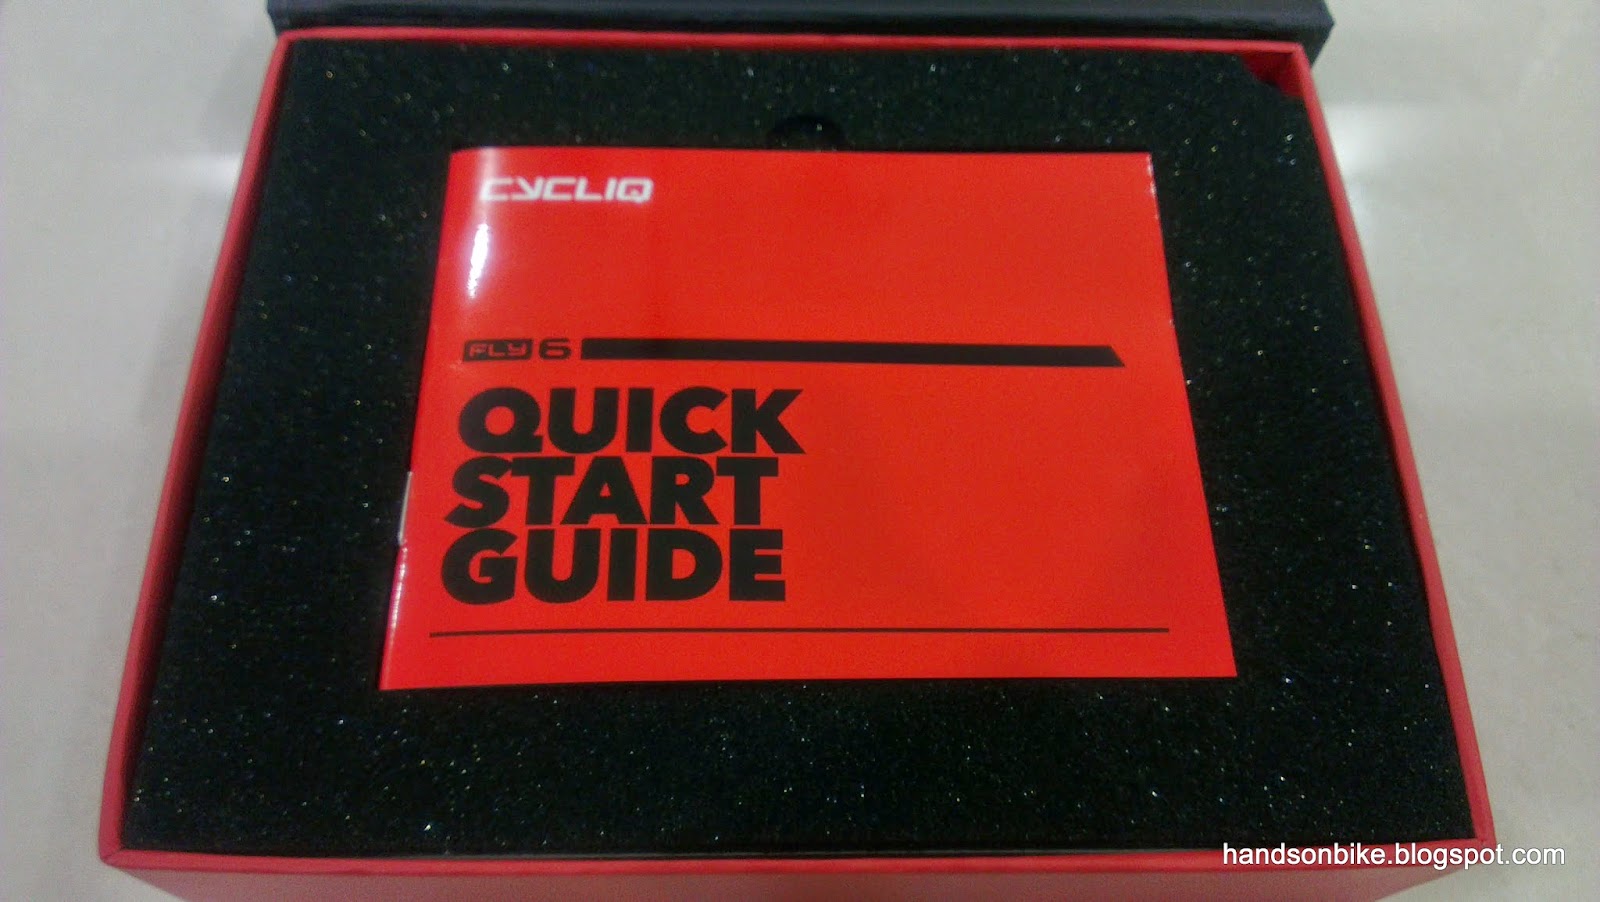
First thing you see when the box is opened. The quick start guide for this device.

I resisted the urge to open up the rest of the box, and took a look at the guide first. All these parts are included in this box!

Name of the various parts of this device

To attach or remove the Fly 6 from the mount, just slide it out from the plastic mount.

Power button turns On/Off the Fly 6, and also cycles through the various lighting modes. The courtesy dimmer button on the other side adjusts the brightness in each mode.

To prevent overwriting too much of the video footage iif an accident occurs, there is an incident capture mode. When this mode is activated, it records for one more hour before stopping. This ensures that you have the video recording of one hour before and one hour after the incident.

There is no visual battery level indicator, so the Fly 6 uses audible beeps to let you know how much battery charge is left.

Comes with some stickers if you wish to decorate your bike

What you see after removing the guide and the stickers from the top of the box

The full array of accessories and mounts for the Fly 6!

Lots of mounts provided. Sufficient for mounting on two bikes!

The plastic mount where the Fly 6 will slide onto. This mount is then attached to the bike using the rubber straps.

There are rubber wedges of different angles, in order to help you align the Fly 6 such that it points horizontally backwards. What you see here are the 5 degree and 10 degree rubber wedges.

The special wedge that is used for mounting on aero seatposts that are not cylindrical in shape.

Finally, the Fly 6 itself! Does not look that big in this picture...

First, a size comparison. Once again, I used the commonly seen Smart 0.5 watt rear light for comparison. Can see that the Fly 6 is quite a bit taller, but is the same width.

The Fly 6 is quite a bit thicker than the Smart rear light. However, when the Smart rear light is mounted using its plastic mount. both will stick out from the seatpost by about the same amount.
This comparison will not be complete without a size comparison with the first generation of the Fly 6! One of the main selling point of the 2nd Gen Fly 6 is the smaller size compared to the 1st Gen Fly 6. I would not have bought the 1st Gen Fly 6 as it was just too tall and bulky.

From left to right, the 1st Gen Fly 6, 2nd Gen Fly 6 and the Smart rear light. The 2nd Gen Fly 6 is about 2cm shorter than the 1st Gen Fly 6.

2nd Gen Fly 6 is a little thicker than the 1st Gen Fly 6.

1st Gen Fly 6 without mount, 107 grams

1st Gen Fly 6 including mount, 133 grams. Quite lightweight, considering that it is both a video camera and a rear light!

2nd Gen Fly 6. Slightly heavier than the 1st Gen Fly 6 by 8 grams.

Including the mount, the 2nd Gen Fly 6 weighs 141 grams. Heavier than the 1st Gen Fly 6.
According to the technical specifications from the Fly 6 website, the 1st Gen Fly 6 has a 1500 mAh battery, with 5 hour runtime and 15 lumens from the rear light. With the new 2nd Gen Fly 6, the battery capacity has been increased significantly to 2600 mAh, with 6 hour runtime and up to 30 lumens from the rear light.
This is the main reason for the slight increase in weight. It is a good tradeoff as I don't mind bringing along 8 grams more, for longer runtimes and a brighter rear light.

Close up look at the 1st and 2nd Gen Fly 6.

1st Gen Fly 6 has the Mini USB charging port and the MicroSD card slot at the bottom of the device, and is covered by a rubber flap. Some people have commented that this makes it more prone to water ingress and that the MicroSD card can drop out if the rubber flap opens up.

The 2nd Gen Fly 6 has improved on this, by moving the Micro USB charging port and the Micro SD card slot to the side. This should make it more waterproof and the rubber cover less prone to opening up.

View of the rear. Looks similar except for the size.

View of the front. The area around the camera lens and LEDs have been changed from the 1st Gen to the 2nd Gen Fly 6.

In the 1st Gen Fly 6, the LEDs around the camera lens are housed within the same compartment of the casing, with a chrome backing.

When the Fly 6 is turned on, there will be a rotating ring of LEDs around the camera lens. At night, this is visible on the video as a rotating ring which can be rather annoying. The rotating ring of light cannot be turned off.

In the 2nd Gen Fly 6, the rotating ring of LEDs are still there. However, they are located further behind the camera lens, and in a separate compartment.

With the rotating ring of lights located further back from the camera lens, it should solve the problem of a visible ring of light in the video footage. This will be known once I get some night video footage.

On the left side of the Fly 6 is the Power button which also functions as the mode button.

On the right side of the Fly 6 is the dimmer button which is used to adjust the brightness of the LEDs in each of the lighting modes.
What is very different about this light is that you can adjust the lighting mode and the brightness independently. Normally, on most other lights, different brightness of the light count as different modes. However, for this Fly 6, lighting mode and brightness are controlled separately, giving you a high level of customisation.
Mode 1: Strobe light alternating with flashing red LEDs (similar to Smart rear light flashing pattern)
Mode 2: Strobe LED and red LEDs all flash at the same time
Mode 3: Constant mode
In each of these 3 modes, there are 4 levels of brightness. High, medium, low and off. In the off mode, only the rotating ring of lights around the camera lens are still on, the strobe and red LEDs are all off. All the 3 modes show the same thing (rotating ring) when in the lowest level of brightness.
This gives a total of 10 unique settings, with different lighting patterns and levels of brightness. Very useful and customisable to suit everyone's preference.
My favourite mode is Mode 1 with a medium level of brightness, as this flashing pattern is the most visible, and the high brightness mode is actually too bright.

Lowest brightness mode, with only the rotating ring of lights still activated.
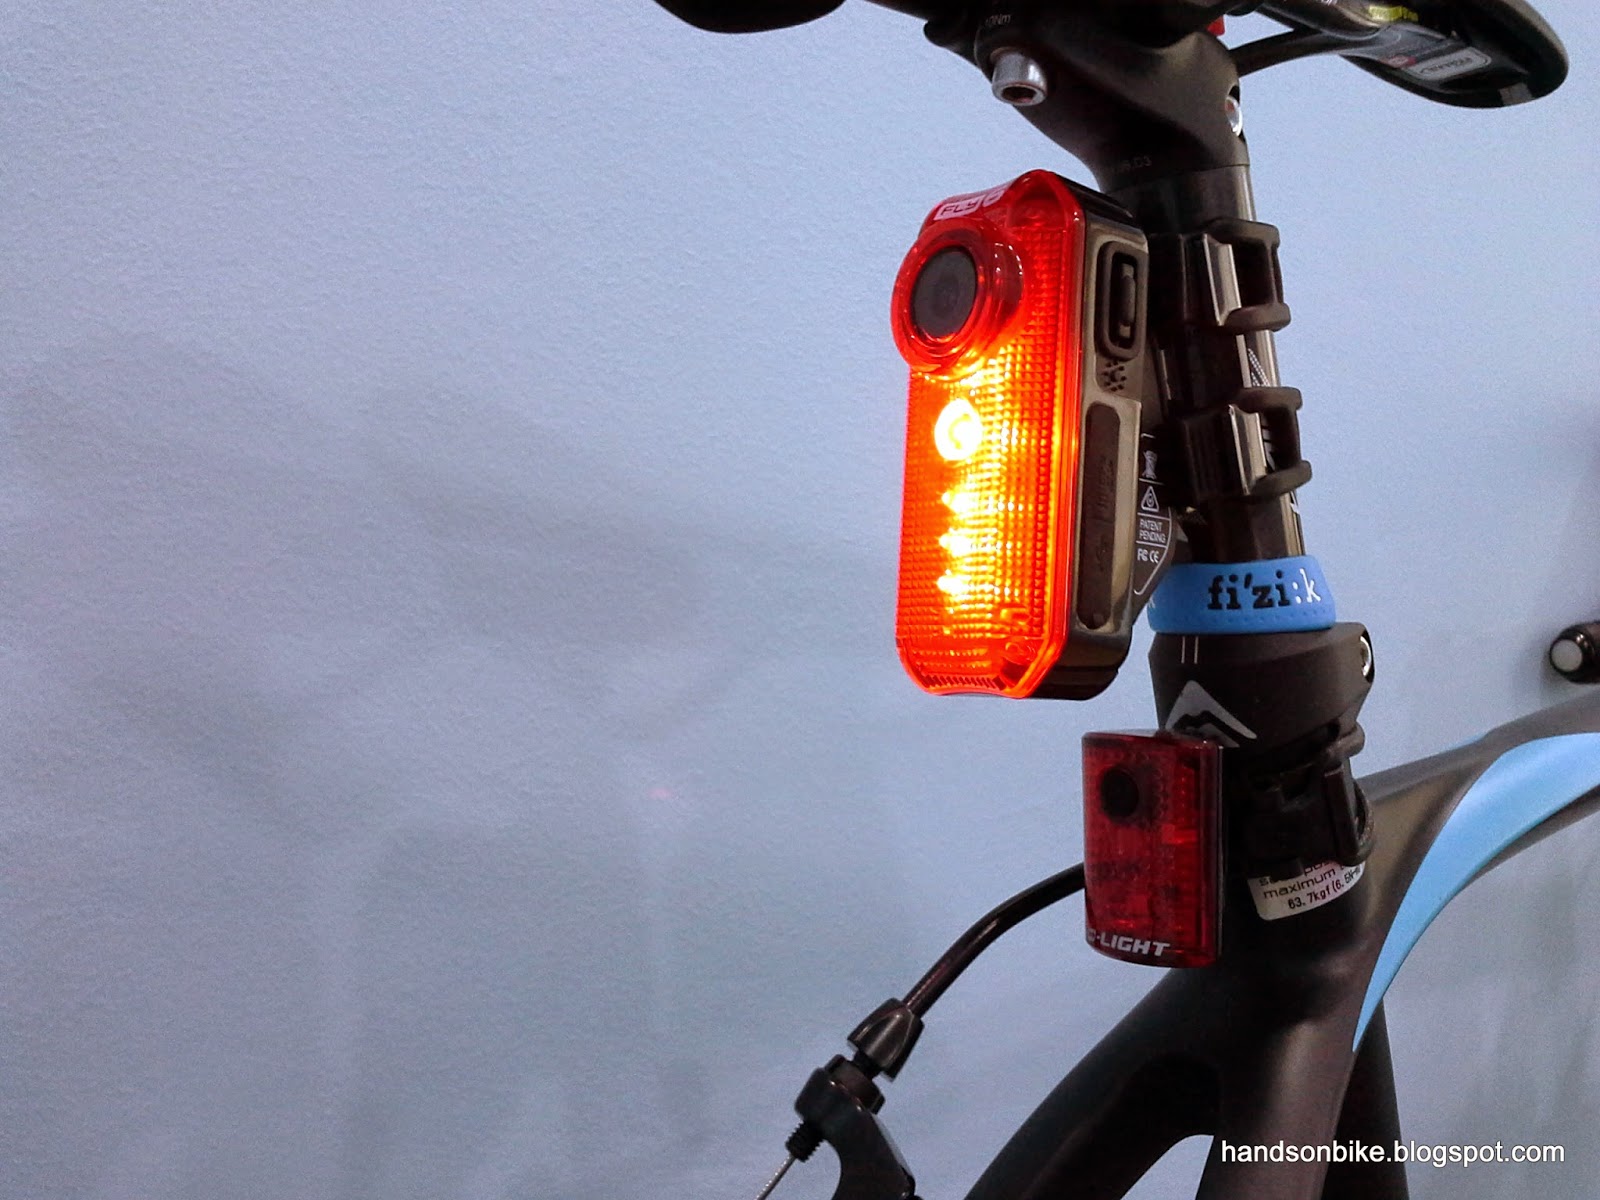
How it looks when mounted on the seat post. Looks so much bigger than the D-Light Rear Light!

Still sticks out quite a lot from the seat post, which is what I don't really like. Also, I can only use either the Fly 6 or the Topeak RedLite Aero Rear Light at any one time.

Overall look of the Fly 2 (2nd Gen) mounted on the Merida road bike. Still very bulky compared to a normal rear light.
I guess it is not possible to have a rear video camera + rear light that is also compact sized. Although this new 2nd Gen Fly 6 is already smaller than the 1st Gen, it still looks bulky when mounted on a road bike.
Still, having a rear video cam is more important than having a slim looking seatpost. If the benefits outweigh the disadvantages, it will be a good tradeoff. On its own, the video camera on the Fly 6 is actually a pretty decent one. Also, it is an excellent rear light that is better than most rear lights available in the market.
Will be trying out the new Fly 6 on rides soon, and hopefully there will be more to write about after I get to use it more!
thank you for your review. i am looking at getting it too.
ReplyDeleteI currently own both versions. I ended up buying the 2nd gen one because I thought the light needed to be brighter. A must have if you are a road cyclist.
ReplyDelete"light needed to be brighter"
DeleteThat's right buddy.
With that price range , the light could be better.
I can't decide See.Sense Elite rear light ( 155 lumens $160 , no camera ) or Fly 6 V2 because I don't want to end up spending S$500.
The rear light on the 2nd Gen Fly 6 is very bright on high mode. I am using medium brightness when it is dark as it is already bright enough. Perhaps the high brightness mode will be more useful in the day for visibility.
DeleteJust got my 2nd gen version. I loved the idea, and bought the 1st gen. Light was not as bright as hoped. That was the only thing lacking. This is a road cyclist must have!
ReplyDeleteLooking forward to your videos on the Fly6 Gen 2 and post-ride reviews!
ReplyDeleteHow the light ? Is it good enough to get noticed on SG busy road ?
ReplyDeleteand how's the camera? Are you able to capture the footage when riding along PCN at night ?
I have been using the camera for a couple of weeks, but so far have not checked out the video footage yet. Only needed to recharge it, but there is no need to delete any video manually as the video will loop and overwrite itself. Will review the footage in the next write up.
DeleteI am hoping that a rack mounted version will come available. I realise that the seatpost is the most stable platform for the device but on my bike all it would record would be the front of my rack luggage. Not very useful. :-)
ReplyDelete