Ever since I got the Shimano RX8 gravel shoes 1.5 years ago, I have been using it on almost all my rides. This means that it is pretty well used.
Recently, I found that the rubber layer on the outside of the Boa dial was peeling off, due to wear and tear. It is still usable, but I also know that Boa provides a lifetime warranty for their Boa dials. This means that if the Boa dial is damaged or malfunctions, you can request for a free replacement.

Rubber layer on the outside of the Boa dial is peeling off.

Other parts of the shoe are fine, just that the dial is a bit worn out.
I contacted Boa to get a replacement, and it was sent out pretty quickly. It will be an equivalent Boa dial, although it may not have the exact same appearance.

It comes as a pair for left and right shoes. The difference is the rotation direction, which are mirror image of each other.

Left side (purple) is differentiated from the right side (red) by colour.

The new Boa dial has a black cover, which is different from the original RX8 dial which is transparent.

The Boa dial comes in two parts, one which is already fixed inside the black cover.

This part has 4 metal pawls on the outside, which will engage the ratchet on the inside of the dial that is fixed on the shoe.

Other than the replacement dials, a tool and new wire is provided.

Very detailed instructions, which I will need to follow very carefully.

The instructions for left and right dials are different, so take extra care to follow the correct instructions.

Using the tool, which is basically just a small Torx wrench to loosen the dial. I didn't realize that there was actually a small hole cleverly hidden in the middle of the dial!

This is the part from the left shoe.

The ratchet is fixed to the shoe, so it cannot be replaced.

Taking a picture here, to remember how the wire runs through the loops of the shoe, before I cut the wire.
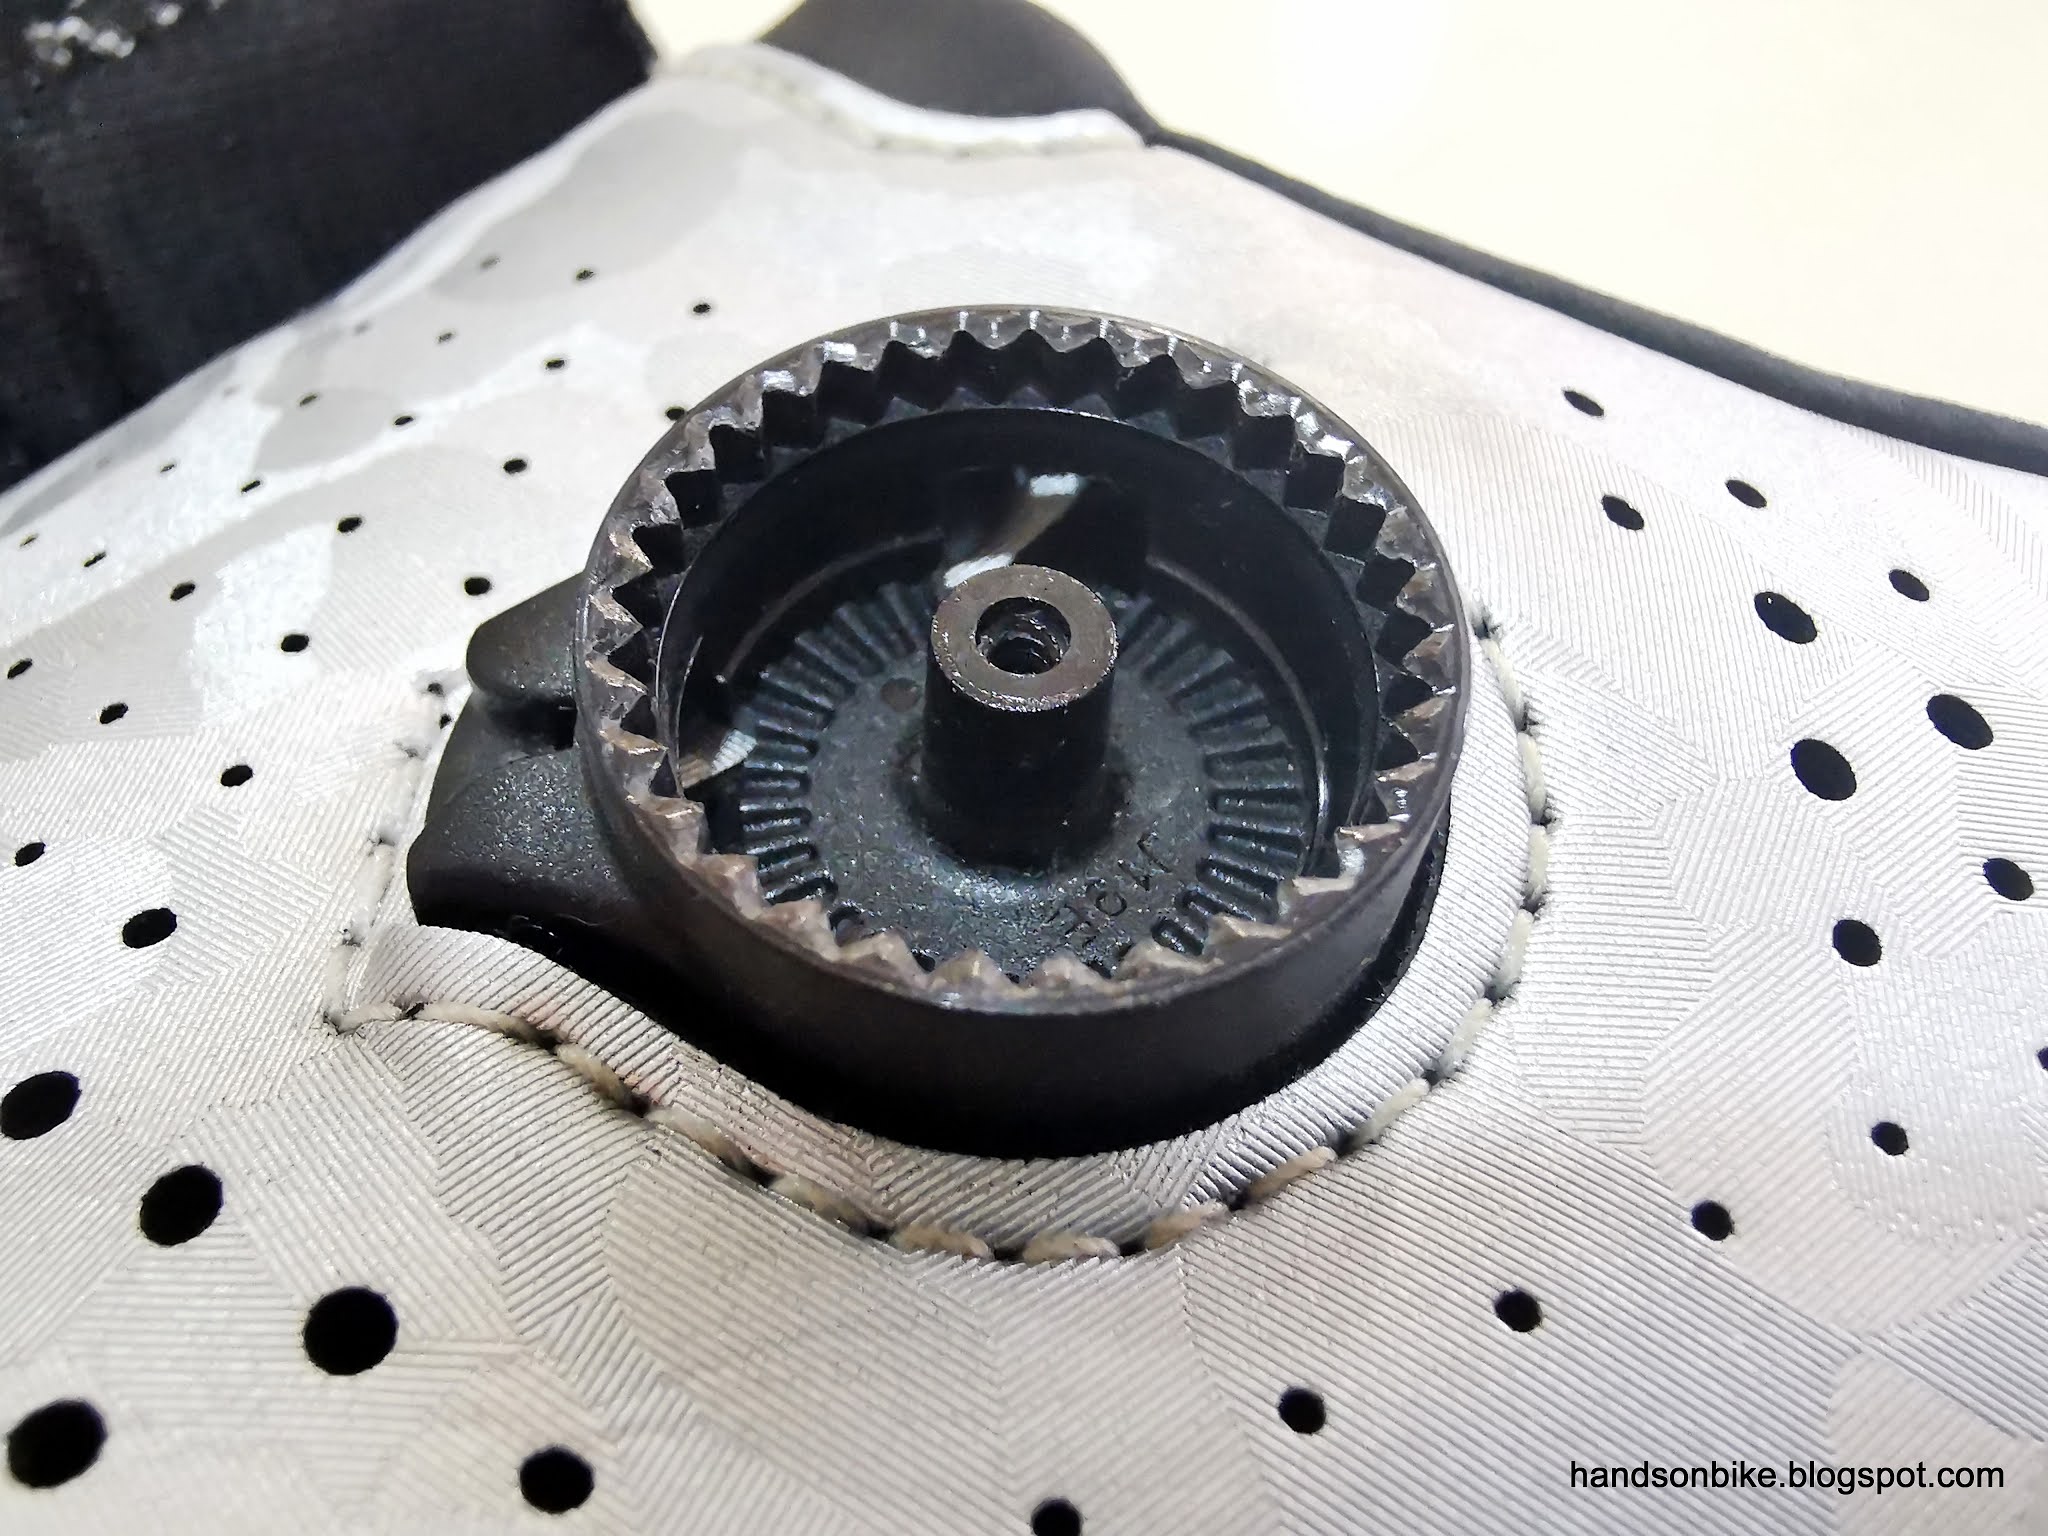
Close look at the ratchet on the shoe, after the wire is cut. The screw tightens into the centre of the dial.

Putting the end of the wire through this soft loop is not easy, as the open end keeps getting stuck inside the soft fabric.
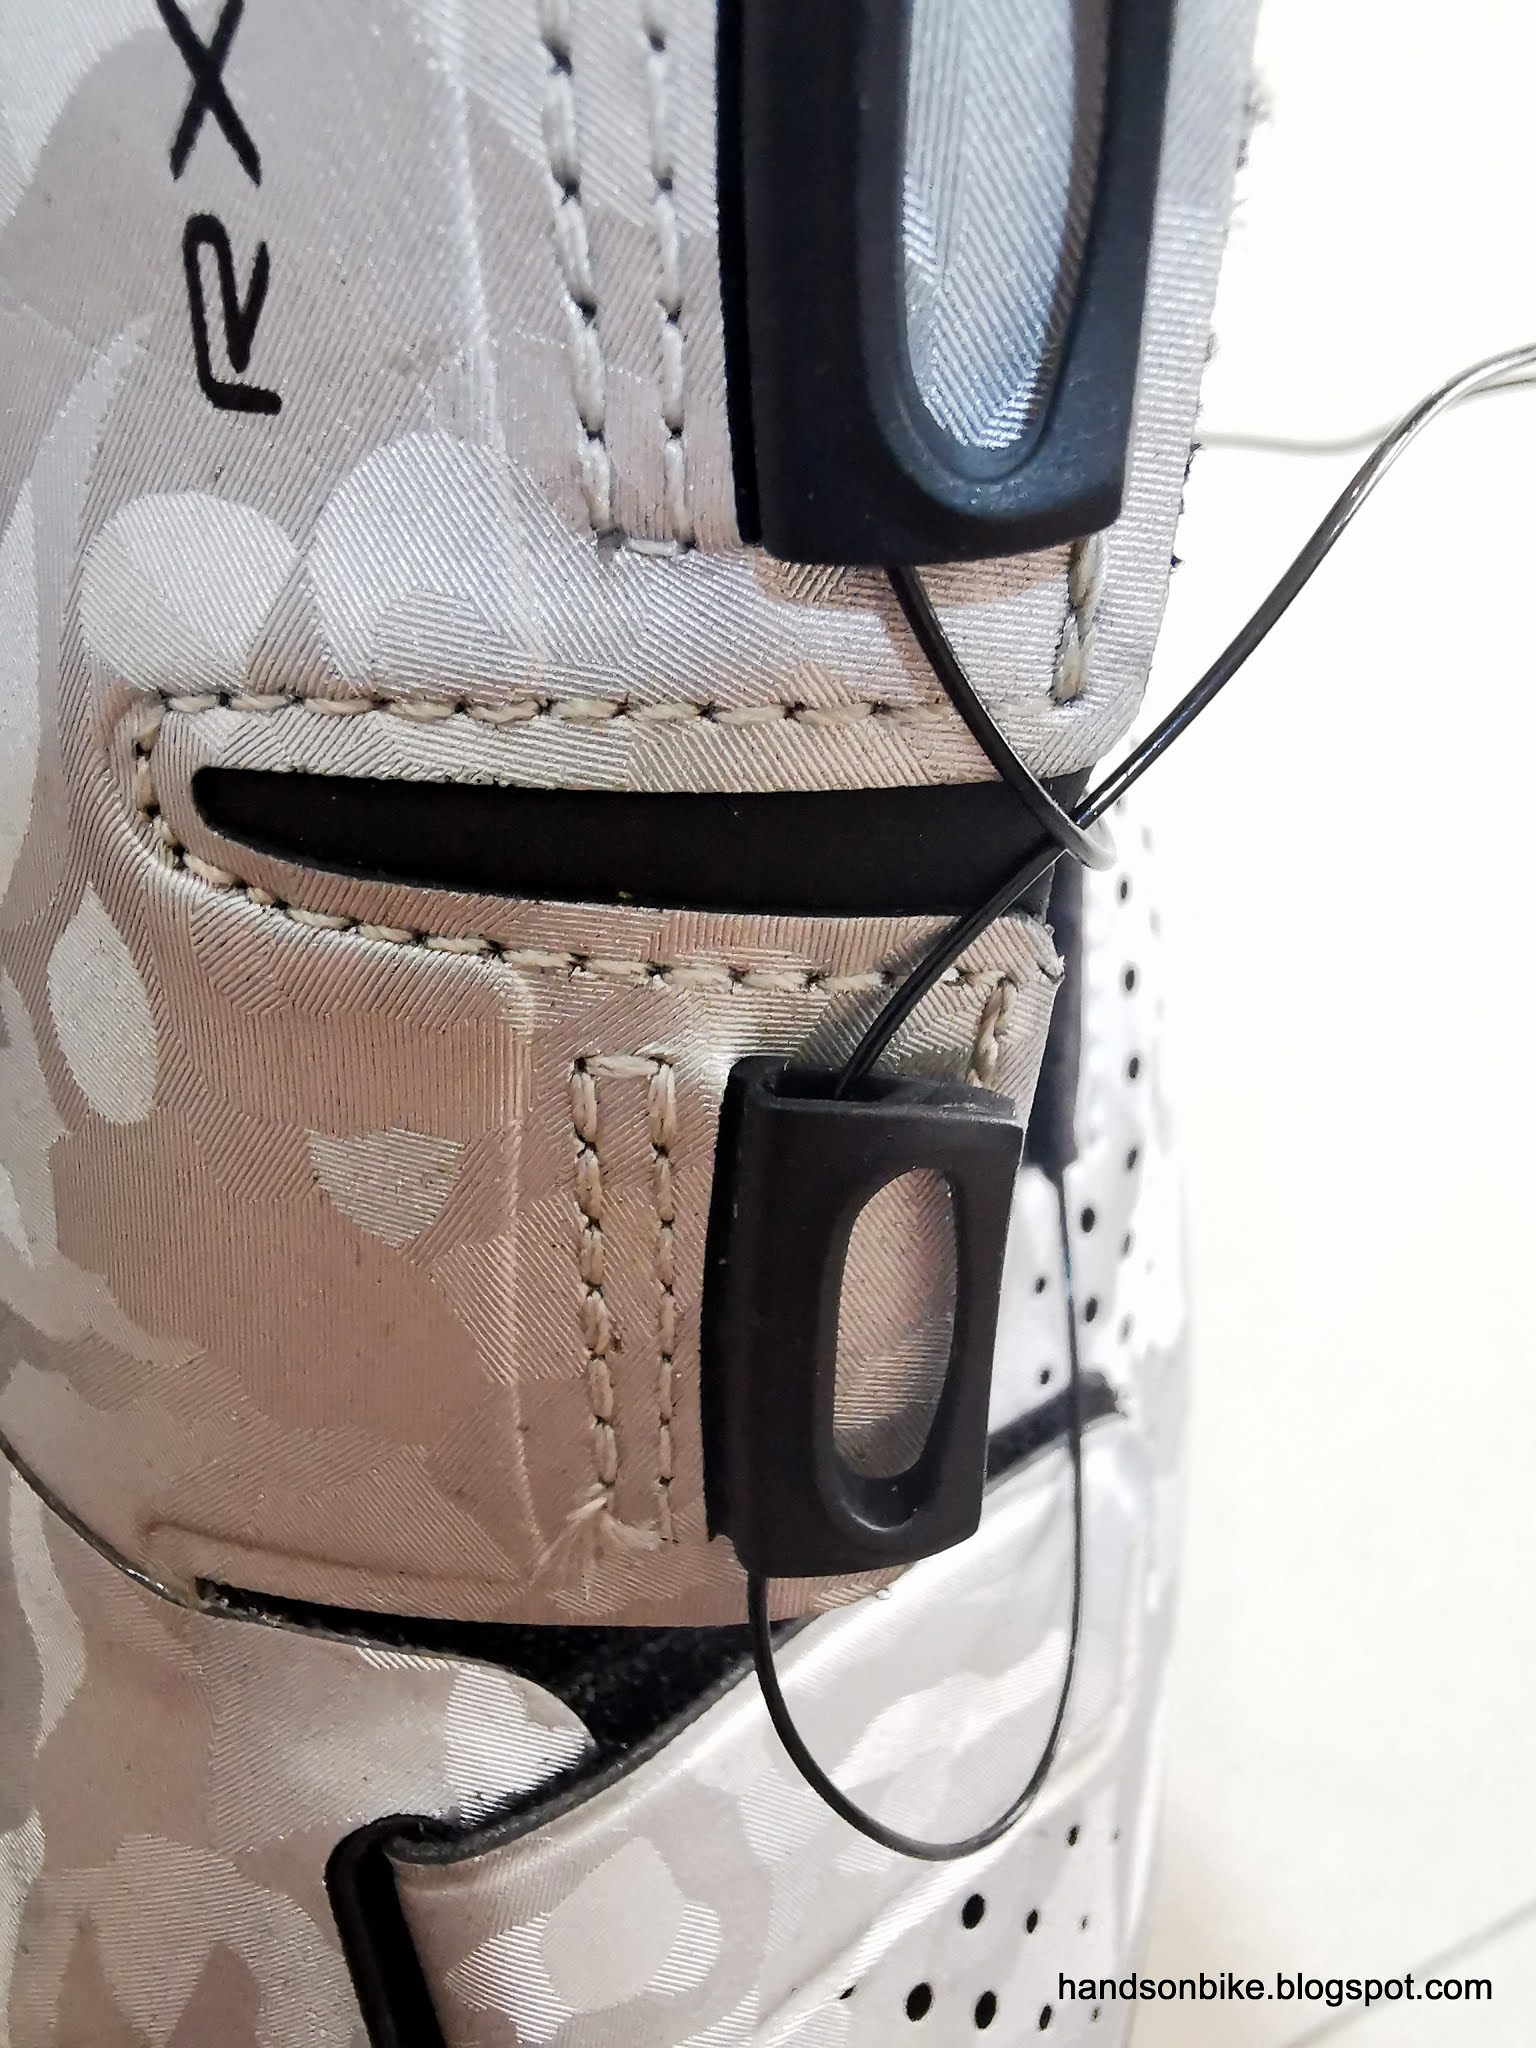
Putting the wire through these plastic guides.

I reused the old wire, but with a new plastic disc. Note that the wire is fixed to the disc only by some very clever knots. Follow the instructions carefully!
At this point, I was feeling rather happy with my work, as I have managed to replace the Boa dial on the left shoe, using the new purple discs and the old wire.
However, when I was moving on to the right shoe, I made a terrible mistake. Before the dial can be replaced, I need to cut the wire first.

I accidentally cut the wire on the left shoe, which is the side which I have just replaced!
This was a really silly mistake. I needed to cut the wire on the right shoe, which still had the old dial. However, I went to cut the wire on the left shoe, which I have just replaced with the new dial. So much for a smooth replacement.
Luckily, I still had the new wire, which I did not use. It will take more work, but I still have the parts to replace both the Boa dials properly.

New dial on the left, old dial on the right. Different shades of red but the same design.

New dial is completely black, while the old one has a transparent cover. I like how the hole for tool access is cleverly hidden inside the letter "O".

New Boa dial installed! The black cover actually looks better than the original transparent cover.

New Boa dials! Feels somewhat like a new shoe again.
Other than the silly mistake that I made, the replacement was not difficult, just a bit tedious due to the small knots that I had to tie. I also took the chance to use a slightly longer wire length, so that the shoe can open a bit wider, to make it easier to insert the foot.
If your Boa dial is not working well, you can also contact Boa to get a replacement Boa dial.
Very helpful article. Why did you replace the wire when only the dial of your shoe needed to be replaced?
ReplyDeleteActually you can reuse the old wire. But as shown above, I cut the wrong wire after replacement of one side, which is why I needed to use the new wire to fix the mistake.
Delete