Sunday, November 6, 2011

Journey of the Boardwalk: Part 16 - Front Derailleur for the Dahon Boardwalk TT

Decided to go touring with your folding bike, but don't have enough gears for the hills? Want to pedal up Mount Faber or the Kent Ridge slopes with your folding bike without stopping, but don't have powerful legs? Prefer to spin up hills instead of mashing the gears?

Now you can do all these, by mounting a front derailleur on your folding bike! To be more specific, a Dahon folding bike. Dahon does have a few folding bikes with more than 10 speeds, such as the Vitesse P18 (2x9 speeds), MuP24/Speed TR (3x8 speeds), Speed Pro TT (3x9 speeds) or the top of the range Vector X20 (2x10 speeds).

Aftermarket FD Adaptors for Dahon bikes. Adaptor for Speed/Vitesse frames on the left, adaptor for Mu frames on the right.


If you have bought one of these bikes, good for you! These bikes come with either double chainrings or a 3 speed internal hub to offer you lots of gears to suit all terrains. In this case, you don't need much modifications to go touring or climb slopes, since there are already plenty of speeds available.

However, like many of us, if you already own a Dahon folding bike with only 1 chainring upfront, it can be rather tough to get a low enough gearing to go up hills, yet retain a high gearing for downslope pedaling. Technically, it is possible to get a fairly large gear range with only 10 speeds (55T chainring with 11-36T cassette, giving a gear range of 31 to 100 gear inches). This is the setup found on the Dahon Vector X10, with a megarange 11-36T cassette.

However, by dividing the gear range of 31 to 100 among only 10 gears, this means that the jumps between gears can be very big! You will likely find yourself spinning out at a certain gear, yet the next higher gear slows your cadence way too much. Finding the right gear is especially important for long road trips, where maintaining a good, comfortable cadence is important. 

Not the cassette found on the Vector X10, but this is a 11-36T cassette. Note the big jump between gears!

Therefore, besides looking at the gear range, the divisions between the gears are important too! To get smaller jumps between gears, and yet have a wide gear range, the easiest way is to have more gears! And this is where having multiple chainrings can be very useful.

Prior to this upgrade, my Boardwalk TT has 9 speeds, with a gear range of 38 to 88 gear inches. (53T chainring with 12-28 cassette). This gear range is relatively small, with a spread of only 50 gear inches, compared to the 69 offered by the Vector X10. However, this gear range suits me fine as I like closely spaced gears to get the perfect cadence.

However, after encountering the Mount Faber and Kent Ridge slopes, I found that even the lowest gear of 38 gear inches is not low enough for me! I prefer to spin the cranks instead of standing up and mashing the pedals. That was when I decided to get a front derailleur, so that I can switch between the 39T and 53T of my Shimano 105 crankset.

I know that it is possible to have double chainrings without a front derailleur, and change chainrings manually! However I find this quite impractical as it means that I will have to stop and change before a hill, and then change back before I go down the slope. It would be much easier to be able to change it while on the go!

Got the LitePro front derailleur (FD) adaptor, so that I can fix my own FD! Cyclopedia brings in LitePro stuff to Singapore, so it will be possible to check with them regarding the availability of the LitePro front derailleur adaptors. An adaptor is needed because the seat tube outer diameter for Dahon bikes are 40 or 41mm, much larger that the 34.9mm offered by the largest clamp on FD.

 Of course it has to be gold in colour! Haha

Cable housing stopper at the bottom

This slot allows you to adjust your FD position forward or backward to suit the curvature of your chainring.

This slot allows the FD to be moved higher or lower. Of course, you can mount the entire adaptor higher or lower on the seat tube too.

Installing the adaptor was not easy at all! On a scale of 1 to 10, with 10 being the most difficult, I would rate this as a 9. Mounting the adaptor is not difficult, but to mount it correctly and tune the FD correctly are the difficult parts! It took me many hours to get it working satisfactorily, as installing the FD is new to me too, thus I was learning as I went along!

I initially tried to mount the LitePro FD (rated for 9 speeds) onto the adaptor, but quickly found that it would not be compatible with my chain (Dura-Ace 10 speed). Because the 10 speed chain is narrower that a 9 speed chain, when the FD cage moves it will not push the chain sufficiently to switch between the two chainrings.

Luckily I had bought a Shimano 105 5700 Front Derailleur, which was what I had planned to use in the first place.

Shimano 105 5700 Front Derailleur (Double, Brazed-on)

The brazed on version is needed to mount the FD onto the LitePro FD adaptor. Mounting the FD correctly with respect to the chainring is important, in order to ensure good shifting performance. Shall not go into the technical stuff here.

Tuning the FD is the difficult and tricky part. Even when the low limit screw of the FD is unscrewed, during the low-low combination (39T chainring with 28T sprocket), the chain will rub the inside of the FD cage. This is largely due the the FD adaptor itself restricting the lower limit of the FD. Luckily, this is not a serious problem as the chain noise is minimal and there seems to be very little drag resulting from the rubbing of the chain.

Pictures of the mounted LitePro FD adaptor and the Shimano 105 Front Derailleur shown below!

Gold adaptor goes well with my black crankset.

Black Shimano 105 FD fits my gold LitePro adaptor perfectly! Note how I clamped the end of the shifter cable to another bolt to prevent it from sticking out.


I used a LitePro Flexible V-Brake noodle at the shifter end, to enable me to adjust the cable tension.

LitePro V-Brake noodles, can be obtained from Cyclopedia.


Cable routing is tricky. Have to route the cable housing under the bottom bracket, and up towards the FD adaptor.
 
With the front derailleur, I don't need the bashguard to prevent chain drop anymore. This allows a better view of the 105 crankset!

 Gold and black themed Boardwalk TT! Now with 18 speeds.

With the double chainrings, now my gear range is increased to 28 to 88 gear inches. Perhaps it does not sound like much, compared to the previous low gear of 38 gear inches. But this 10 gear inches can be very significant, and will determine whether you are able to pedal up the steep hills, or have to stop and push!

Had a short ride to test the shifting of the front derailleur. It is not perfect, but it will do, since it will not be shifted very often anyway. Once again, it has been a very interesting upgrade for me, and I have learnt a lot about the installation of a front derailleur on a Dahon folding bike!

Friday, October 28, 2011

Journey of the Boardwalk: Part 15 - Gold Ultegra RD and more!

More gold bling for my Boardwalk TT! This time I re-installed the Ultegra RD with gold bling, which was previously on my bike before I experimented with using the SRAM shifting system.

Unique Ultegra 6700 RD Short Cage, Gold Version, possibly the only one in the world?

The gold parts on this Ultegra RD are:
1) B-Axle (the bolt that fixes to the RD hanger)
2) Cable fixing bolt
3) Tension and guide pulleys
4) Pulley bolt

By the way, these are very nice Token pulleys with sealed bearings, which run very very smoothly compared to the usual pulleys. However, because they are made of metal instead of plastic, they tend to be noisier in certain gears.

 
Previous photo of my Gold Ultegra RD (taken during the end of year 2010)

 
Great picture of the gold stuff on my bike, taken last year when I was still using PZ Racing wheels. Picture courtesy of Taiwoon!

 
 New picture of the gold Ultegra RD! Difference from previous installation is the wheelset, cassette and the cable housing.

 Overall look of the rear drivetrain, with the gold Ultegra RD.
Another gold bling I got for my bike are these nice brake pad holders for caliper brakes! I had previously got gold brake pad holders from Taiwan, but those were for V-brakes. I happened to come across these at a local bike shop, and I simply had to get it!

  
Gold brake pad holders for caliper brakes!
 
 Gold brake pad holders with Kool Stop Dual Compound brake pads.

 A view of the entire drivetrain, with gold bling sprinkled all over!

Wednesday, October 26, 2011

Minoura Space Grip - SGL-300 Review

Running out of handlebar space to put your bicycle accessories? With the Minoura Space Grip, you can "extend" your handlebar and place all your favourite accessories on the bike!

The space grip I got is the new quick release type, which allows it to be removed from the handlebars easily when not needed! Much better than the previous version which uses a metal band for clamping. The bar can also be turned 90 degrees with respect to the clamp, which allows mounting on the stem, handlepost, seatpost etc.

Also, this is the version with a longer bar, which should fit up to 3 lights if required. The clamp also comes in 2 sizes, 22-29mm for smaller diameter handlebars, or 28-35mm for oversized handlebars or seatposts etc. Within its stated range, the clamp size can be adjusted simply by turning a bolt to expand or close up the clamp diameter.

Another good thing I like about the bar is that it can be slid sideways, so that you can fit 2 wide accessories side by side, or shift it to one side to fit 3 accessories.

 Position bar in middle if you have 2 wide accessories, such as high powered lights or MP3 player.

Or you can shift the bar to one side, so that you can fit up to 3 smaller accessories, such as lights, cyclocomputer, bell etc.

The clamp is excellent as always, the same one as found on their clamp-on bottle cages. When used with the rubber shim provided, the clamp is super secure and rock solid! Tested the clamp by cycling along the bumpy Pioneer Road, with 2 lights mounted. At the end of the night, after 50+ km, the clamp is still in the exact same position! Great clamp strength and grip.

A close up of the clamp. (Yes I was caught in the rain!)

2 front lights: 1W S-Sun blinker and a 3W Innovity light for dark roads. Both are powered by 3xAAA batteries.

 
Another picture showing the extra space available for mounting accessories! Especially useful for narrow bullhorn or drop bars, with limited handlebar space.

One downside to this Minoura Space Grip is that it will cause your accessories to stick out from your handlebar, which is a big problem especially for folding bikes. However, the quick release clamp solves this problem by allowing you to remove the whole Space Grip easily, together with any accessories mounted on it!

For bullhorn handlebars or drop bars, this sticking-out of the Space Grip is not a problem, since the bar or shifters will stick out from the front anyway! The Space Grip merely expands your handlebar real estate by sticking out from the middle, which would be unused space anyway.


 The Minoura Space Grip does not stick out untidily because it is still between the bullhorns!

 Is this overkill? 3 front lights plus a bell!

Updates shown below!

Previously I noted that the clamp for this Minoura Space Grip look very similar to that of the Minoura clamp-on bottle cage. Today, I dismantled the clamps to compare the mounting methods.

Clamp for the Space Grip is fixed to the bracket using a single bolt.

On the left is the clamp from the Space Grip (22-29mm) and on the right is the clamp from the Minoura clamp-on bottle cage (28-35mm).


From the picture above you can see that both the clamps are very similar! 3 mounting holes, and both the bottle cage and the Space Grip uses the middle hole for mounting. This means that the clamps are interchangeable! Great for those who want to get the space grip, but cannot find it in the larger clamp size (28-35mm).

More pictures of the Minoura Space Grip, fully utilised! 3 front lights! 
 
My 3 front lights, from left to right: 5 LED front light, Innovity 3W light, and 1W (3 LED) S-Sun front light.

Of course, this Space Grip is not limited to handlebars alone! I can already imagine how you can mount multiple rear lights using this, especially for folding bikes with long seatposts. Since you can also turn the bar 90 degrees, you can come up with your own array of lights or accessories! And who says you can only use one Minoura Space Grip? With multiple Space Grips, multiple clamping locations, different mounting angles and different accessories, the possibilities are huge! I would recommend this to anyone seeking to add more accessories to your bike!

Monday, October 24, 2011

Unveiling my Mobile Bike Tools Cabinet!

Finally found time to organise and tidy up all my bike stuff! I had a lot of tools and spare parts lying all over the place, in boxes, on the ground, practically everywhere. Also, everything was messed up, with lights being stored with velcro, rags being stored with allen keys and stuff like that.

 Got a nice little cabinet on wheels from Howard's Storage World!

With a top shelf, it is useful when I want to place spare parts or other components on the cabinet. Little red magnetic dish from Daiso holds bolts and other small parts without losing them!

Top drawer stores generic tools,such as screwdriver, Allen wrenches, pliers, scissors etc.


Second drawer stores small parts, like cable end caps, spare inner cables, 
spare bolts and nuts, brake pads etc.

Third drawer is used to keep my spare lights, cable ties, rubber shims and 
light clamps/mounts.
 
Fourth drawer stores the stuff used to clean and lube the bike, such as rags, wax polish, grease, chain lube etc. Didn't manage to fit my bottle of degreaser.

And the bottom drawer stores the heavy stuff, including many bike specific tools. Includes cone wrenches, Hollowtech II BB tool, cable cutter, chain whip, cassette lockring tool etc.

With all the tools and small parts in one place, bike maintenance is made easy! No more moving around the house gathering the tools or parts, or carrying them around. Just pull the whole cabinet with you, everything you need will be there! Extremely pleased with my mobile bike tools cabinet, recommended for all DIY bike mechanics out there!

Friday, October 21, 2011

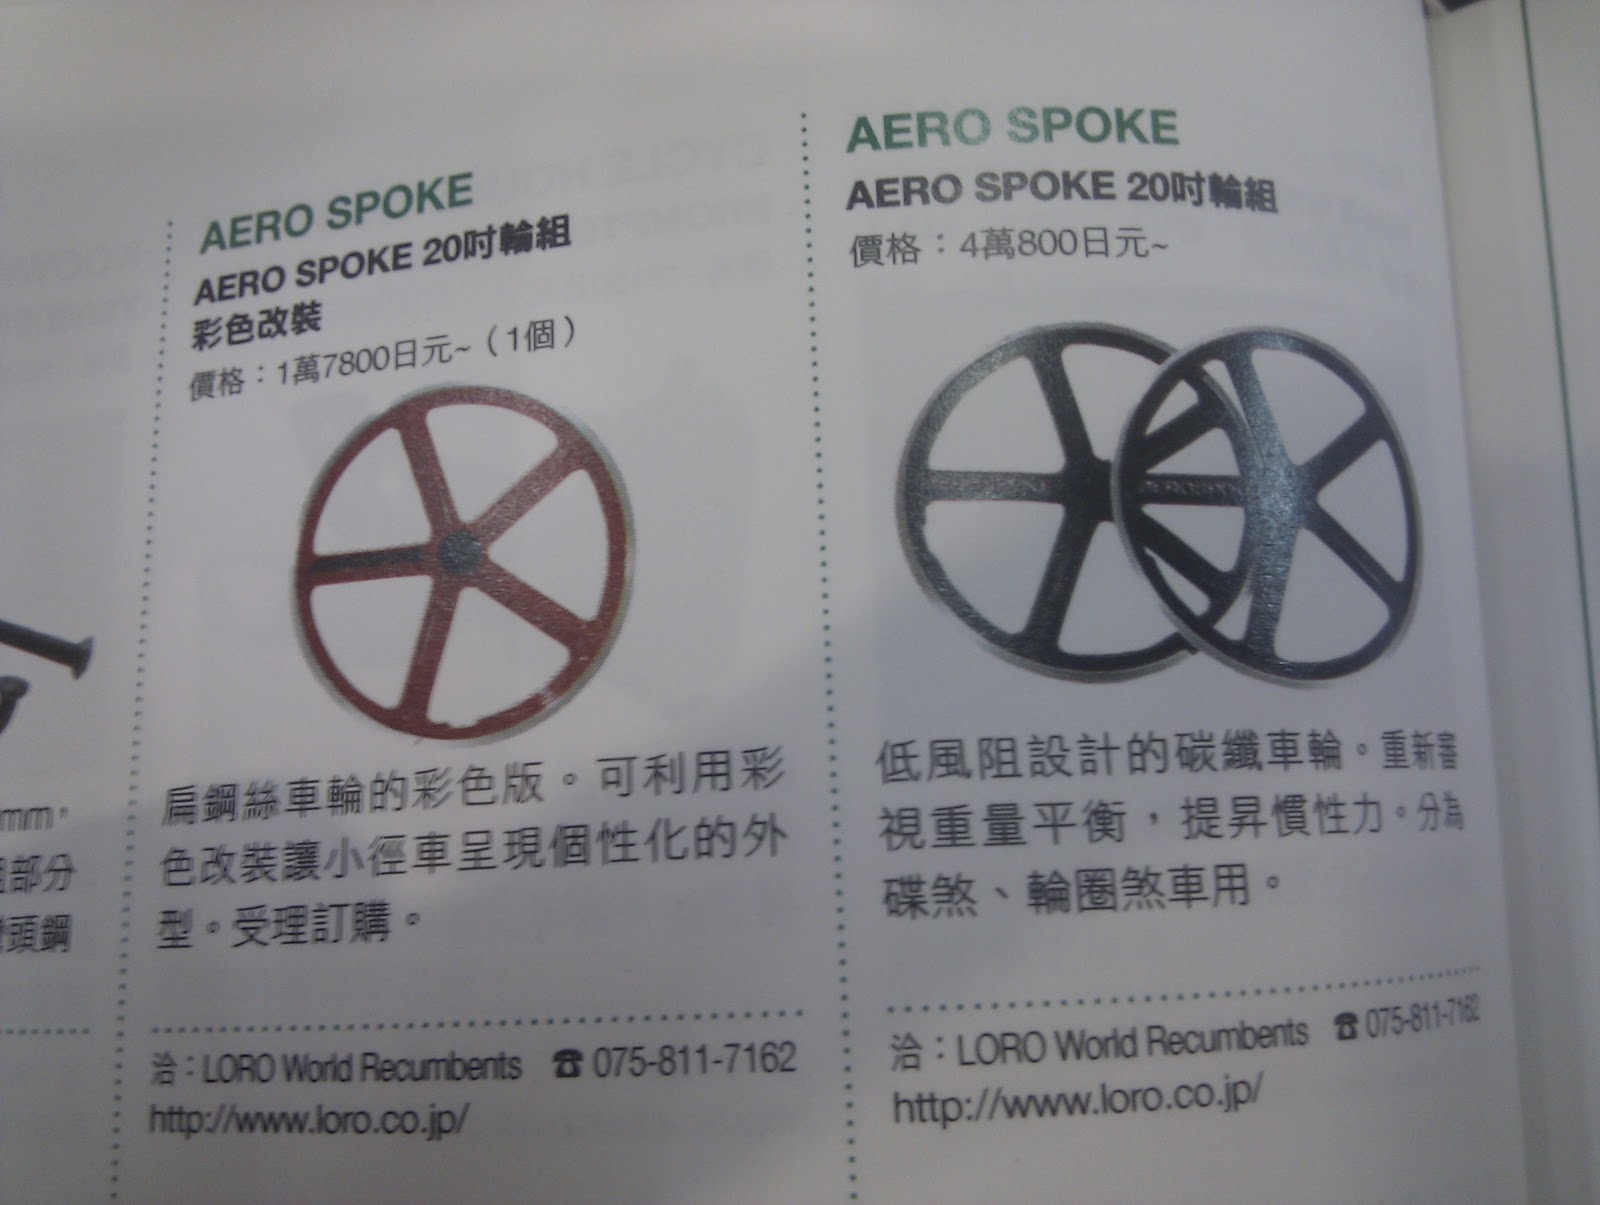
High Profile 20" Carbon Wheelsets!

For all the mini velo and folding bike riders out there, you can also have high profile carbon wheels! Although they are rather rare, they are still available, albeit at a higher price. Check them out below!
 
Very sweet looking 20" carbon wheels!

Carbon frame with carbon wheels!
 Lots of Alex Moulton bikes with high profile carbon wheels!


Not to forget the Birdy bikes, also with carbon wheels.


If you are wondering where I got these pictures from, they are all from these magazines which I brought back from Taiwan a few months ago! Lots of other bikes and poisonous upgrade stuff. Feel free to let me know if you want to borrow them!