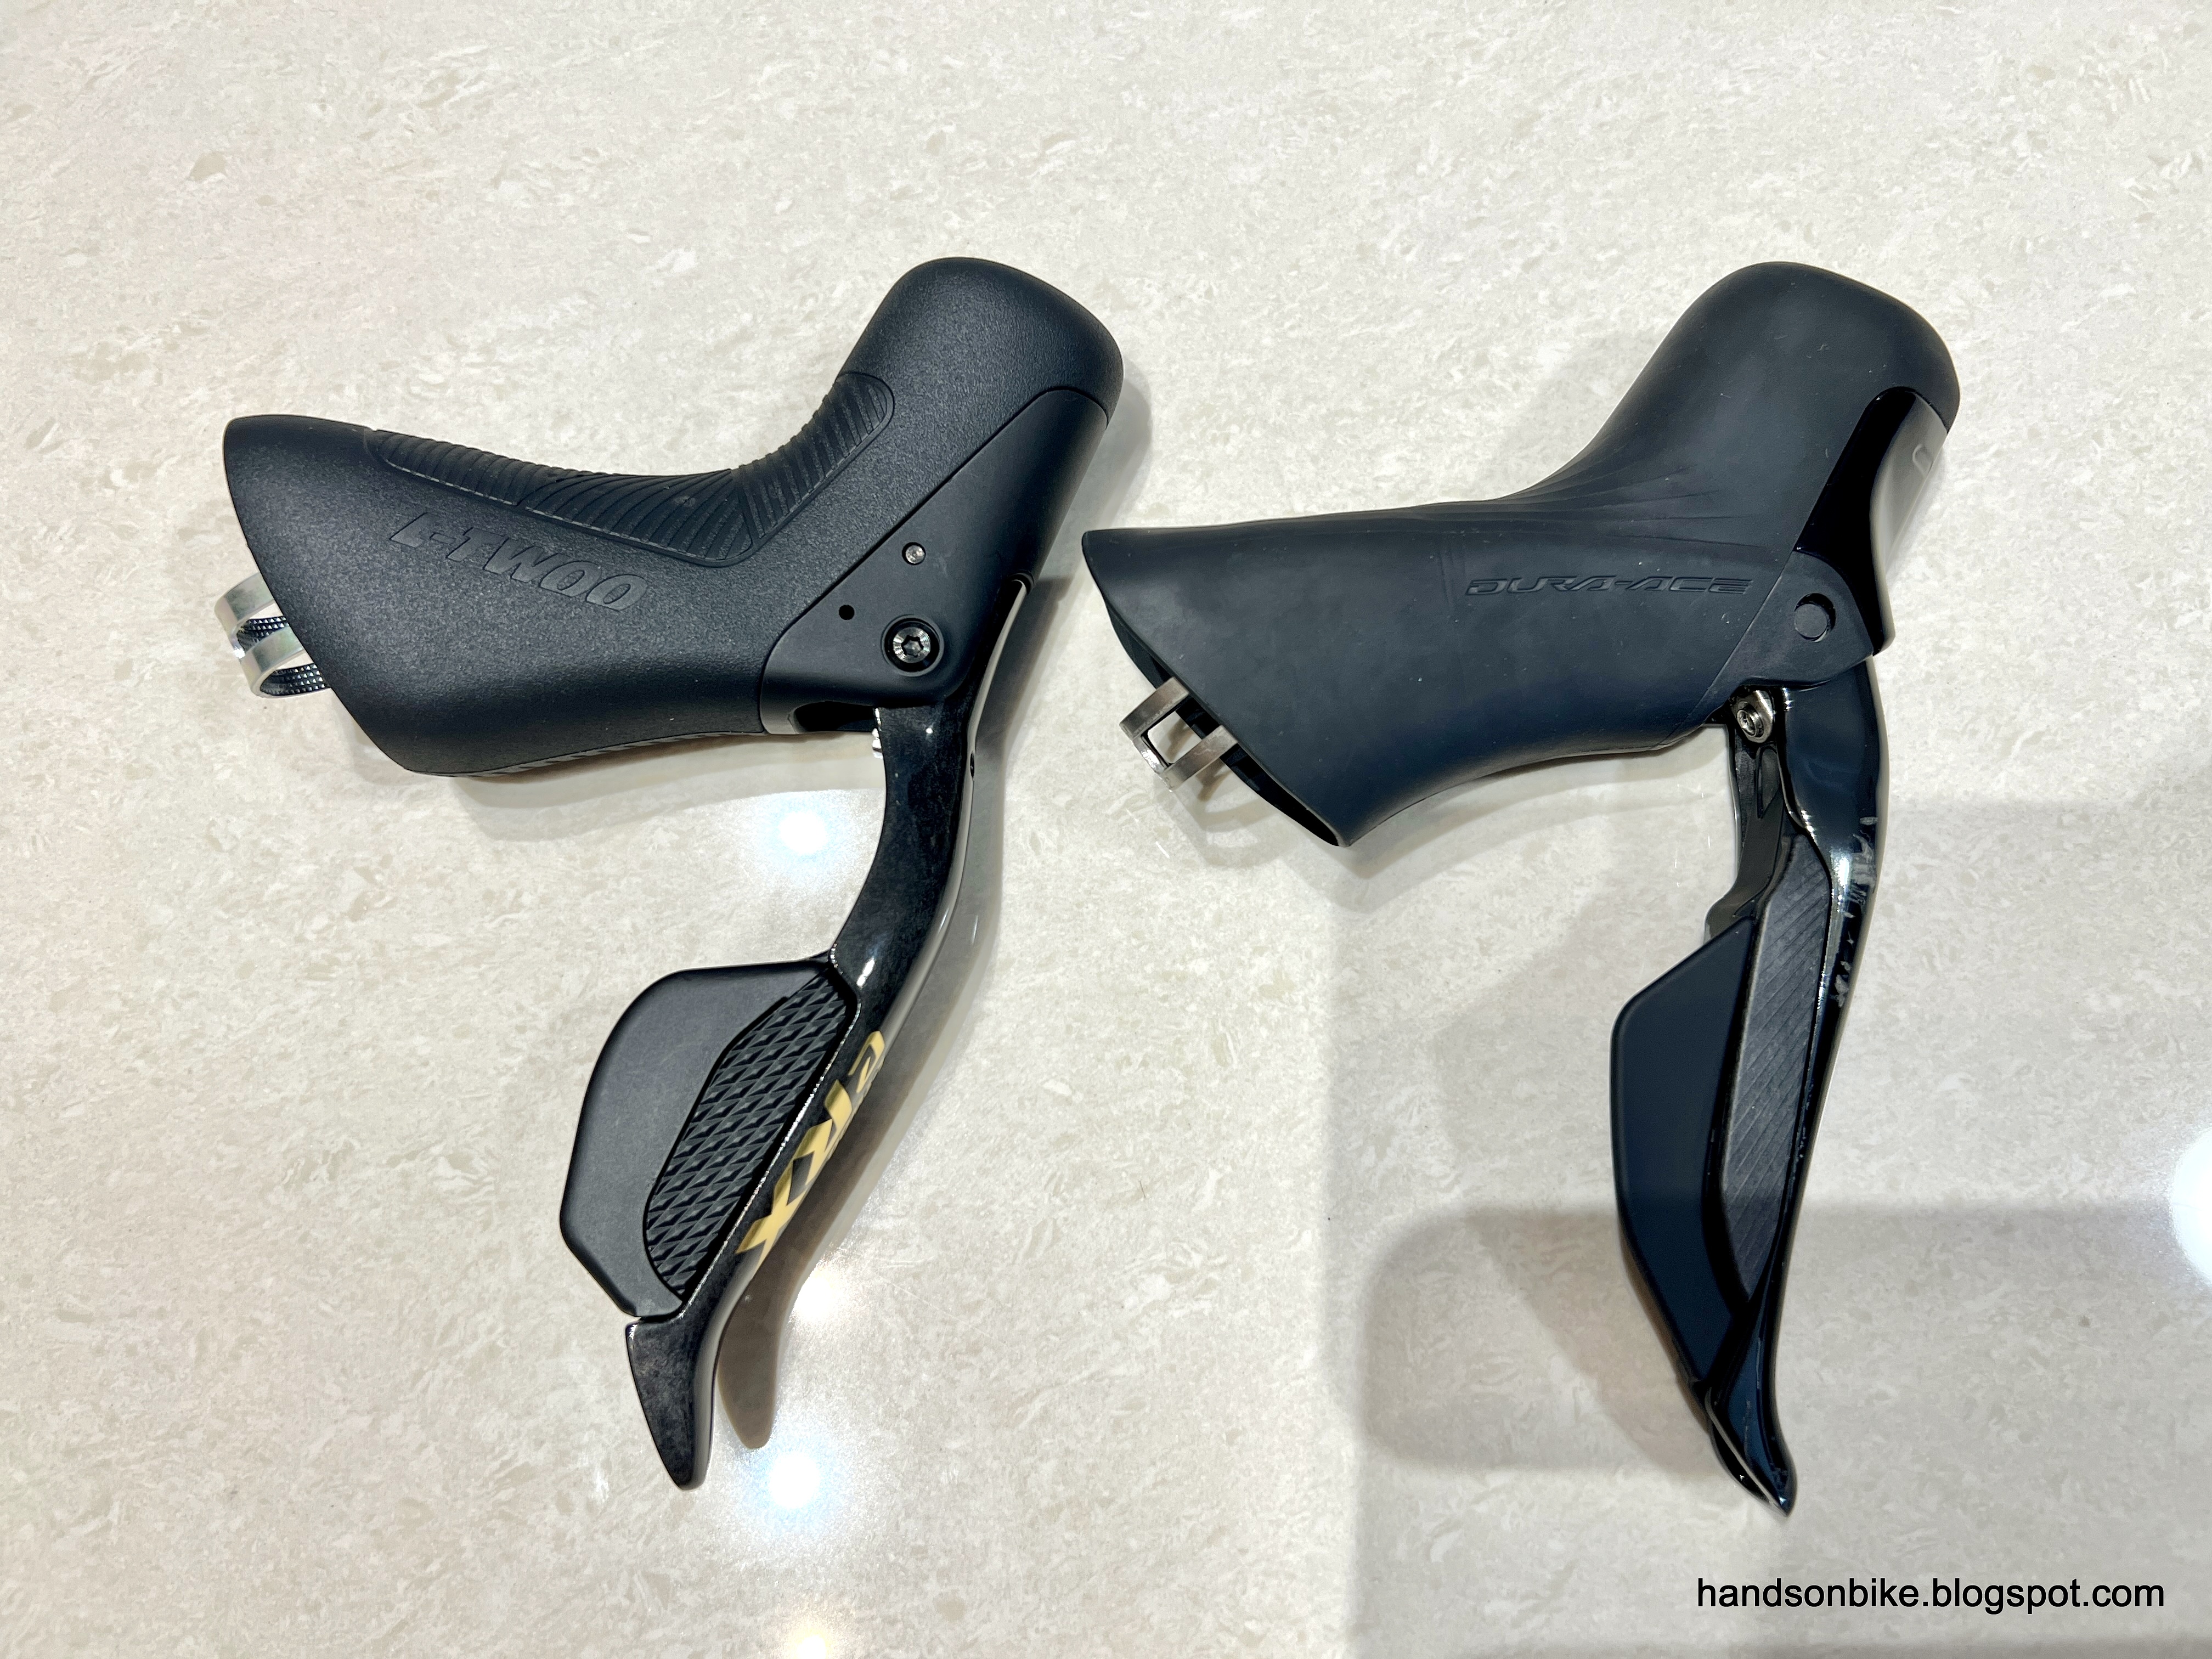
Continuing from the previous post, where I showed the shifters and brake calipers of the LTWOO eRX groupset, here are the rest of the components.

Front derailleur is 140 grams, quite a bit more than 111 grams of the Ultegra Di2 front derailleur.

Similar linkage design as Shimano Di2 front derailleurs

Inner view, looks the same as Shimano Di2 front derailleurs.

I find that the corners of the motor housing look quite sharp, perhaps they can be rounded off a bit more.

LTWOO eRX 12 speed rear derailleur. Looks pretty good!

Also uses a similar link design as Shimano Shadow rear derailleurs.

Looks very much like Shimano Di2 rear derailleurs

Here is the port for connecting the electric wire. There is a little notch in the connector to ensure alignment.

Limit screws located at the bottom, both stop against the inner link.

Resin moulded Plate Member with visible fibres in the material, and covered with a clear coat.

Looks like a carbon outer plate on the cage?

Inside view, showing the relatively long cage with an aluminium inner plate.
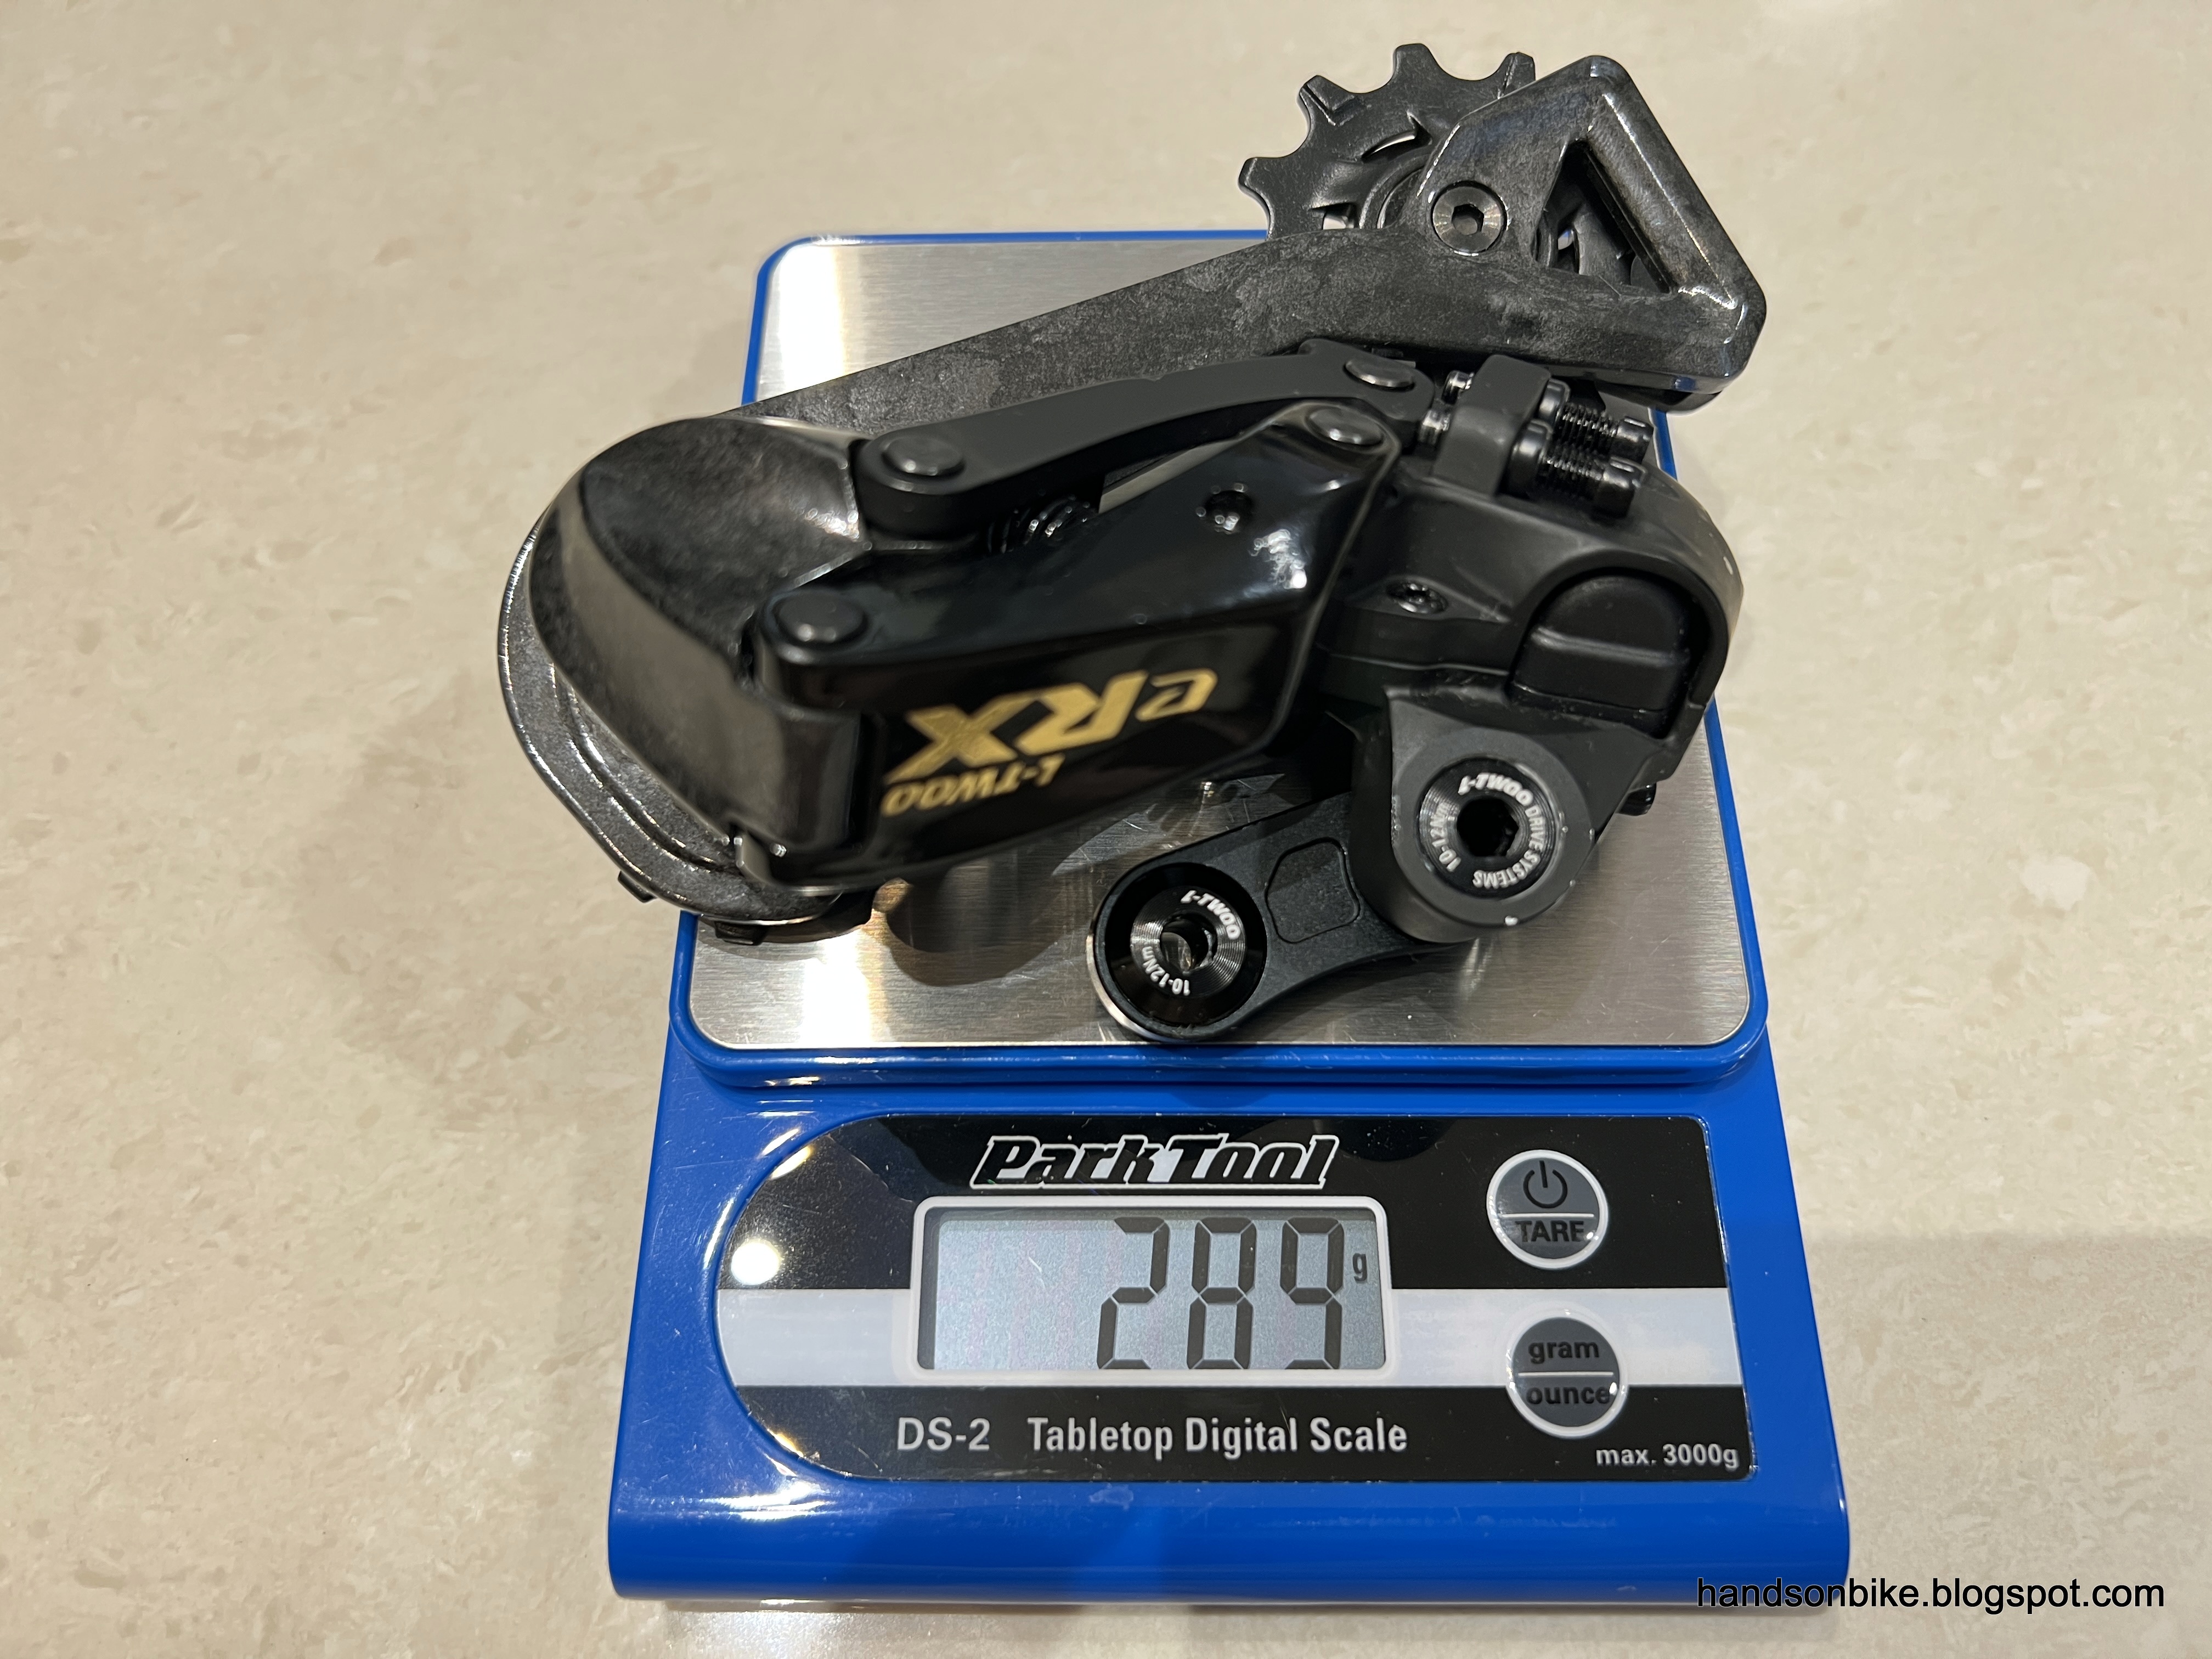
Weighs 289 grams, a bit more than the Ultegra R8170 version. Can't complain given the price difference.
Other than the components, the groupset also includes the electronic parts required to link up everything. This LTWOO eRX system is semi-wireless, similar to Shimano. The shifters communicate wirelessly with the rear derailleur, while the battery powers both the front and rear derailleurs via wires.

Battery, charging cable, and two electric wires.

Charging cable which has a proprietary connector to the rear derailleur charging port, and is powered by a standard USB port.

Two ports available at the bottom of the battery, to be connected to the front and rear derailleur.

Two electric wires of 90 cm and 120 cm, for the front and rear derailleurs.
I did not assemble the LTWOO eRX groupset on any of my bikes, as I did not think it was better than the Ultegra Di2 groupset that I already have. After this study, I sold the groupset as I had no more use for it.