With most of the new 12 speed components in place, I am now ready to upgrade the Focus Paralane from 11 speed to 12 speed! Check out the Focus Paralane - 12 Speed page for all the juicy details of the 12 speed components.

2x11 speed Focus Paralane, before disassembling it for the upgrade. Mudguards and accessories have been removed. Weighs 7.6 kg in this bare configuration with pedals.

Ended up stripping nearly everything off the frame, except for the stem and handlebar.

Took the chance to clean and polish the frameset with wax as well.
Here is the new Dura-Ace 12 speed groupset! Do you know what is missing?

Most of the components of the 12 speed groupset are here, except for the crankset which is not yet available.

Busy home workshop!
As I have experienced many times before, from assembling so many bikes from scratch, you only get to know the details of each bike when you build it up yourself. There are many small details and issues that only reveal itself during the build.
For a start, when I was assembling the new rear brake calipers onto the bike, I noticed that the rear caliper adapter did not fit. This adapter is needed when installing a rear 160 mm brake rotor. One of the bolts was too long and would bottom out on the inside of the brake caliper.
After I looked at the Dealer's Manual for the new brake calipers, I found that there are actually two different bolts. The front bolt is different as it does not have the T-shaped tip and is shorter. I could not use the bolt that came with the brake caliper adapter, as it was the wrong length for the frame.

Same for the front brake caliper, there is a new version of the bolt without the T-shaped tip.

A table showing how to choose your bolt length, based on the thickness of the frame brake mounting thickness.

This applies when mounting the brake caliper directly to the frame, for 140 mm rotor. Since I was using 160 mm rotor, I needed an adapter.

This bolt fixes the rear adapter to the rear caliper. It is the same as the bolt that fixes the front adapter to the front caliper.
I realized that the only difference between the old and new bolt is the T-shaped head. All I needed to do was to remove the T-shaped head from an existing bolt, and it will be shortened to become the new bolt.

One way is to grind off the tip of the bolt, to remove the T-shaped tip.

The bolt is held in place with a table clamp and some nuts, before cutting off the tip.
Later on, I realized that it was easier to just clamp the tip of the bolt, and break it off by bending the bolt back and forth. Much cleaner than grinding off the tip.
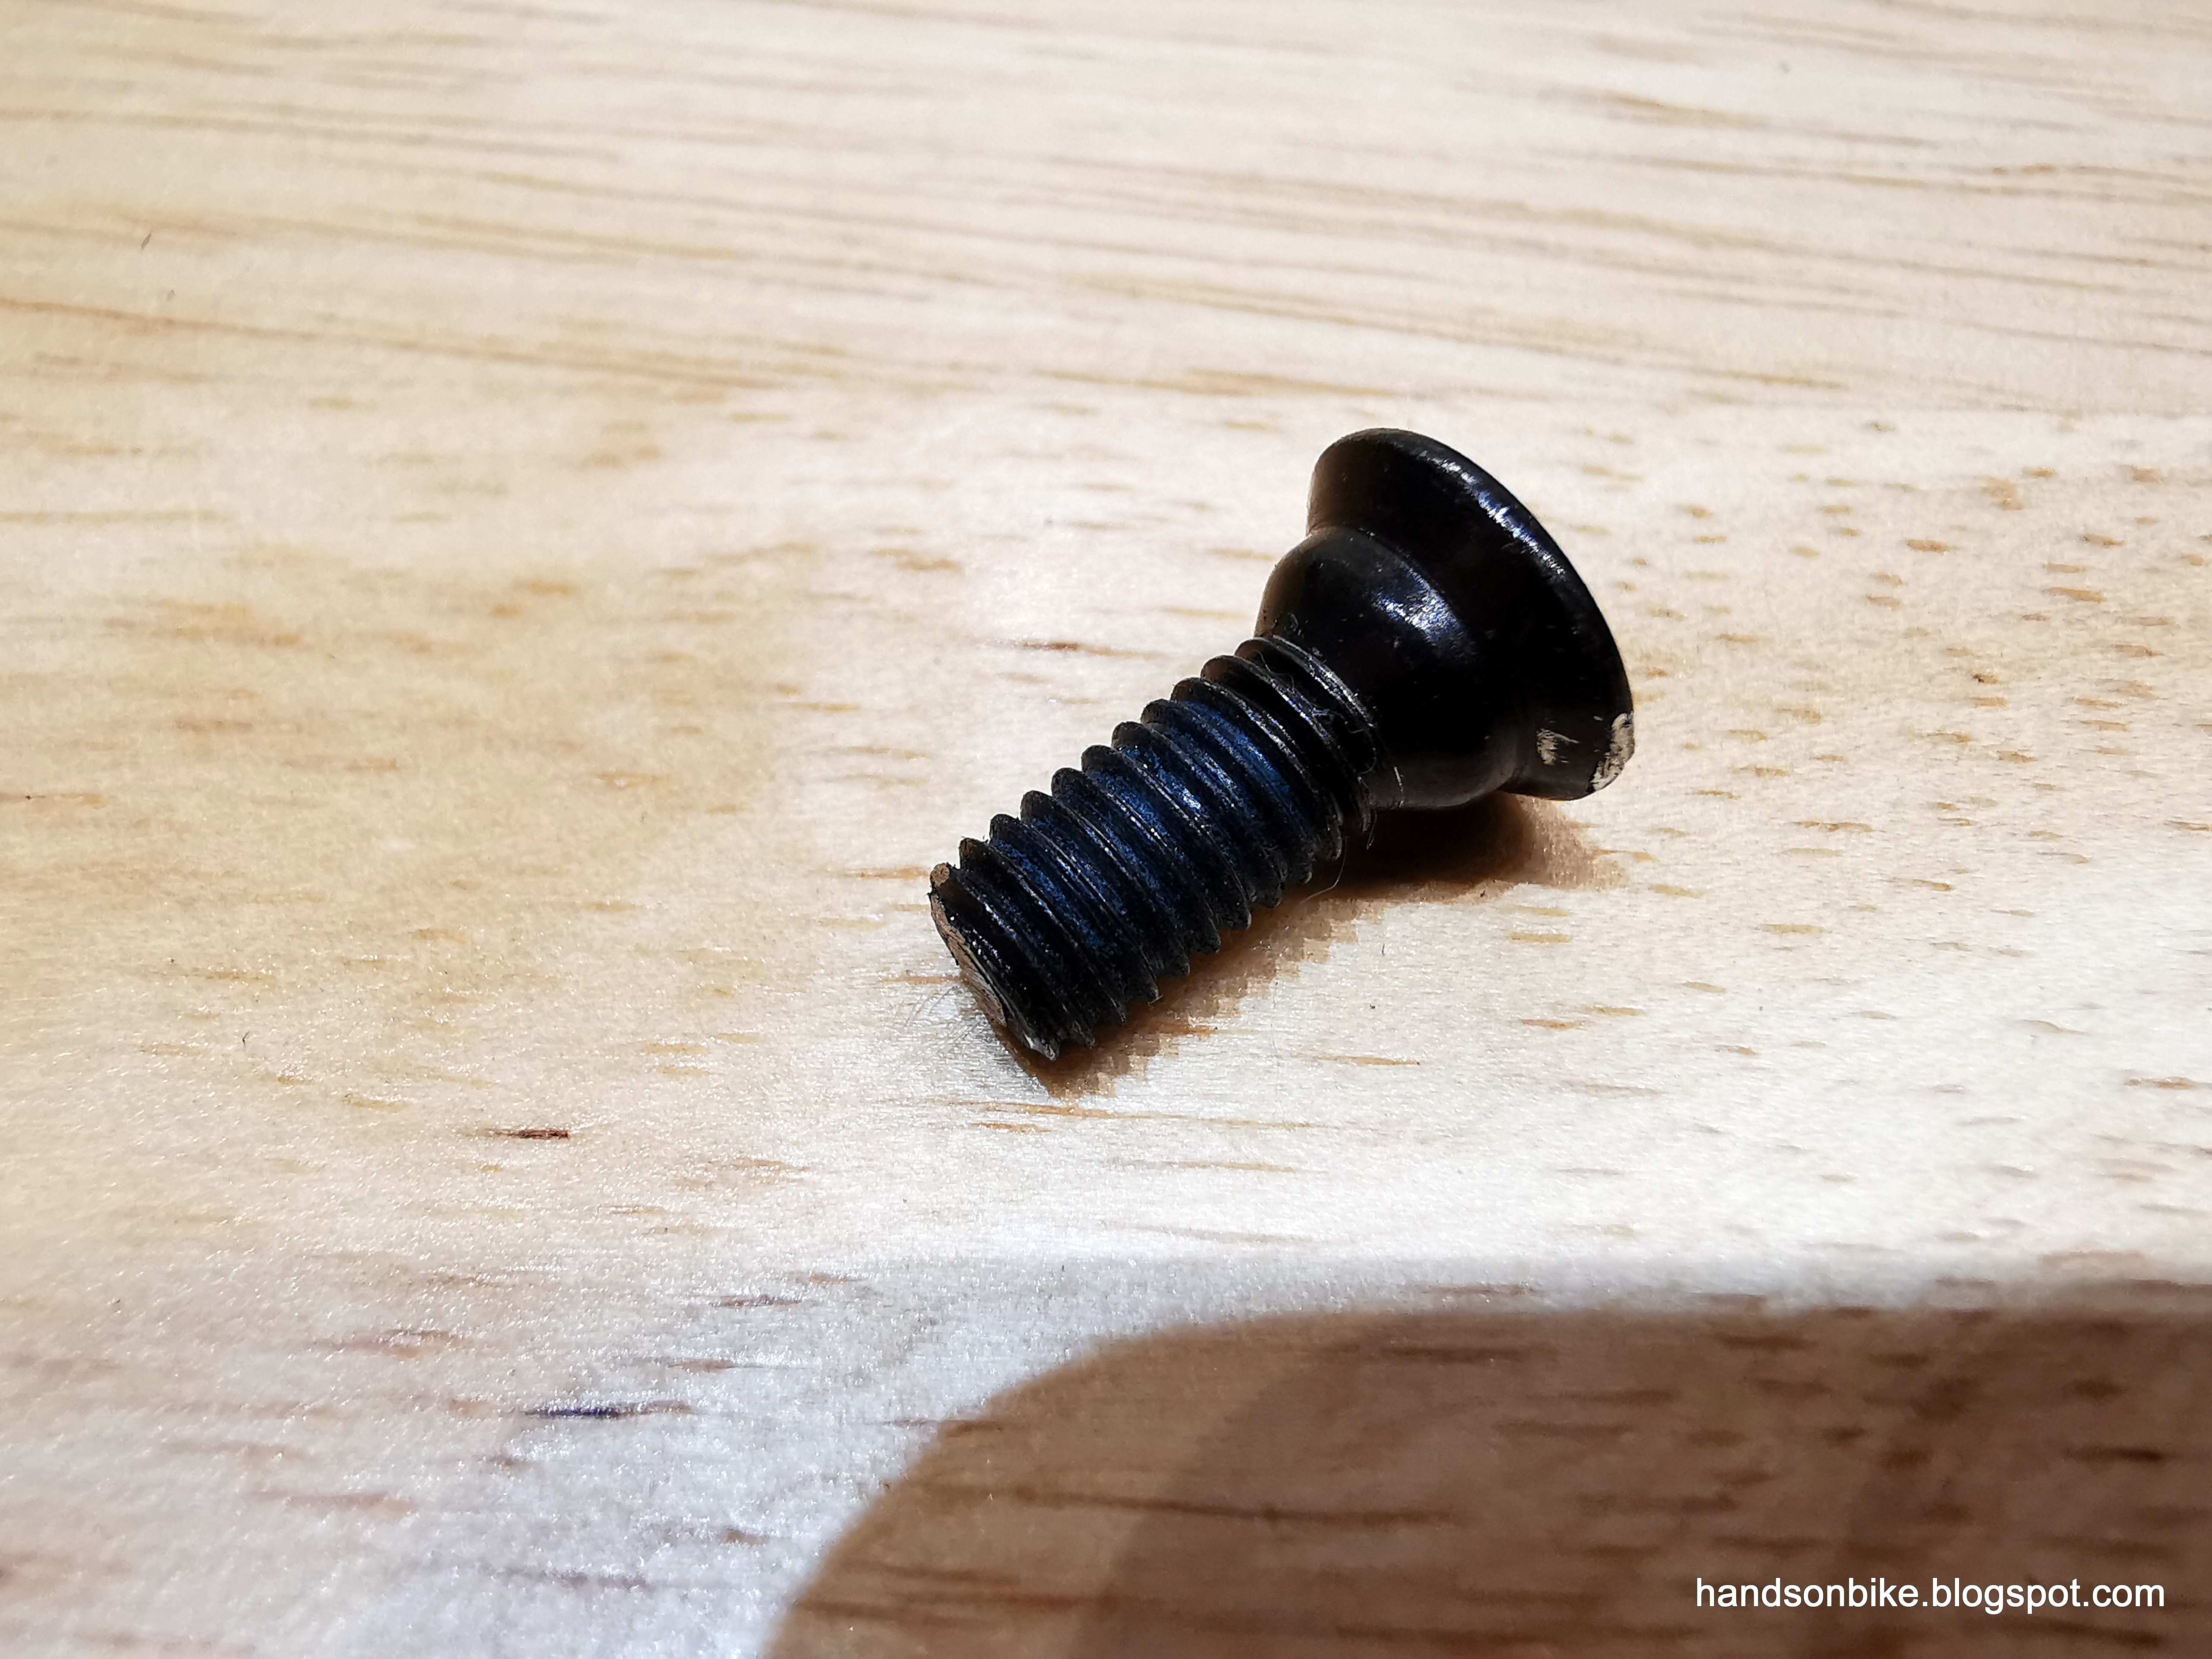
New shorter bolt, made by removing the T-shaped tip.
Routing the brake hoses through the frame was relatively easy, as there are big exit holes on the downtube for the cable routing. Best of all, there are no Di2 wires between the shifters and the rear of the frame, so it simplifies the handlebar cable routing greatly.

After trimming the hydraulic hoses, these are the lengths and weight that are removed.

A new press fit bottom bracket SM-BB92 will be installed.

With this awesome new press fit tool by Toopre, I no longer dread working on press fit bottom brackets!

Since the new Dura-Ace R9200 crankset is not available yet, I will continue to use the R9100 crankset first. The pros are still using this combination so it should not be an issue.

Dura-Ace R9250 front derailleur aligned to the chain rings.

Di2 wire runs neatly to the hole on the seat tube, and is connected directly to the Di2 battery.
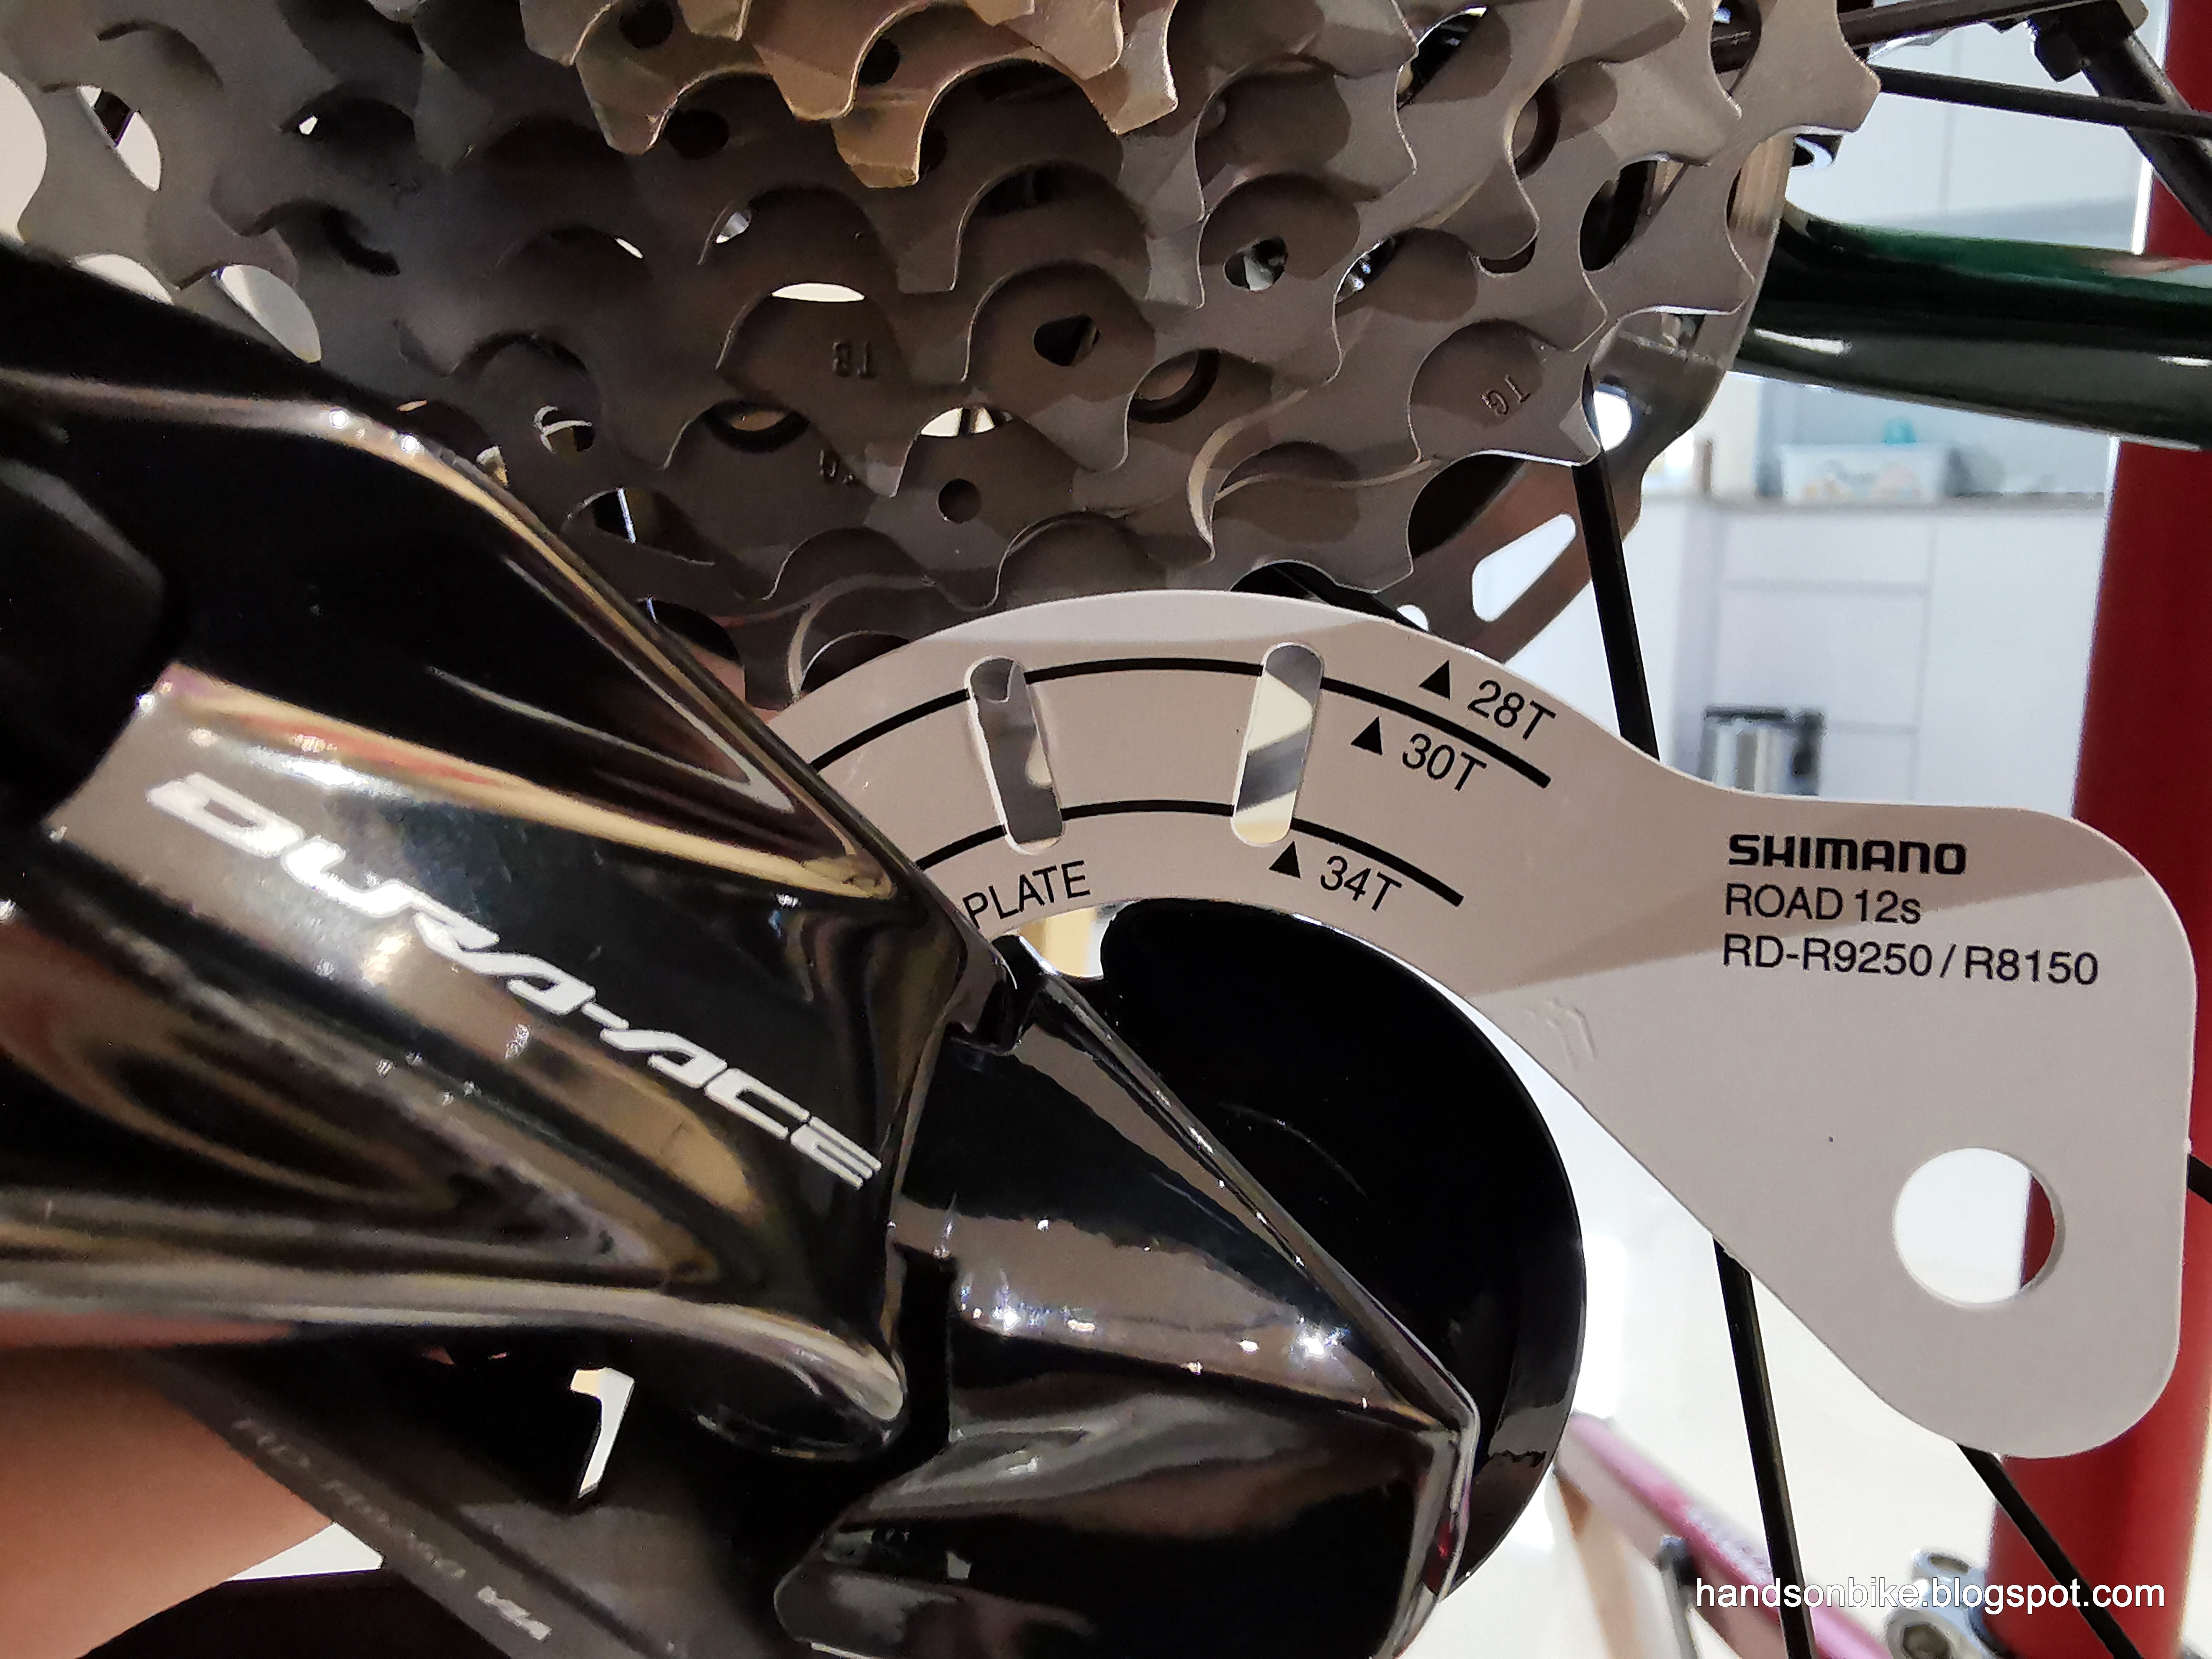
Rear derailleur R9250 goes on without issue as well. Using the included adjustment tool to set the ideal distance between the guide pulley and the cassette sprocket.

When in adjustment mode, the LED on the rear derailleur lights up. Somehow it shows as rainbow coloured when reflected from the gear sprockets.

Using the new 12 speed chain, which was originally designed for the 12 speed MTB drivetrain.
It was quite a bit of work to prepare the 12 speed chain for the new drivetrain, as I am also using a wax lube for this new chain. Similarly to the previous ritual, the chain has to be thoroughly degreased in a multi-step process, before the wax lube is applied.
Once the chain has been degreased, I installed it on the bike to set the correct chain length. Since the chain is now completely clean, it is easy and fuss-free to remove it from the bike to measure the exact weight with the extra links removed. The final chain length has 6 links removed from the original 116 links.

A total of 110 links are used, for a weight of 235 grams.
In the next post, the first phase of this bike assembly will be completed.
No comments:
Post a Comment
Every comment is moderated before publishing due to spam bots. If you don't see your comment yet, it is likely that it is currently being reviewed. Thank you for your patience!